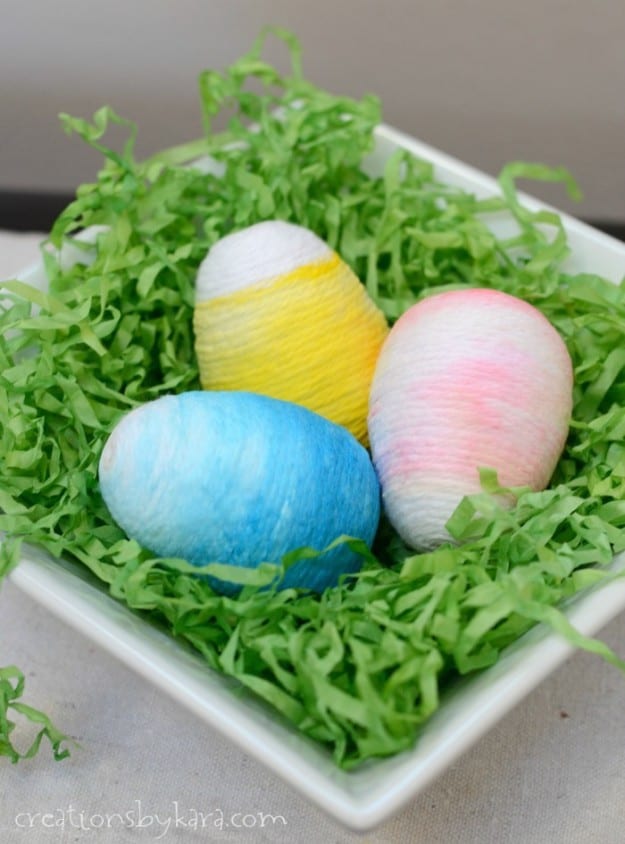
These Yarn Wrapped Ombre Easter Eggs are fun to make, and perfect for spring or Easter decor!
I don’t know about you, but I have a bucketload of plastic Easter eggs that we’ve accumulated over the years. I figured that instead of just tossing the extras, I should make something with them. I’d seen yarn wrapped Easter Eggs before, but I thought it would be fun to try an ombre look. They turned out so pretty!
Want to make your own Ombre Easter Eggs? Here is a step by step tutorial. You’re welcome.
Yarn Wrapped Ombre Easter Eggs
Supplies
-Plastic Easter Eggs
–Packing Tape
–White Cotton Yarn
–Food Coloring
-Small paint brush
–Craft Glue
-Small glass bowls, paper towels, and paper plates
Instructions:
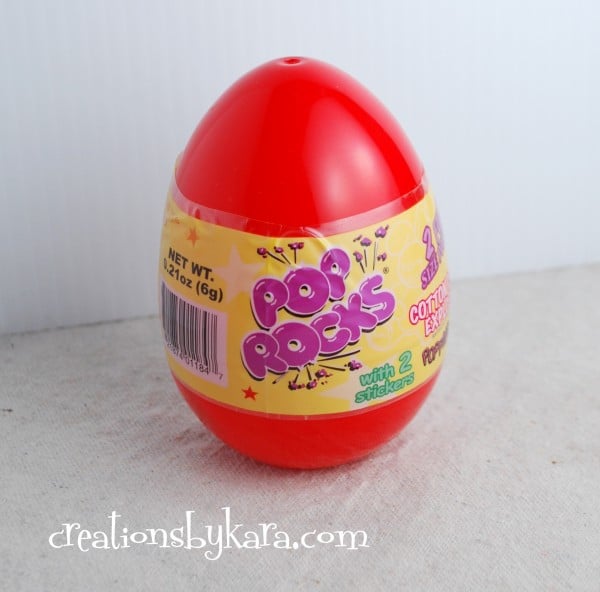
1-Grab your plastic eggs. I found these large ones on the Easter candy aisle last year, hid them away, then forgot about them. My boys were happy to finish off the candy this year. Apparently pop rocks have a very long shelf life. 😉 I made a few of them, but mostly I made smaller ones with the regular plastic eggs you can find everywhere. Because wrapping the large eggs takes half an eternity.
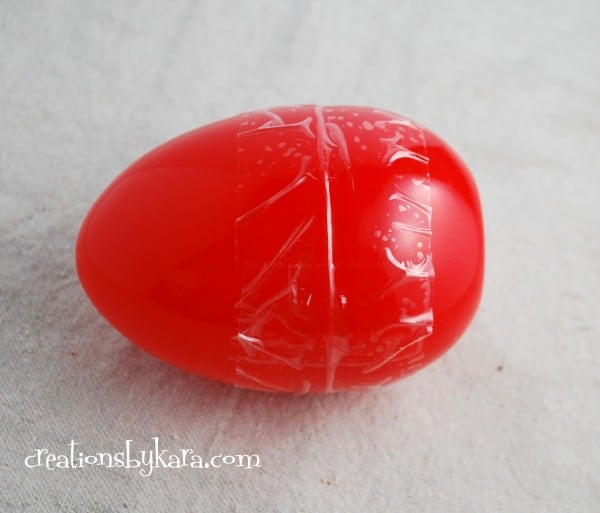
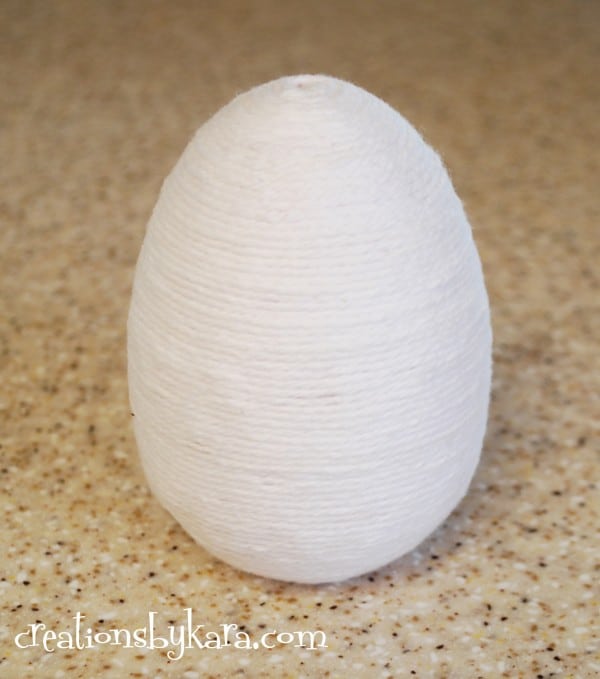
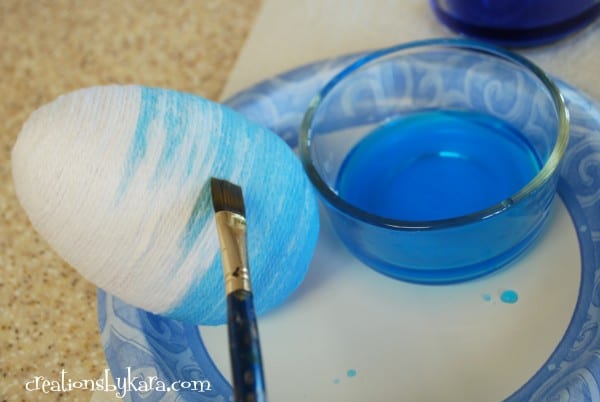
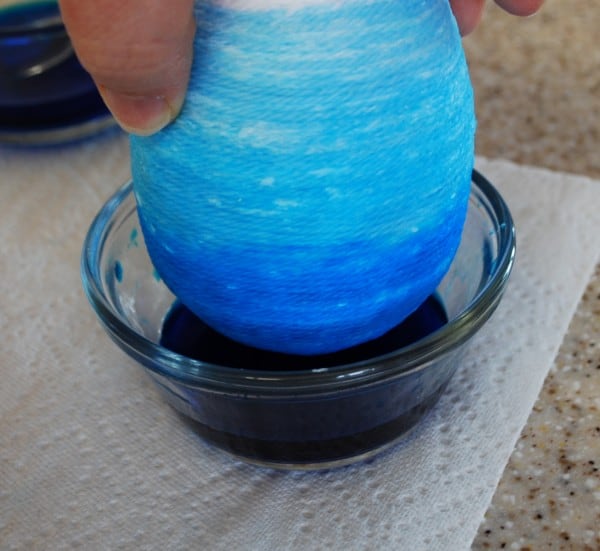
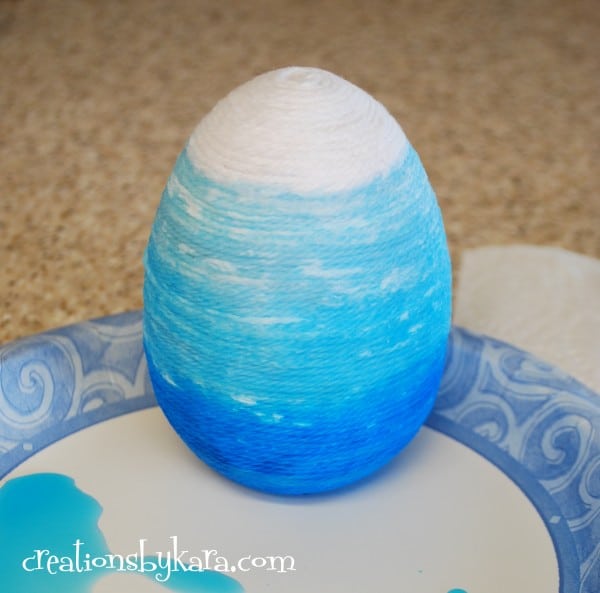
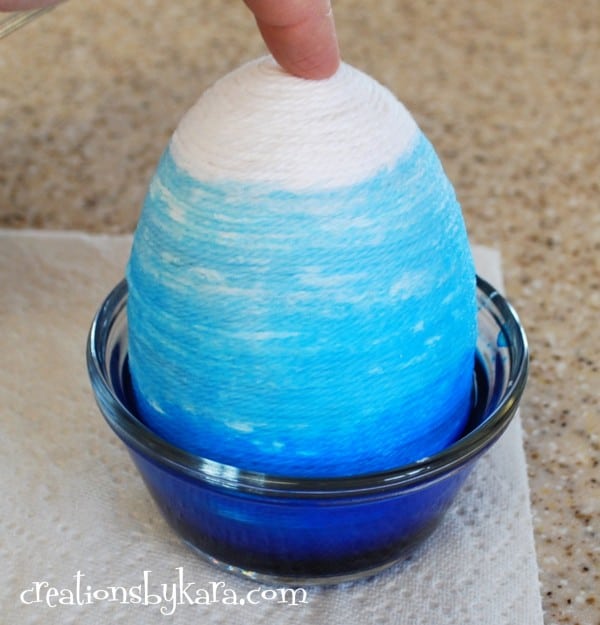
Now all you have to do is let them dry. Be patient, it actually takes a while. I let mine sit overnight, and voila!
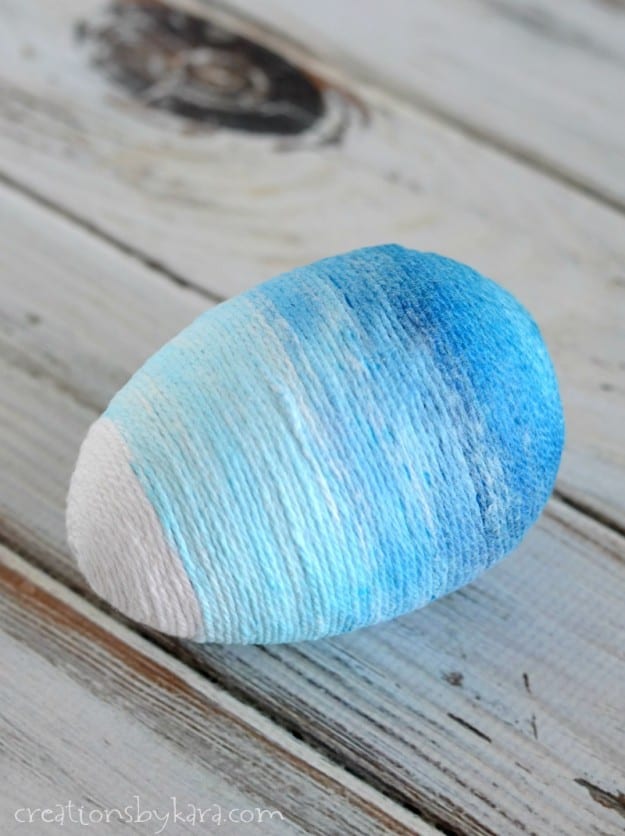
They add such a pretty pop of color, don’t they?
Here are a few more of my favorite Easter decor projects:
Yarn Wrapped Easter Candles
Book Page Easter Egg Banner
Fabric Carrots



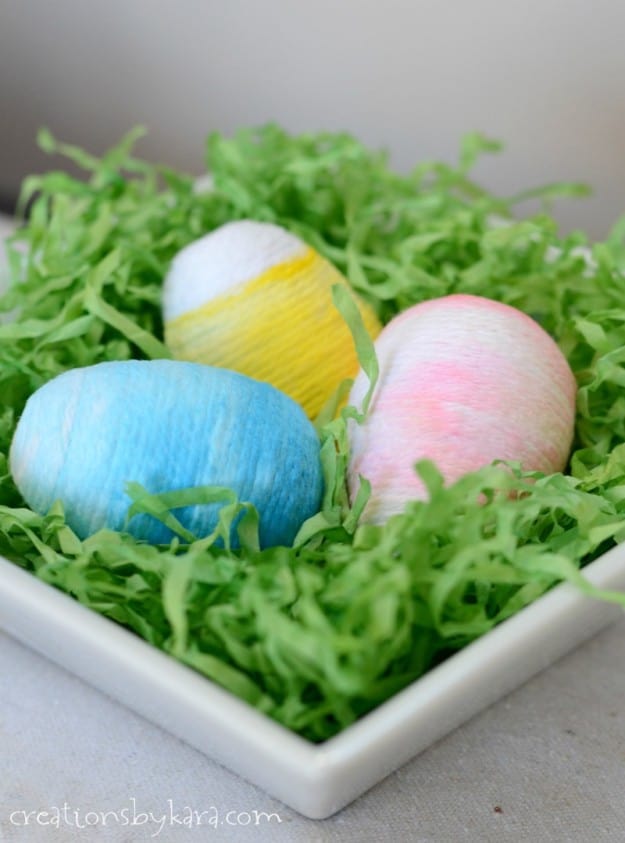
The eggs look so great! I’ll definitely show me to my daughter, she’ll love them, too and will want to make some 🙂
Thanks for sharing!
Well I hope both of you have fun crafting together!!
Oh these are SO cute! 🙂
I’d love for you to share them at my Link Up this week! 🙂
Thanks so much for the invite Jess! I linked up. 🙂