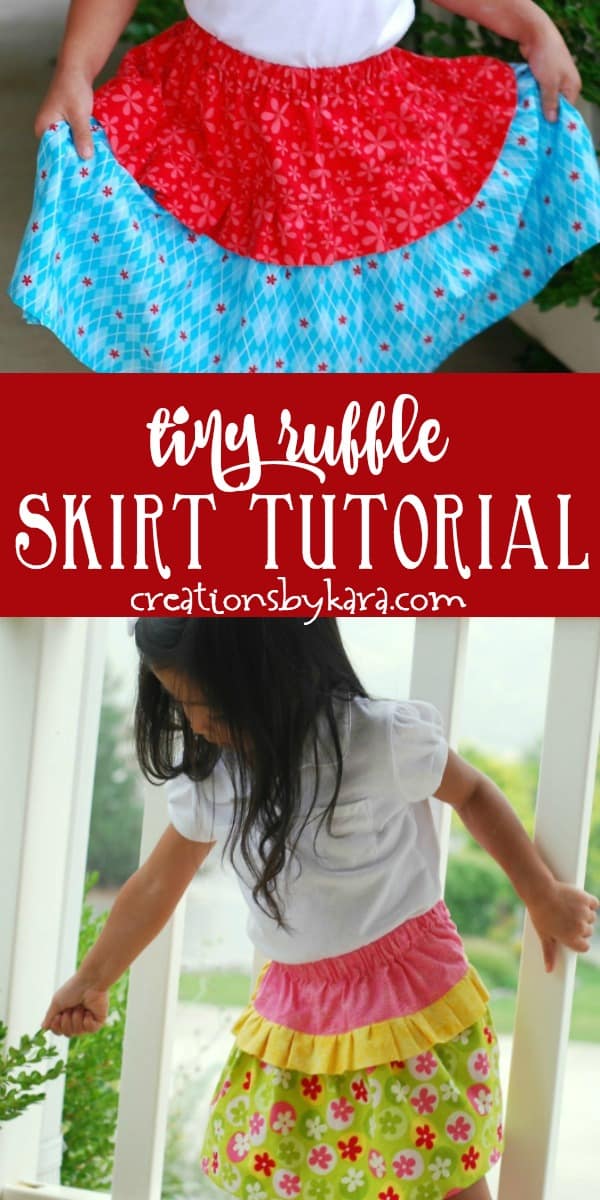
Tiny Ruffle Skirt Tutorial – a tiny ruffle in the middle of this skirt makes it so cute! It’s easy to make with this step by step tutorial!
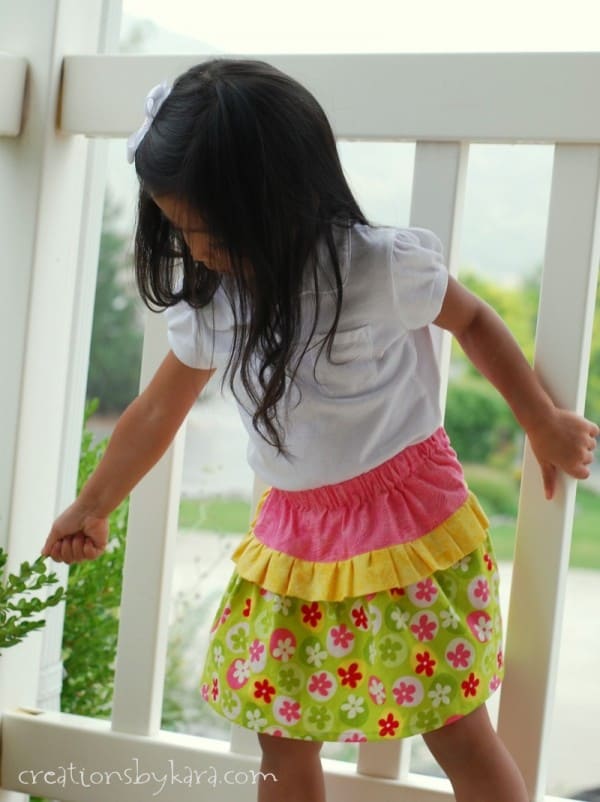
Thankfully, despite the influence of four older brothers, Rachel still likes to dress like a girly girl. So ruffles are a must! I love sewing skirts because not only are they stinking cute, they are easy to sew. I came up with a pattern for this tiny ruffle skirt after seeing something similar in a nearby shop. It was so easy that I actually whipped up two of them, and you can see the other skirt at the bottom of the post. She loves both of them!
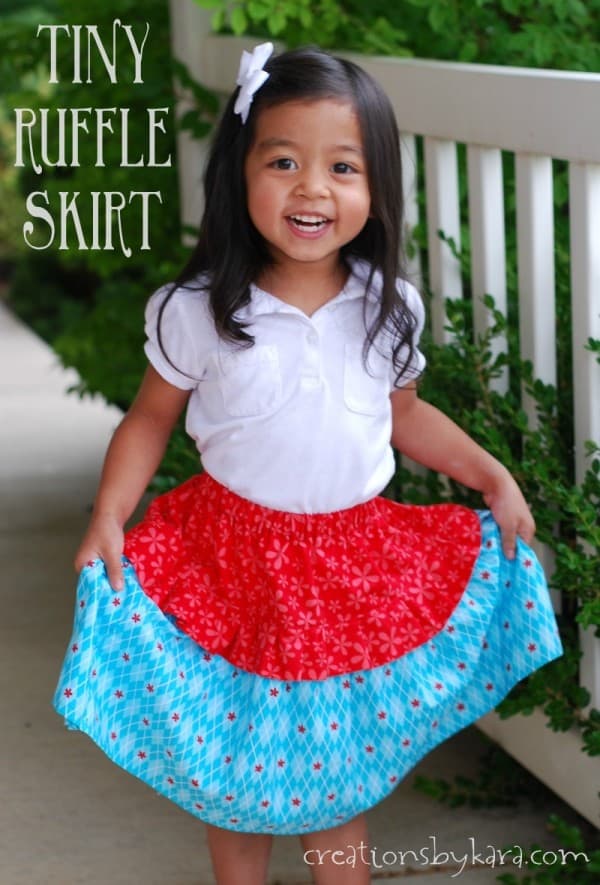
Disclaimer: This skirt fits Rachel, and she is three. I have included additional sizes, but I had to guesstimate based on measurements I found on other patterns I have. Feel free to adjust the length and waistband to fit the lucky girl who will be wearing one of your handmade skirts!
Tiny Ruffle Skirt Tutorial
Supplies for a size 3-4 skirt
-1/3 yard of fabric for top of skirt
-3/4 yard for bottom of skirt
-1/3 yard of fabric for ruffle
-3/4″ wide elastic
-thread, scissors, pins, needles, crochet thread, safety pin, iron
Instructions:
Prewash, dry, and iron your fabric, then cut out all the pieces.
*For size 3-4:
Skirt top: 5” x 32″
Skirt bottom: 2 pieces 8” x 27″ each
Ruffle: 2 pieces 4” x 27″ each
16″ long piece of 3/4″ wide elastic for waistband
(for more sizes, scroll to the bottom of the post)
*If you would like a shorter or longer skirt, you can adjust the length as desired by changing the numbers in italics.
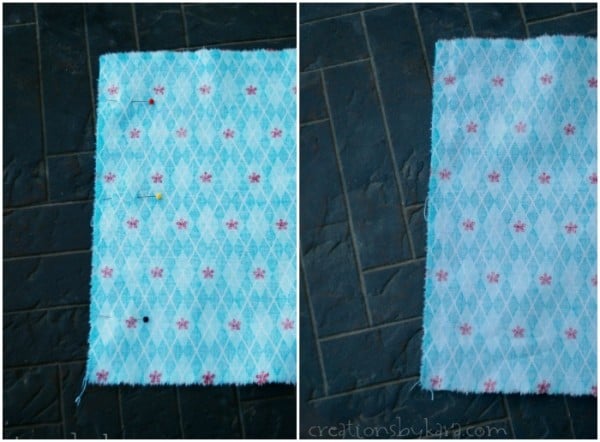
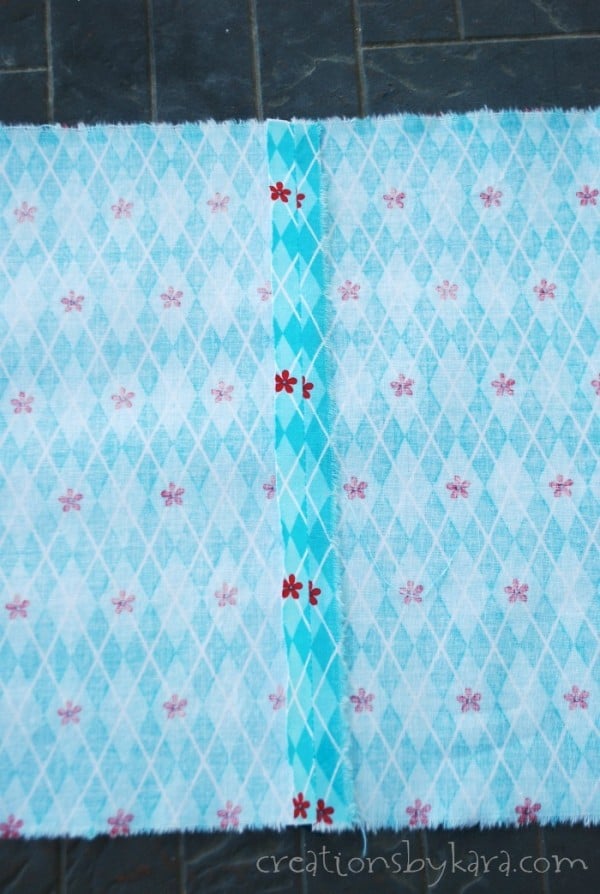
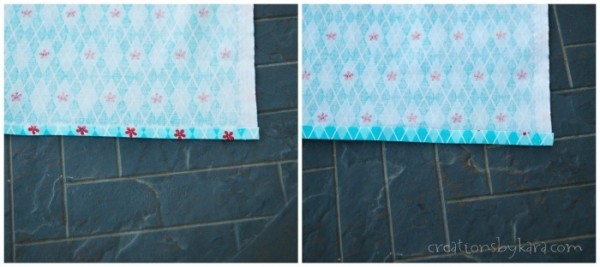
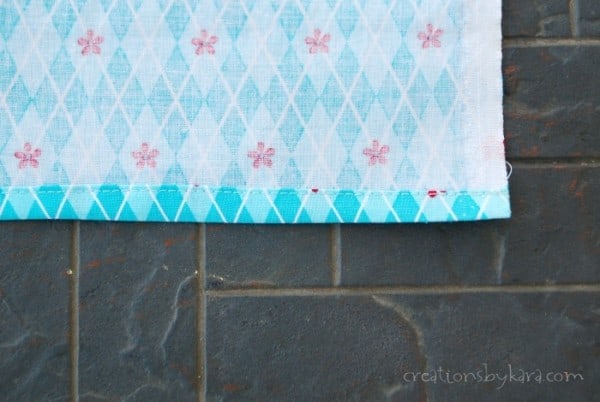
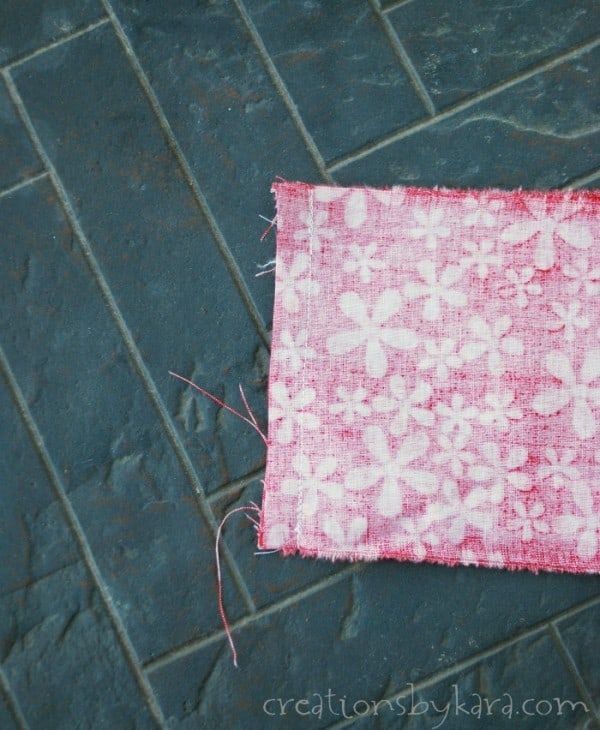
Place the two skirt bottom pieces right sides together. Pin down one of the short edges and sew together with a 1/2″ seam.
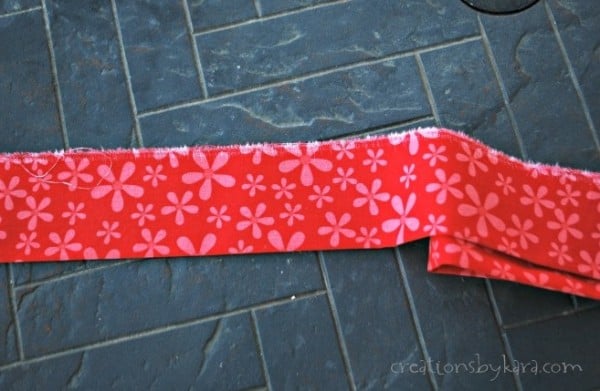
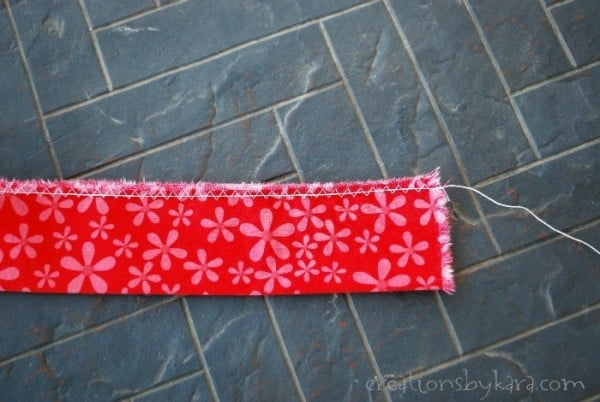
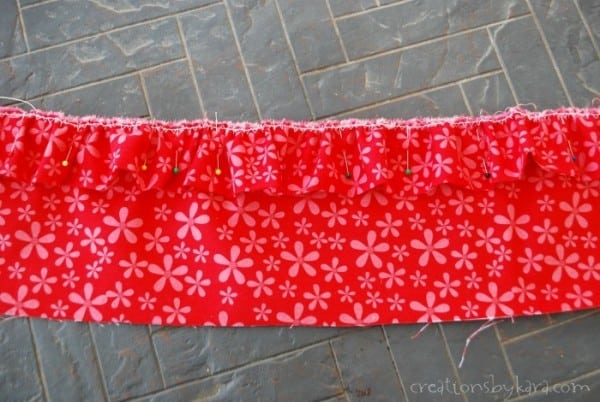
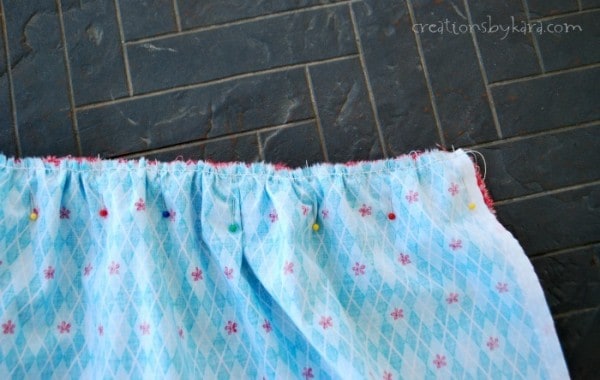
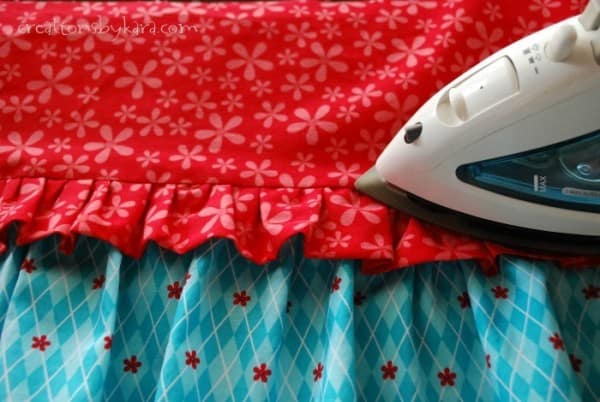
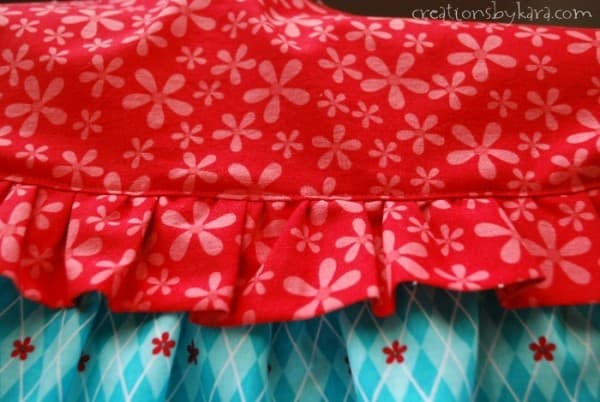
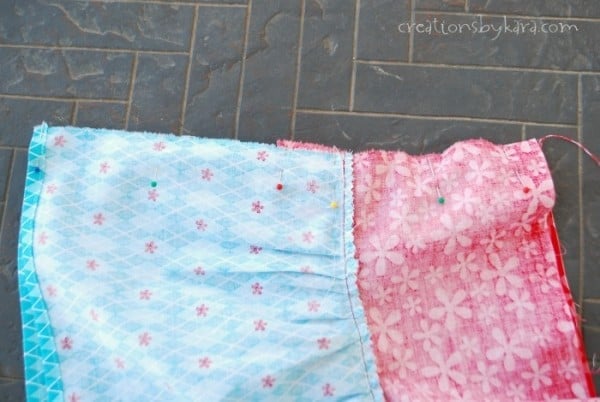
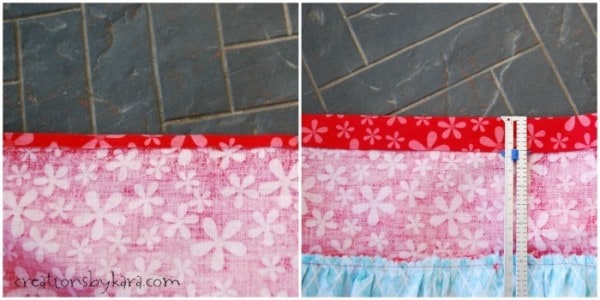
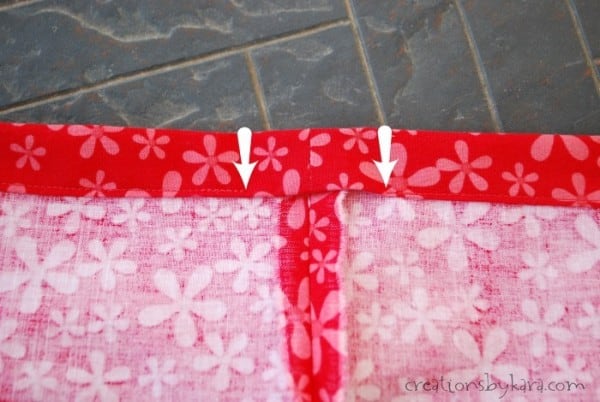
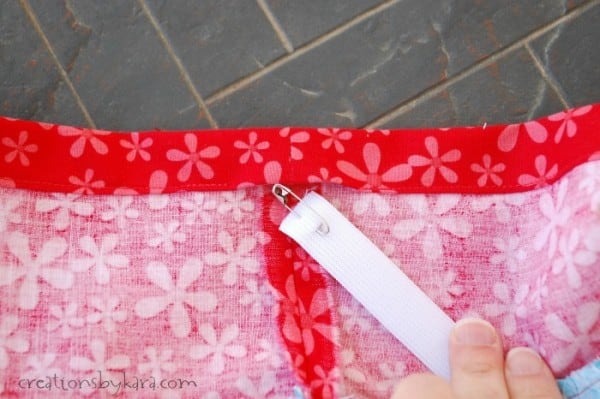
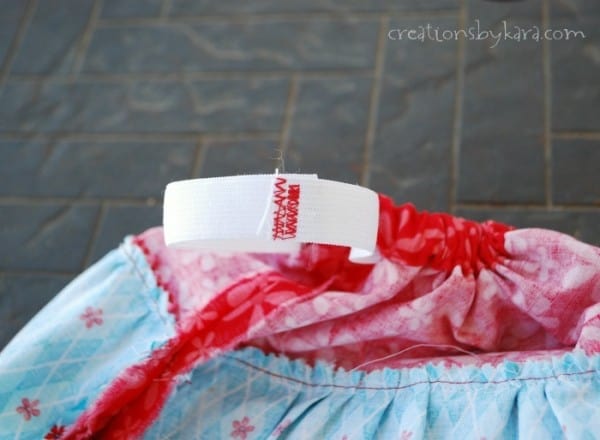
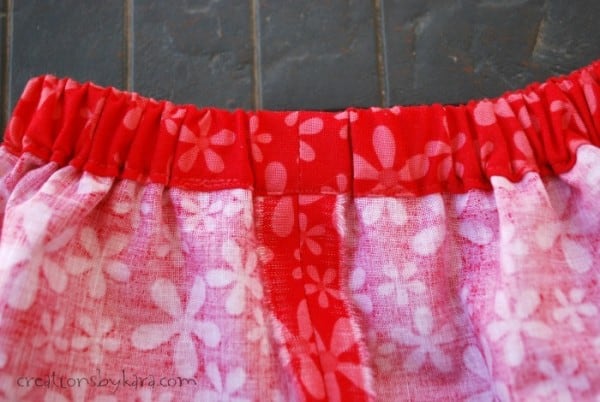
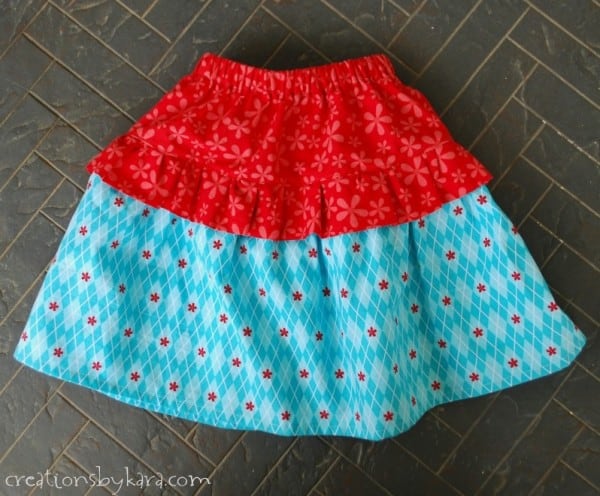
For a different look, I decided to make a skirt with the tiny ruffle in a different color. I actually think I like it better. 🙂
Additional sizes:
-Remember that these sizes are just guidelines that I wrote up for you, I haven’t made skirts in these sizes yet! It’s best to sew the skirt to fit the girl, and adjust the length and waistband to fit. Also, you may need to buy more fabric for the larger sizes.
Size 5-6
Skirt top: 6 ” x 34″
Skirt bottom: 2 pieces 12″ x 29″ each
Ruffle: 2 pieces 4 1/2” x 29″ each
17″ long piece of 3/4″ wide elastic for waistband
Size 6-7
Skirt top: 7” x 34″
Skirt bottom: 2 pieces 14” x 30″ each
Ruffle: 2 pieces 4 1/2 x 30″ each
18 1/2″ long piece of 3/4″ wide elastic for waistband
Size 8-9
Skirt top: 7″ x 35″
Skirt bottom: 2 pieces 16″ x 31″
Ruffle: 2 pieces 4 1/2″ x 31″
20″ long piece of 3/4″ wide elastic for waistband


Kara, what a sweet little skirt! My daughter is the recipient of most of my sewing attempts, and with your clear tutorial I think I’ve found her newest skirt! I even have everything on hand already because I’ve become a bit of a fabric junkie. 🙂
PS – Found you at SNAP’s Show and Tell. I’m your newest follower.
Hi Sarah! I’m always happy to “meet” a new online friend. 🙂
Good luck with the skirt, and if you have any questions along the way, feel free to ask.
So CUTE! I am SO not a great sewer but I think I might be able to try this one! Thanks for sharing 🙂
Thanks Kasey! I think that skirts are a great project for beginner sewers, so you should definitely try it! If you get stuck at any point, just let me know and I’ll answer any questions. 🙂
Thank you for sharing another cute project at The Creative Exchange. I am featuring this project as well! xo, Laura
Those skirts are adorable!! I need to make some for my daughter. Thanks for sharing!!
Thanks Lindsay! They really are fun to make. 🙂