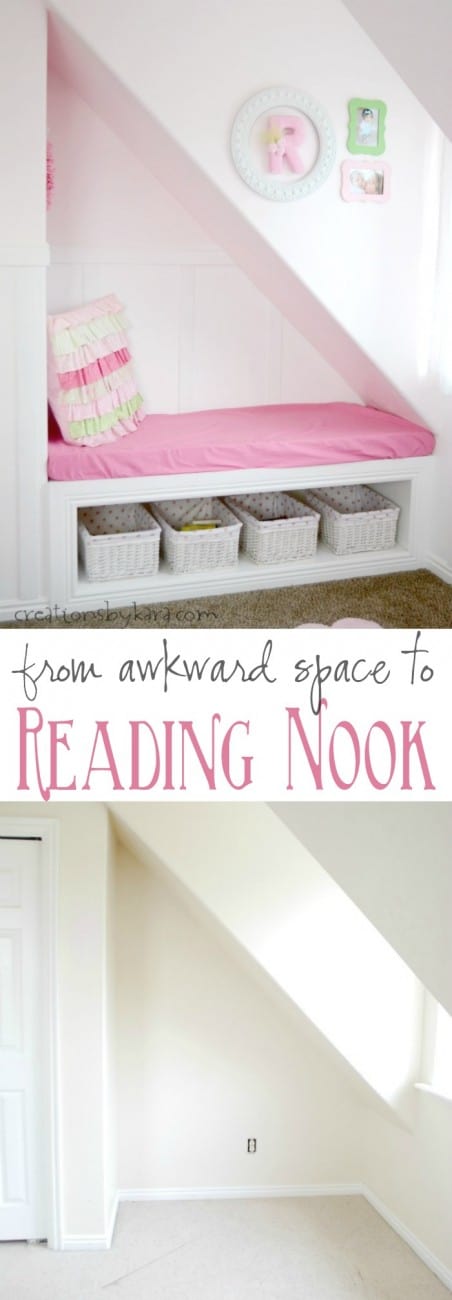
Change an awkward corner into a fun space with this DIY reading nook tutorial. It’s a fun and rewarding project!
I’ve got a lot of projects I’m planning on sharing this year, and today I’m excited to share the very first project of 2016! It’s little sneak peek at Rachel’s bedroom makeover.
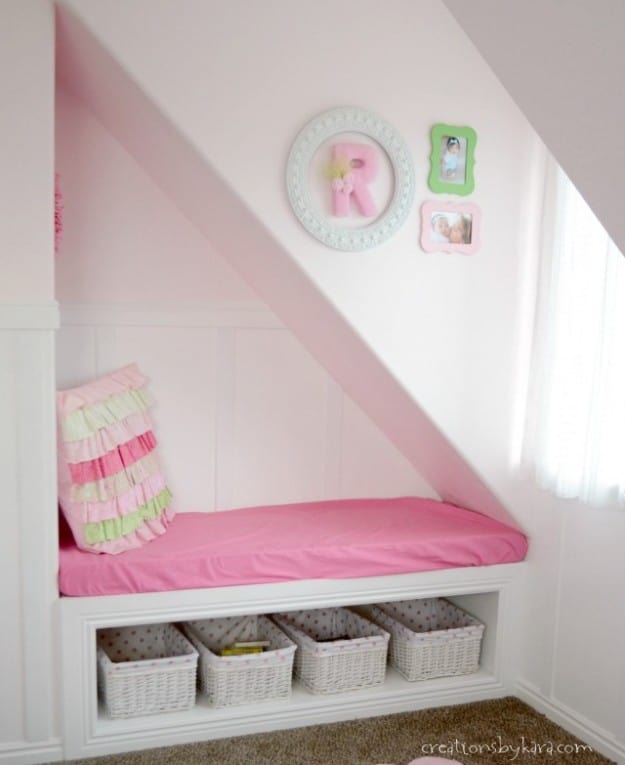
The reading nook. Which happens to be one of my favorite spaces in the room. She’s not quite old enough to love independent reading yet, but I’m sure in a few years we’ll find her curled up with a good book in this cute little space.Her room was previously the playroom, and it had this little awkward space that I never knew what to do with. Then my friend Brittany shared a closet turned reading nook, and I finally knew how I could make this space fabulous!
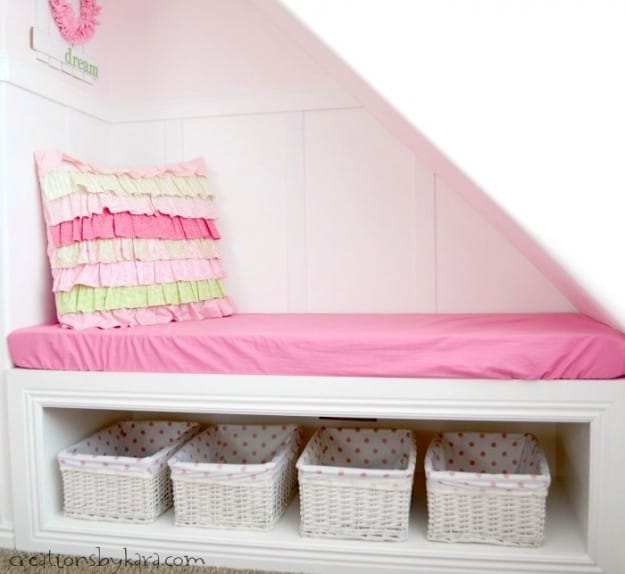
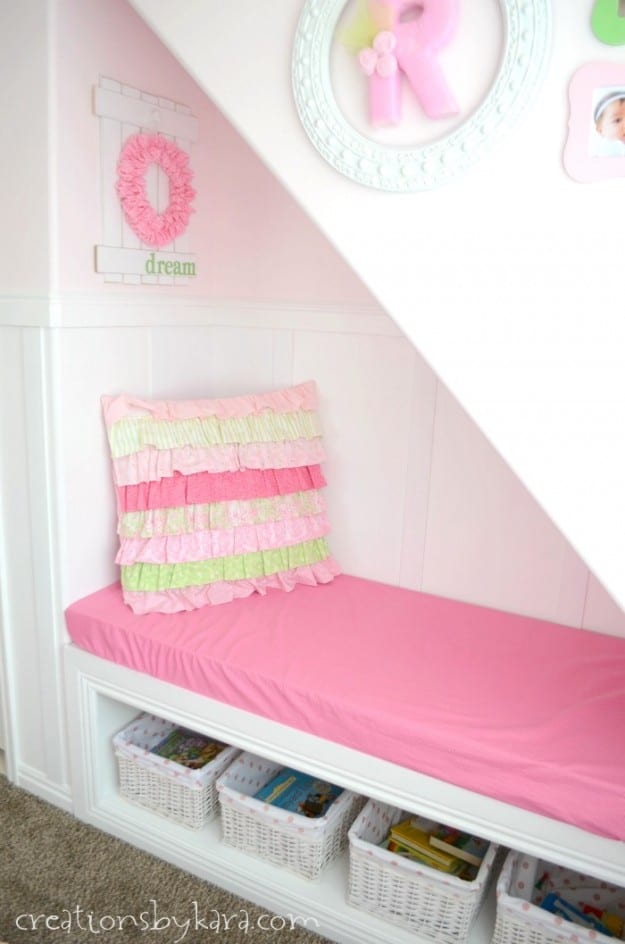
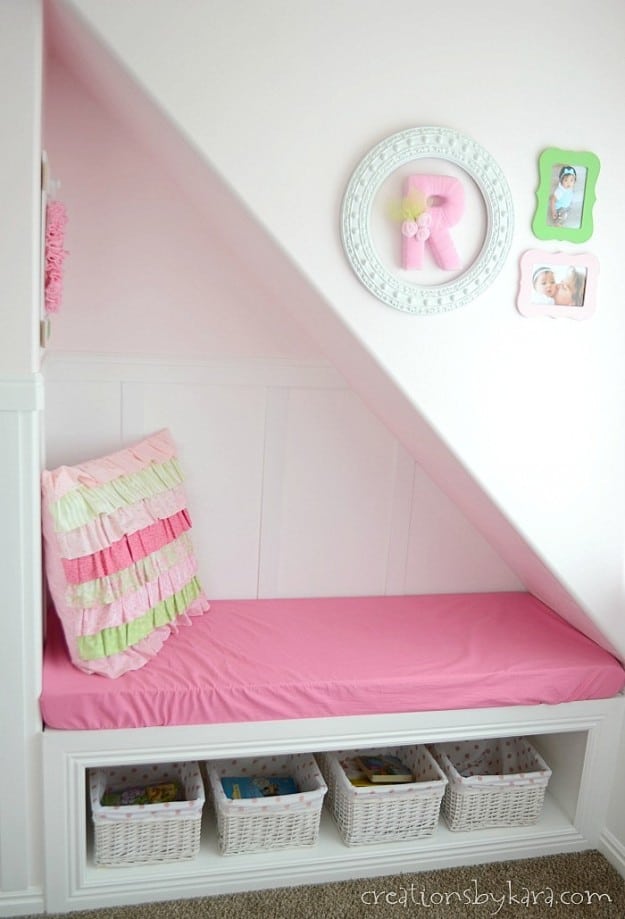
I loved the idea of adding storage, so we lined the bottom with MDF boards that I painted white. We found the white lined baskets at Hobby Lobby, and four of them fit in the space just perfectly.
As you can see, Rachel has filled up the boxes with some of her favorite books. 🙂
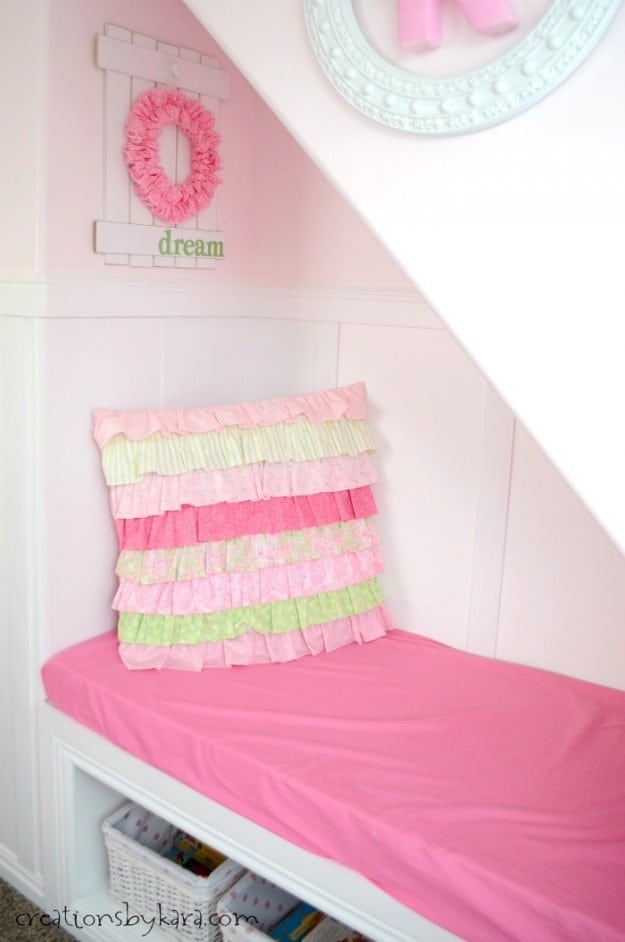
I wanted the space to be nice and cozy, but I also wanted it to be easy to keep clean. I simply cut down a piece of foam, then sewed a fitted sheet to cover it. It is easily to remove and toss in the washer when it needs cleaning.
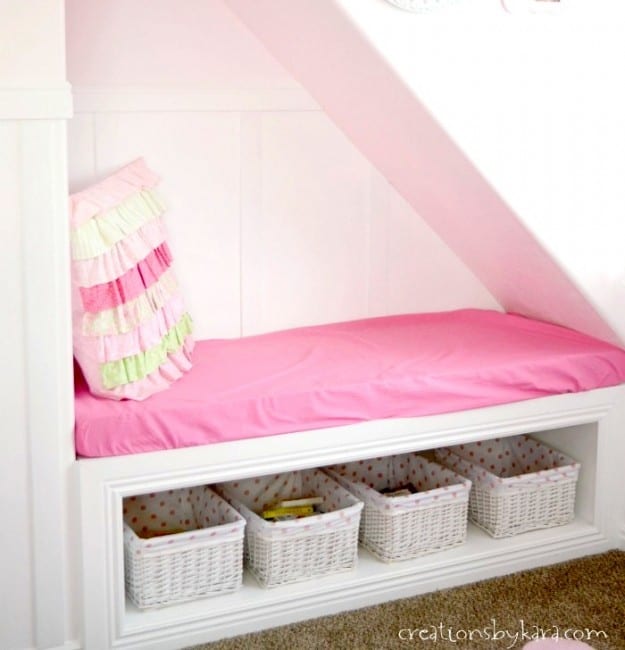
I am so happy with how this space turned out, and I know Rachel will love it for years to come. I may even sneak in there in a couple years when she’s in school and do my own reading. 🙂
I’m not going to share a full tutorial, you can check out Brittany’s post for that. I’ll just share some of the tricks and tips we learned along the way.
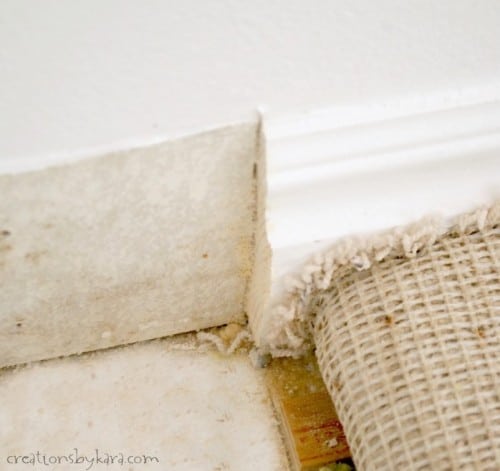
First up, since we weren’t going to be replacing the baseboard in the room, we just had to remove it in this space. We used a Dremel Multi-Max to make a perfect cut down the baseboard right where we needed it to end.
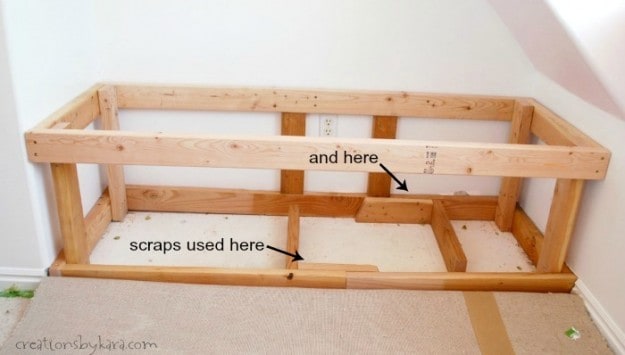
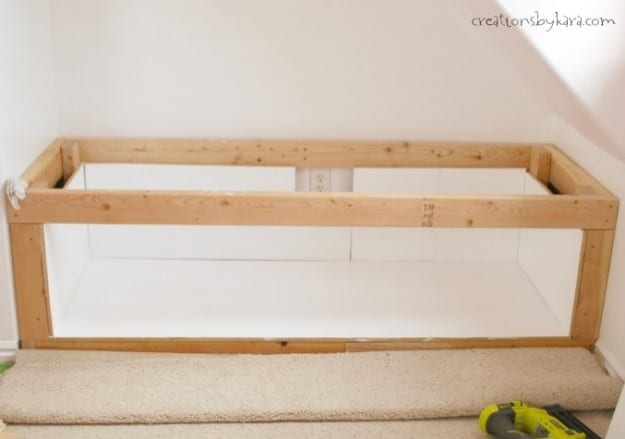
And look, once we added the inside boards, you can’t even tell that we used scraps!
MORE DIY PROJECTS:
- Restoring Metal Patio Furniture
- Corner Bench
- Sherwin Williams Repose Gray (the best gray paint color!)
- Bench with Cubbies
- Tips for Staining Wood
- How to Make a Pallet Sign
- Rustic Wood Shutters
- Installing Molding
- Girls Reading Nook

Such a lovely idea! I find such weird places very nice for creating reading nooks! You are so right to think about ways to keep it clean! I often forget about this such an important issue. I think that you turned this place into a wonderful and special place for your daughter! Well done! Thank you for sharing!
It looks lovely!!! I love reading nooks. Great idea with the baskets, my kids really struggle with lining up their books!
Adorable!!!! I love it 🙂
Thanks Stacy!
Kara, it looks amazing! What a great way to use that awkward space. I’m sure she loves her new reading nook.
Thanks Brittany! And thanks for inspiring me to tackle this space!