When we first moved into our home years ago, I was afraid to hang pictures on the wall. I wasn’t sure how to arrange them, what height I should hang them, how many I should use to fill a space, etc… We had bare walls for a couple of years in some of our rooms. So boring!! Then I had an interior decorator friend come over and give me some tips. They were life changing for me people! I’ve taken baby steps, but I have finally reached a point where I am not afraid to decorate my own house.
Her #1 tip: Don’t worry about what the “experts” say. If you love a color, a piece of furniture or artwork, or a particular style, use it. Even if it isn’t the current trend. Go for it! It’s your home and you are the one who needs to love it and feel comfortable in it. So simple but so true.
She also taught me how to hang pictures on the walls without messing up a dozen times and leaving a bunch of nail holes. I’ve been using this picture hanging method ever since, and I love it!
Hanging Pictures on the Wall
(Without Leaving a Bunch of Nail Holes)
The first thing you need to do is trace all of the items you want to hang. I’ve traced pictures, shelves, sconces, and even the rough outline of flower arrangements that I would be putting on shelves.
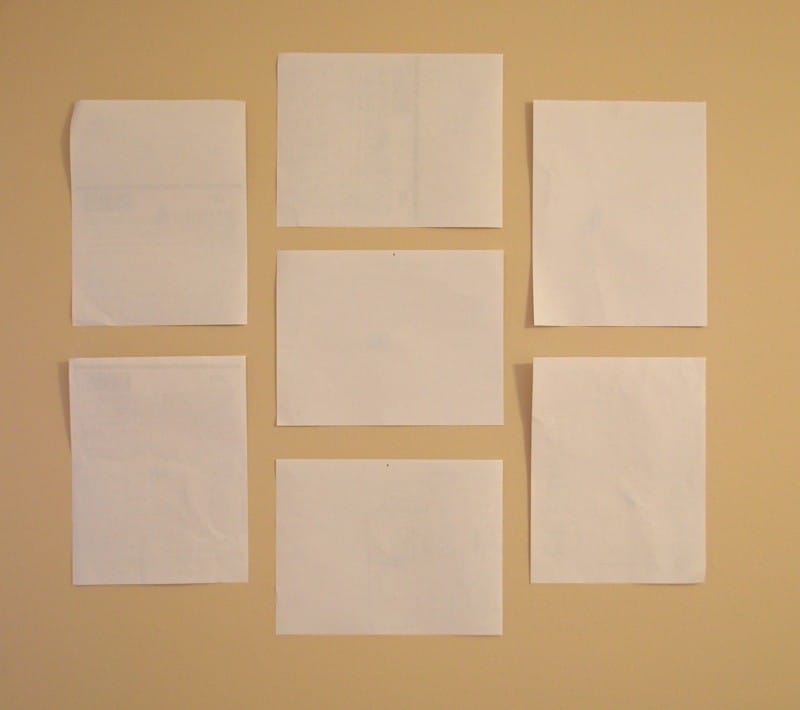
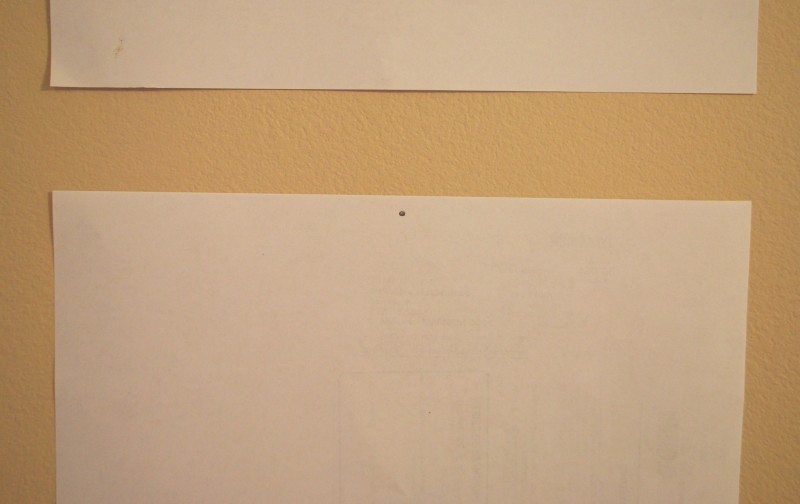
This time I was hanging a grouping of 7 photos. All of them were 8×10 size, so I cut 7 pieces of scrap paper all the same size. Then I put small pieces of tape on the back and started trying different arrangements. I ended up with this one:
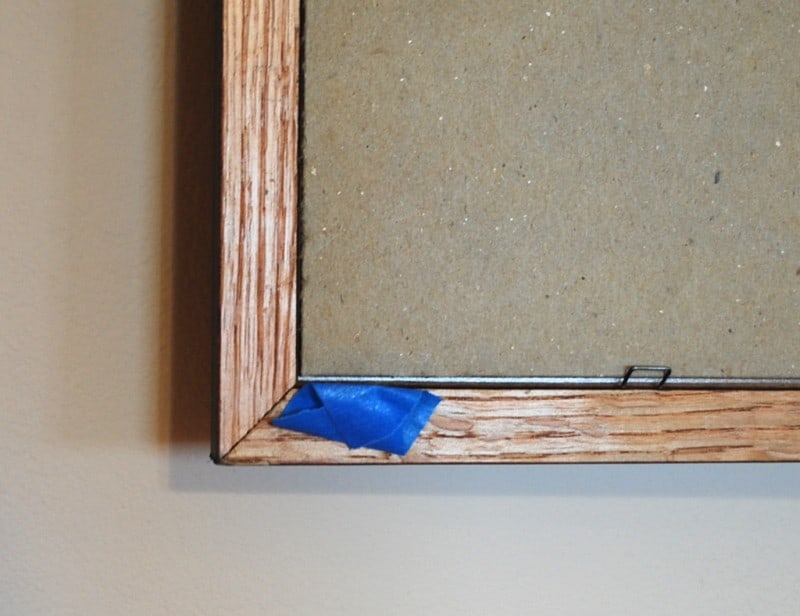
Take a piece of painter’s tape and place it on the back of each frame. Usually one piece in a corner works fine, but sometimes I have to use it on two corners.
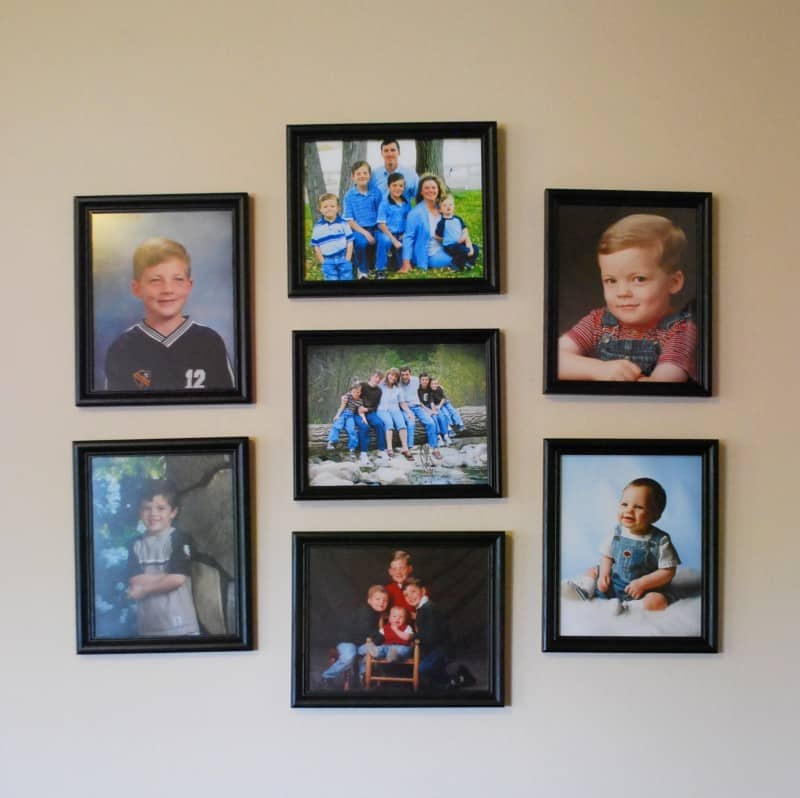
Doesn’t this look much better?
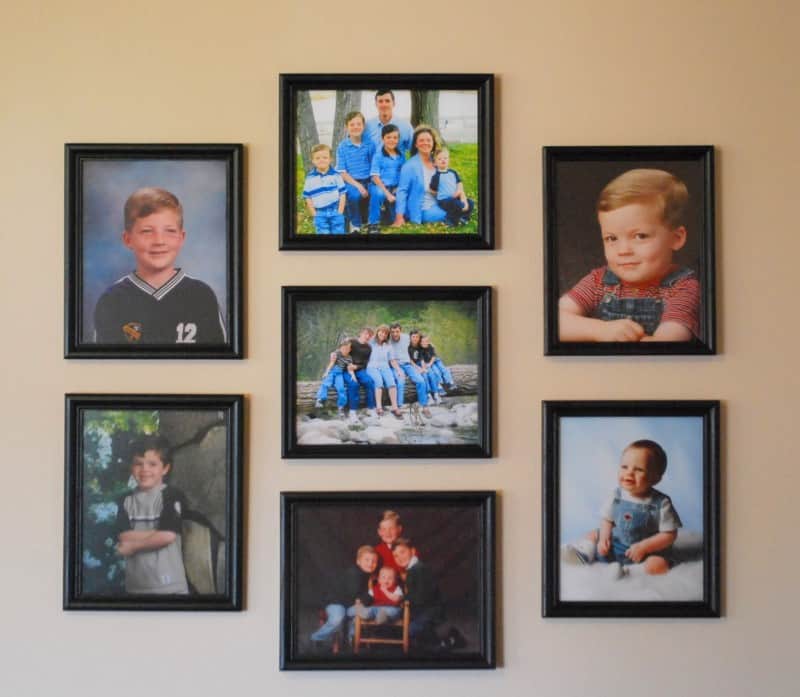
Now go, hang, decorate. Don’t be afraid!!

Kara
You are so smart. This not only let me visualize and tweak the arrangement on the wall but pre-marking the nail hole made a easy to hang them. I will never do it any other way. And the painters tape idea – perfect.
Thank you !!
Dave
Thanks so much Dave! I’m always happy to hear that my tips are actually being used! 🙂
Great idea! I’m still not sure at what height to hang the first picture. When hanging one, the bottom of the frame is to be around 60” from the floor. If you start a grouping at that point it will be much too high.
When I’m doing a grouping, I usually start low so that the middle of the grouping will be just above eye level. But really, you can just do what looks good to you!
Thanks for the most important advice
” it’s my home and it doesn’t matter what the experts say”
So I will go ahead and hang pics and frames 😉
Yes, hang them! Once I started following that advice, my house actually started to feel like my home. 🙂
There’s actually an App for that!!
We used a cool app recently for the iphone and ipad called “Hand-a-Pic”. Made it super easy to hang a series of pictures across the wall without having to figure out where the nails go to make things even. We used it a couple of times already, once for hanging pictures and the more recently to hang 4 plates on the wall. Walks you through through the steps and tells you exactly where every nail goes for evenly spaced pictures across the wall. Worked perfect and made it really easy! The app did all the calculating for us!
I’ll have to check out the App, thanks for the tip!
You are a life saver!!
So glad you found my picture hanging tip helpful! 🙂
Thanks for the great tip!
It’s perfectly arranged and it sure does look lively with all the picture hangers. It brings so much joy to see family portraits.
Hanging a group of pictures is not an easy task, you’ve created a beautiful display. Congrats Kara! Next time you’re hanging pictures, try this nifty tool called Hang & Level. It marks exactly where to hammer the nail or hook, it takes all the guesswork and stress out of hanging pictures. Love the tape idea to keep frames straight.
This is a wonderful way to tackle hanging pictures. I love having pictures of my loved ones all over the place, but it’s been so difficult getting them evenly placed – this tutorial will help me sooo much! The other tip, putting tape on a back corner is also genius! I’m constantly having to straighten pictures hanging on the wall next to the front door. This will eliminate that problem! Thanks so much!
Great tip! My walls thank you 🙂
What an awesome idea. I’m totally going to have to do this because there is almost nothing on our walls in our bedroom for this reason! I noticed the back of your frame is wood, but they are black…. let me guess — spray paint? I really need to do this because I have so many frames that don’t match each other. That’s another reason I don’t hang stuff up. Drives me crazy. Thank you for all your great ideas.
I was wondering if anyone would notice. LOL! Yes, I spray painted all of them so they would match. Gotta love that spray paint!
Wow Great way to hang pics, my husband & I fight EVERY we hang pictures. This is such a great idea.
Thanks
Hopefully this will make for a little less arguing! LOL!
Love the tip. I am so bad at this. My biggest problem is getting started. I have an idea, but then it sucks to go out and buy 10-15 frames at one time! Ugh.
I try to pick them up a thrift stores and yard sales whenever I see them. Then when I have all I need, I spray paint them so they all match. So much cheaper!!
I LOVE the painter’s tape idea! I have a few stubborn frames that still swing around so I’ll definitely be trying that tip. I did a photo collage in my hallway a couple of weeks ago doing the same tracing-on-paper method, and here’s the end result: /prettyladydesigns.blogspot.com/2011/03/picture-collage.html
I’m still terrible at hanging pictures, but now I just make fewer mistakes. :o) Thanks for the post!
Love the tip! Thank you! I need to decorate our walls in our house. When we lived in Carolina I had the entire house decorated and just beautiful, but we moved back to VA and have moved and moved and moved. We are now living in a old farm house and ugh… i just havn’t decorated at all.