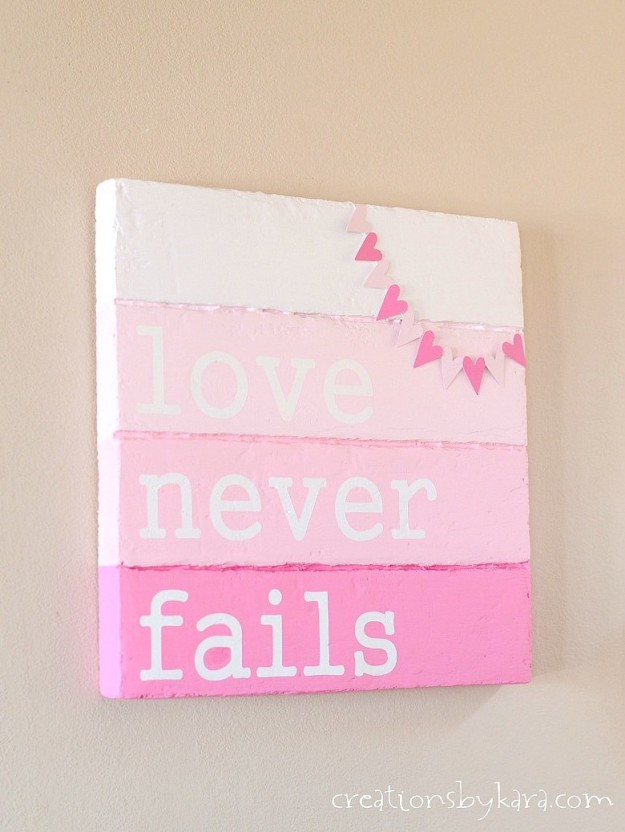
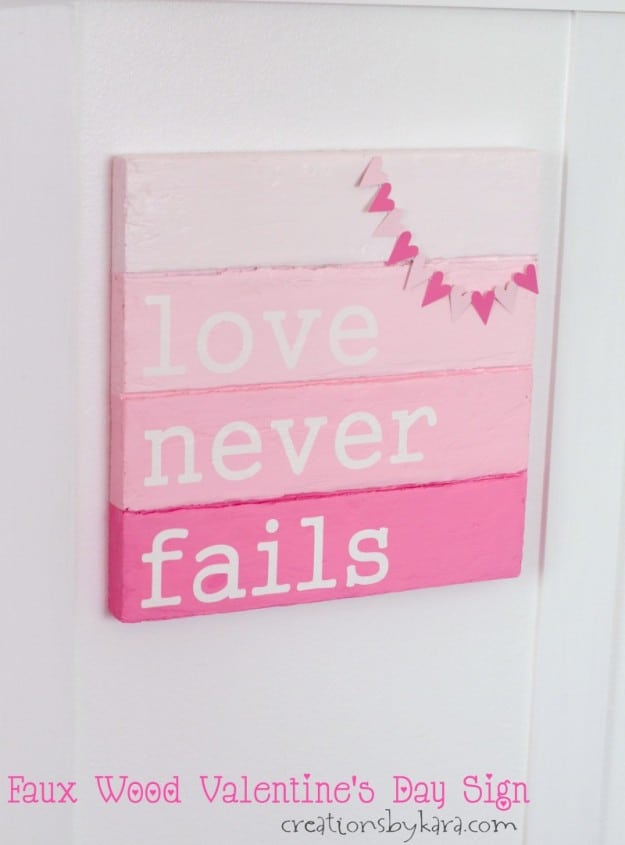
Faux Pallet Valentine’s Day Sign . . . you don’t need a pallet to make this fun Valentine’s Day decor. It’s made of foam!
I love the look of pallet wood signs, but I have never been able to actually find a free pallet to use. Anywhere. My Valentine’s Day decor is lacking, and I really wanted to make something to display. Thanks to FloraCraft®, I was able to make a faux pallet Valentine’s Day sign. And I didn’t even have to rip any boards apart!!
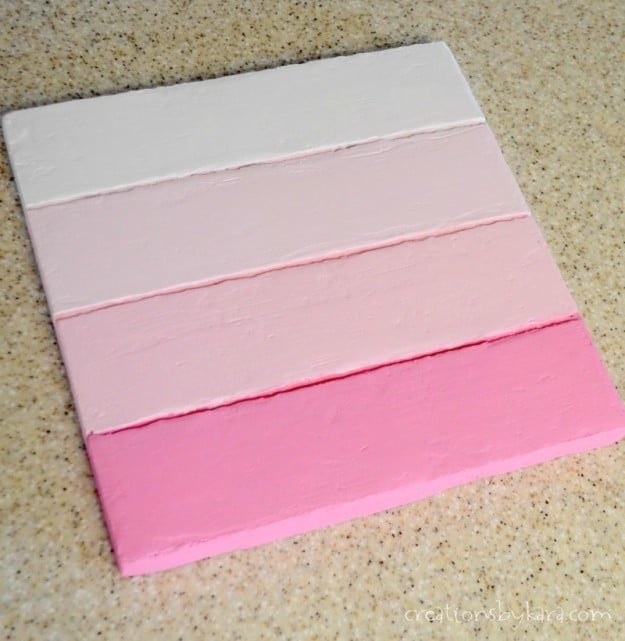
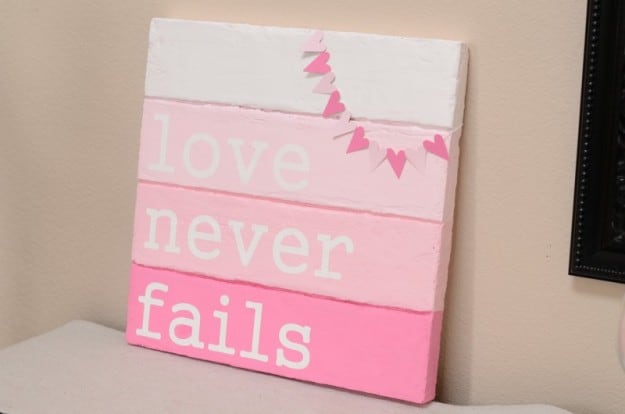
In years past, most of my Valentine’s Day decor has been red and white. This year I decided to throw a little pink into the mix. I’ve never painted anything ombre before, but I think it is such a fun look. I had plenty of pink paint leftover from Rachel’s room, and I knew it would be just perfect for this project.
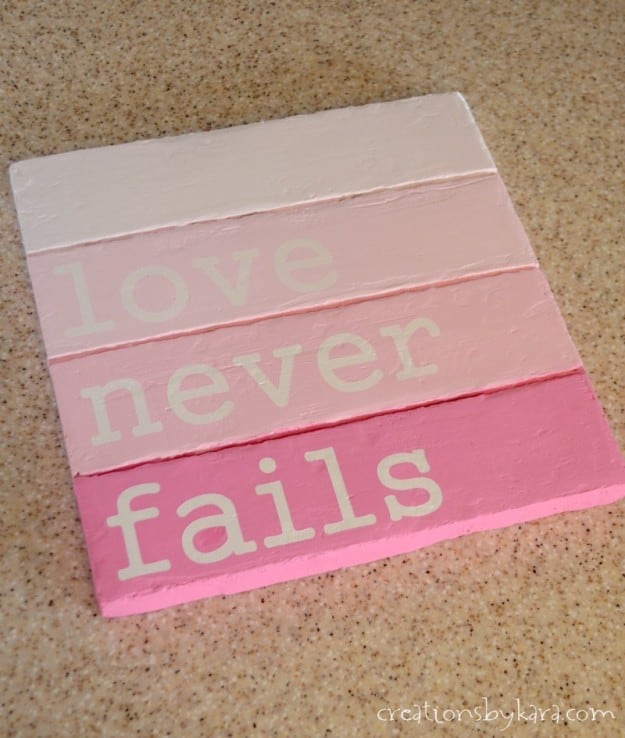
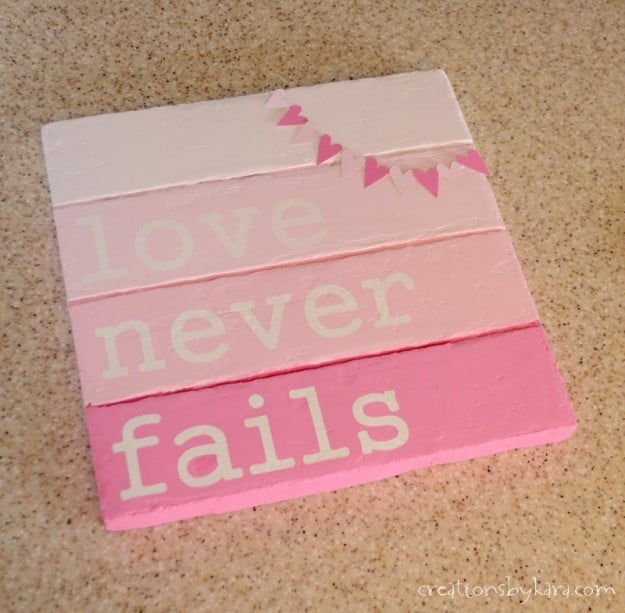
I really love how it turned out! I had a dickens of a time getting a great photo, it is actually much prettier in real life. Love it!
One bonus of working with foam sheets is that they are sooo lightweight. I was able to just glue a piece of string on the back, and the sign hangs easily from a tiny nail. Couldn’t be easier!
DIY Faux Pallet Valentine’s Day Sign
Supplies:
-One 1″ x 12″ x 36″ FloraCraft® Make It: Fun® Foam Sheet
–FloraCraft® Styro Cutter (or a knife)
-80z jar of Smooth Finish
–Sandpaper
-Paint and paint brushes
-Stencil or chipboard letters
-Paintchips or scraps of paper
-String
-Hot Glue and Glue Gun
-Tape
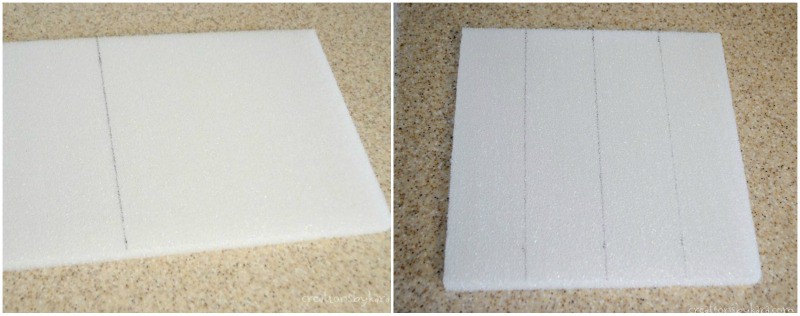
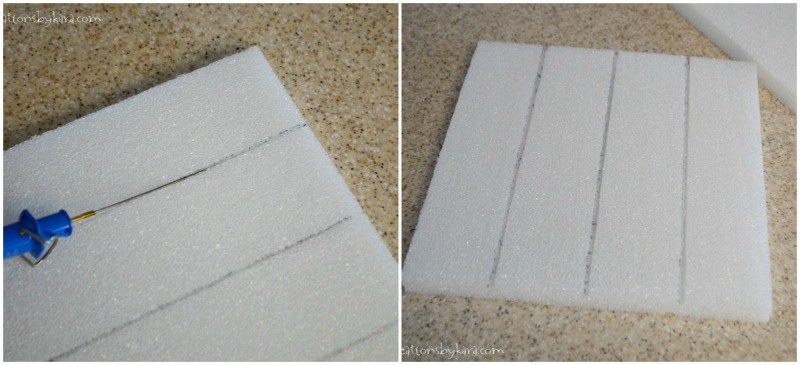
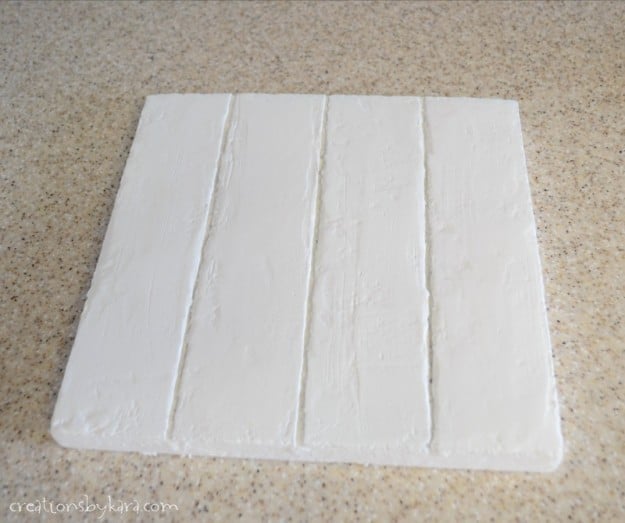
-Measure your piece of styrofoam to the size you want. I wanted mine square, so I cut it down to 12×12″. I used the StyroCutter® Plus, which is amazing for cutting styrofoam. It melts through it just like magic, and it is so fun to use! But if you don’t have one, you can use a knife. After I cut my square out, I marked three lines 3″ apart to make four sections.
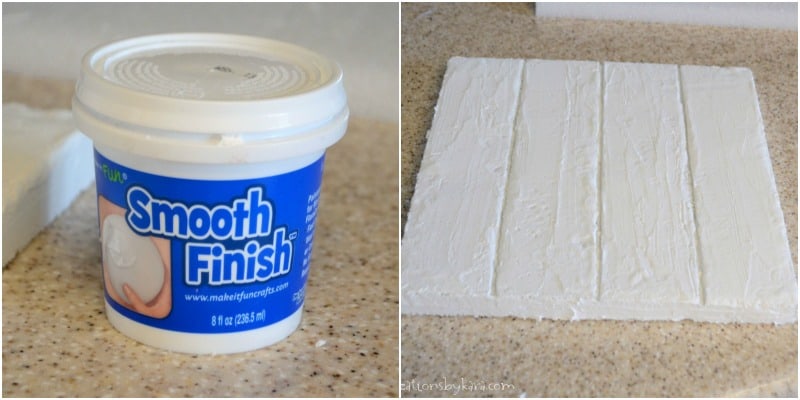
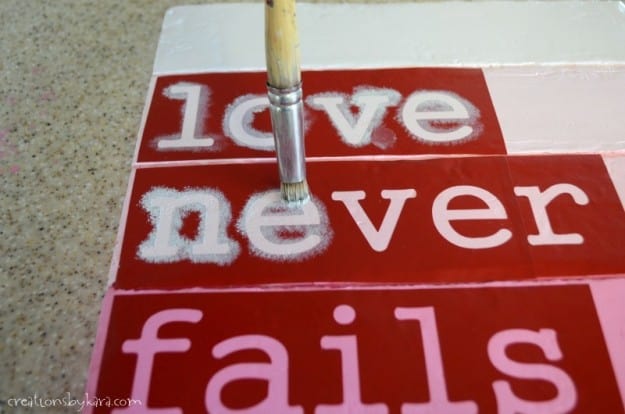
Now it’s time to paint! I already had pink paint from my daughter’s bedroom makeover, so I just added white to it to get the various shades.
You can find more foam craft project inspiration over at the Make It: Fun site. Some of my favorite bloggers have even shared projects there. 🙂
Disclaimer: I was given supplies from FloraCraft® and compensated for this post. The project idea and instructions are all mine.


How do you make the stencil?
I used my Silhouette machine to cut the vinyl. You can use a purchased stencil, or use chipboard letters instead if you prefer.
Oh my gosh, this all started with Styrofoam? This is totally cute and I need more valentine decor and could totally handle making this!
I know, it’s crazy right? I was a little worried it wouldn’t turn out, but I totally love it. You could definitely handle it!
I love this! It’s adorable! The pink ombre paint is such a pretty choice. Thank you!
Thanks so much Sharon! I’m already thinking of more ombre projects I can work on. It is such a fun look!