As promised, I am back with something fun. My cousin Tami is having a baby girl next week. Lucky girl. I’ve been meaning to get down to her house to show her how to make some fabric flowers for her car seat tent. I’m still hoping to make it down for a craft day, but just in case, I thought I’d better have a back up. So Tami, this tutorial is for you. The rest of you can feel free to follow along though. 🙂
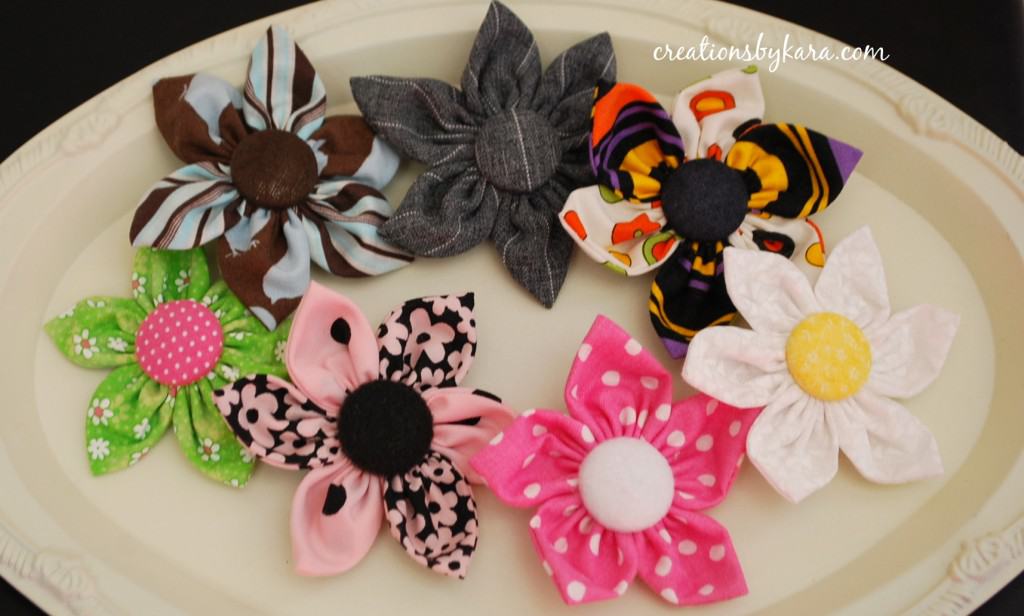
Be forewarned, making fabric flowers is pretty addicting. Once I started, I couldn’t stop. There are so many pretty fabrics out there that the possibilities are endless. And they can be used in so many ways. I’ve even framed them and hung them on my wall.
Fabric Flower Tutorial
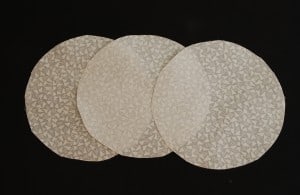
Step 1- Cut three circles out of fabric. You can use any type of fabric you like. For this demo, I used cotton. You can cut them any size you want. To make a flower about 3″ across, I cut my circles 4″.
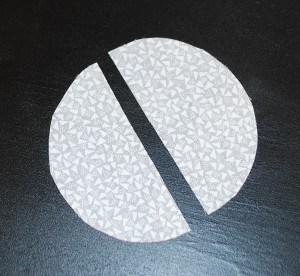
 Step 2: Cut each circle in half.
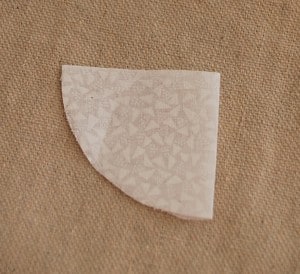
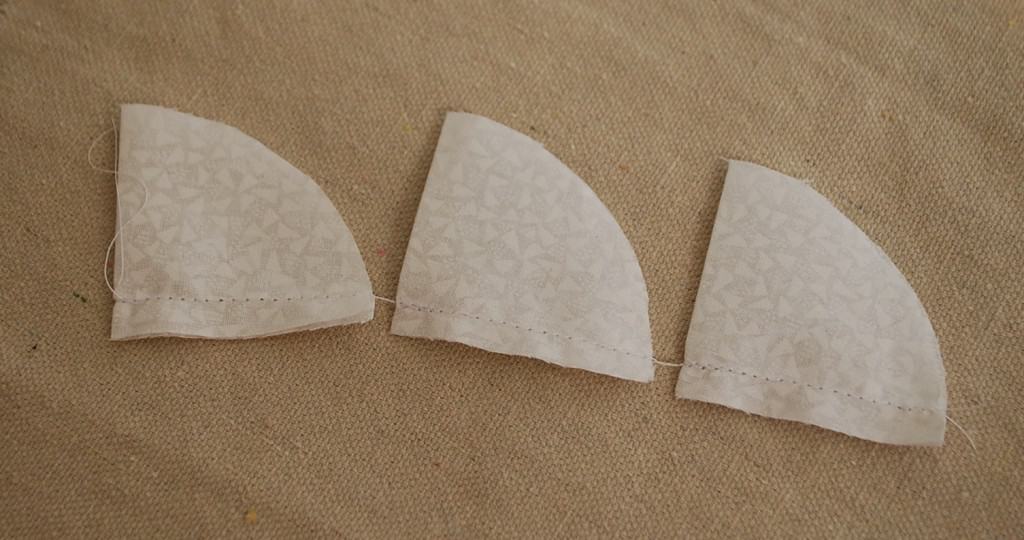
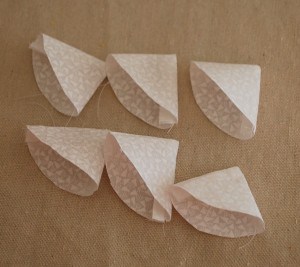
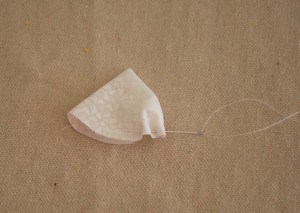
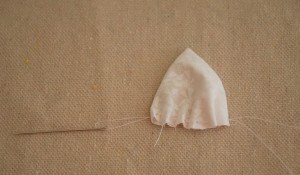
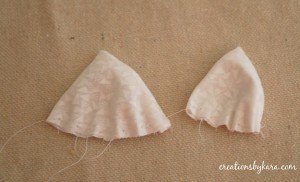
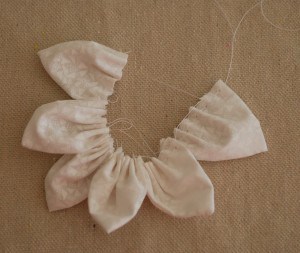
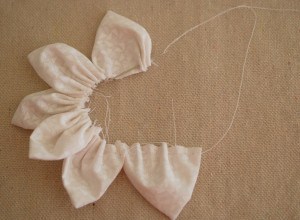
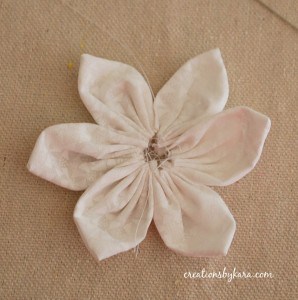
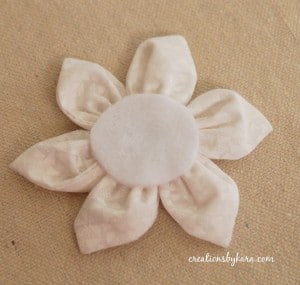
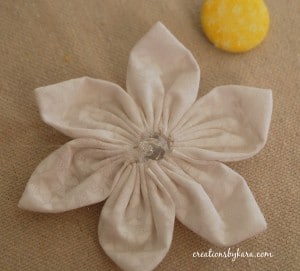
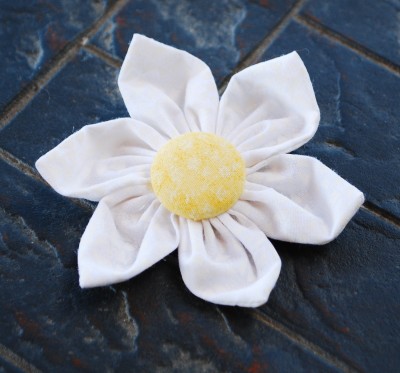
Step 11: Embellish the center of your flower. You can use a button, a rosette, or even a piece of felt. I like to use fabric covered buttons. You can find them at Walmart. Place a large dab of hot glue in the middle of the flower.
Then press your button on. Hold it for a few seconds till the glue hardens.
That’s it. Enjoy your cute flower!! You can attach a hair clip or pin to the back, or hot glue it to a bag or any other craft. What would you use it for?

Thank you very much for posting this tutorial! I just made my first flower to go with a dog collar I made for Easter. The instructions were very easy to follow and my final product turned out great!
This is very cute. Thanks for the Tutorial
Great tutorial, thank you. I made my first one for my eldest daughter’s school pinafore, because she was fed up with how boring they all looked. Then the little one wanted one too, so made another for a hairband, and some more just for fun, you’re right they are a bit addictive!!
Think I will use this flower when I make the towel holder for kitchen towels : ) : )
Oh, that will be really pretty Rhonda!
Thank you very much for your pattern. Merry Christmas. I´m going to do these flowers for a hat.
Made one of these today and it turned out great! So easy to make even for someone who can’t sew very good.. So it suited me well! 🙂 Thanks again. I will definitely be making more!
So glad to hear it Hannah! It just makes me happy to know that people are actually using my tutorials! 🙂
gracias por los moldes estoy aprendiendo
Love these! They look so easy, and can be so versatile! I would make them in school colors and sew a pony tail band on the back, or attach them to fabric covered headbands. I think even the older girls would wear them!
I was looking for something to embellish the throw pillows I am making for my granddaughter to use on her bed. Decided to do these flowers and use buttons for centers. I also thought I would use 2 different prints per flower that match her other pillows. Thanks for the tutorial. PS… I have spent the last 2 hours going through all your tutorials….such fun. I have just discovered your site tonight and look forward to more ideas. Thanks, Susan
Those remind me of these: curbly.com/diy-maven/posts/6206-make-japanese-kusudama-paper-flowers
super cute!
Las flore son muy bonitas, yo las hare.
Muy bonito el Tutorial y fácil de hacer.
This was a great tutorial. So easy to follow. I love that a non sew-er like me can make a great fabric flower.
Thanks Veronica! Glad to hear that you are going to try them! 🙂
Thanks for linking up to Topsy Turvy Tuesday’s! I always love what you make every week! I’ve got to give these a try!
Thank you for the tutorial. I have tried to make them before using the whole circle of material and I could never get the needle to go through all the fabric. I am so excited to make some cute fabric flowers.
LOVE THIS!! Thanks for linking up! I’m TOTALLY going to try this one of these days with a link to your tutorial! Thanks for sharing!
OMG, these are so cute and so easy to make. Thanks for showing us how. I think, I could get addicted to these, too.
Stopping by from Boardwalk Bragfest.
These look awesome. I could totally do this. Thanks for the tutorial, I’ve tucked it away in my ideas to try folder.
Nice tutorial! I have seen a one shown before but still wasn’t sure because it was hard to see with their fabric choices. Nicely done with the white.
I’ve had my eye’s on these for awhile…. Do you have your own button maker?
I have always wanted to know how to make these, this is the best tut. Thank you so much for sharing. The way you decorated with them on the wall is just beautiful. Great Job!
Shared on FB—great tut!