Did you all have a wonderful weekend? We did. And we even had to go Christmas shopping. With four boys. We were shopping for our Sub for Santa family. Even though my boys usually hate shopping, they look forward to this trip every year. I had fun too, because I got to shop for little girls, and a brand new baby. Can’t wait to deliver the gifts to the family!! If you’ve never tried hosting a family with the Sub for Santa program, I highly recommend it!!! It is such a rewarding experience. If you have any questions, I’d be happy to answer them. Just let me know. 🙂
Are you still looking for last minute Christmas decorating ideas? This Christmas craft is super simple and comes together in under an hour. I showed you these trees last week when I shared my entry table with you. I got the idea from similar trees made with ribbons. Ribbon can be spendy, and I’m a frugal gal, so I wanted to use what I already had. Enter fabric Christmas trees!
I worked up a tutorial just in case any of you want to make some of your own. Oh, and if you want to use ribbon instead of fabric, go right ahead. The instructions are just the same. You just get to skip #2.
I hope all of this makes sense. 🙂
Christmas Decoration-Fabric Christmas Tree Tutorial
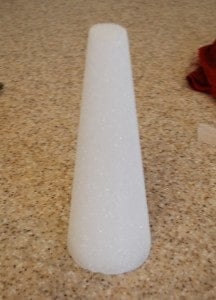
1-Start with one of these styrofoam trees. They’re everywhere right now; you can even find them at the Dollar Store.

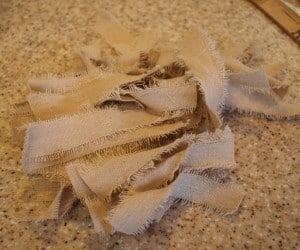
2-Decide what fabric you would like to use. I used canvas, but you can use anything you like. Burlap is all the rage right now, and I’m sure it would work perfectly. 🙂 Tear strips of your fabric about 1″ wide.

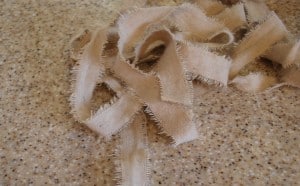
3-To cut your strips, stack a set of three or four strips on top of each other. That way you can cut four at a time instead of having to cut each strip one at a time.

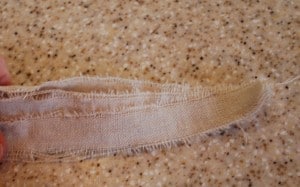
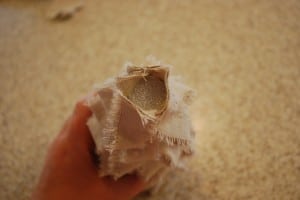
5-Take each strip of fabric and glue it together at the top. It only takes a tiny bit of glue. I used hot glue because it is the fastest. Now you will have a little loop of fabric:

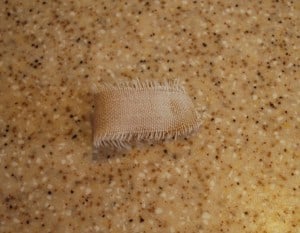
6-Attach the first loop to the bottom of the tree form. You want a little bit of fabric to hang below the styrofoam.

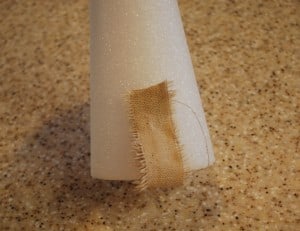
7-Keep adding on loops of fabric, overlapping them slightly. It doesn’t matter if the tops are even, you just want to make sure the bottoms of the loops are even with each other.

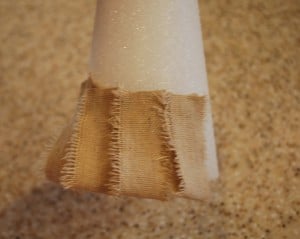
8-Keep adding loops till you get all the way around the tree. See how the tops are totally uneven? Doesn’t matter.

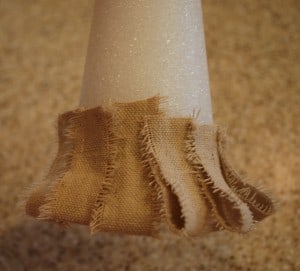
9-Now you are ready to start the next layer. Attach the first fabric loop so that it lays in between two of the loops on the bottom layer. You want them to be staggered (like bricks), and not just glued on in straight vertical rows. Now keep adding loops just like you did for the first layer.

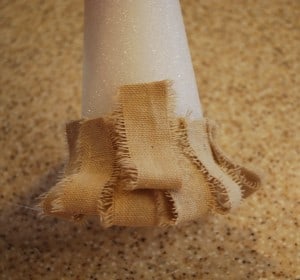
10-Repeat this process till you get to the top of your tree. (If you run out of loops like I did, just tear more fabric and make more.) Make sure the top layer of fabric pokes up above the styrofoam. You don’t want any of that ugly stuff to show. Just take that extra fabric, fold it down, and glue it to the top of the styrofoam. You can trim off some of the fabric if it is too bulky.
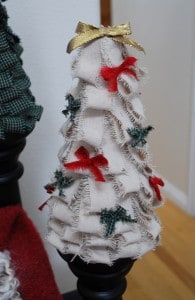
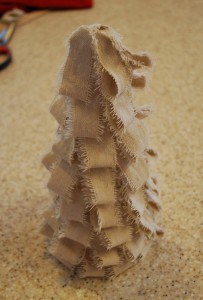
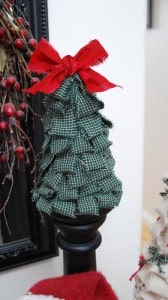
12-All you have left to do is fluff up the loops to even out your tree. Then add embellishments. I tore tiny strips of red and green fabric and tied them into bows. I used a piece of gold ribbon for the bow at the top. You could use buttons, ribbon, berries, bells, stars, whatever you like!!

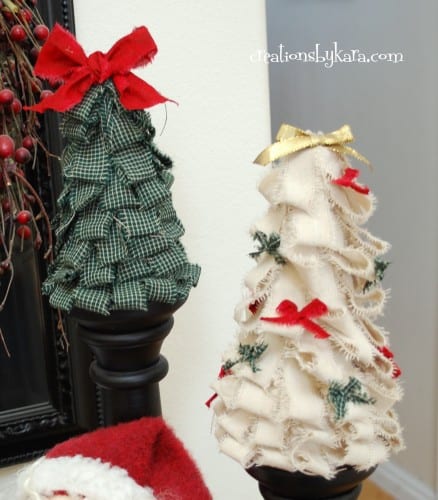
My boys like this one better, because “trees are supposed to be green mom.” Whatever.

super cute. I am featuring this at somedaycrafts.blogspot.com