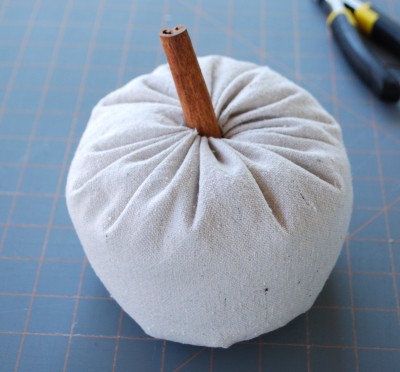
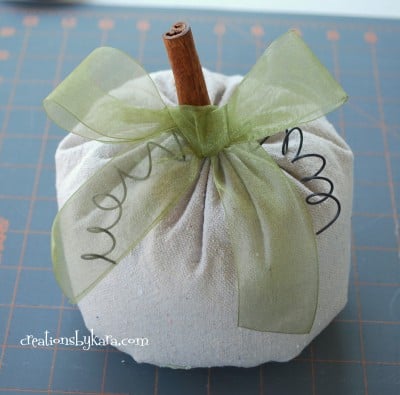
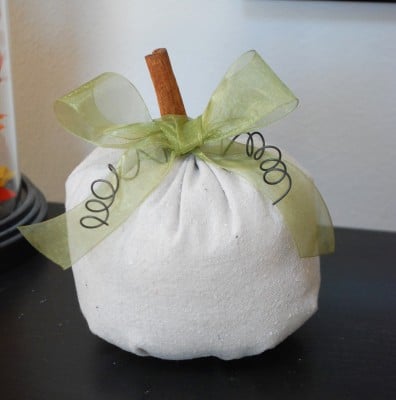
These Easy Fabric Pumpkins can be whipped up in under an hour, and you can make them to match any decor!
I shared this tutorial for easy fabric pumpkins over at Every Creative Endeavor a few weeks ago, but I wanted to have it available here as well, so here it is! I used canvas for the pumpkin in this demo, but I have also made them with upholstery fabric. You can use any type of fabric. You can make them chic and classy, or fun and funky, just by altering the fabric you use. So have fun with them!
Easy Peasy Fabric Pumpkins
What you will need:
-Fabric
–Scissors
-Needle and sturdy thread (I use crochet thread)
–Fiberfill
–Cinnamon sticks
-Wire
-Ribbon
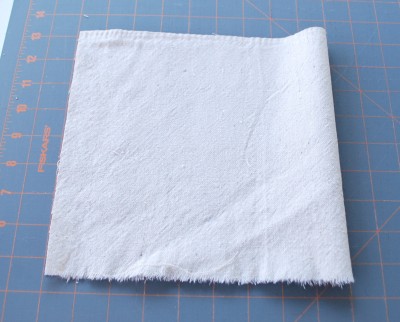
1-Cut your fabric. You want the length to be about twice the height. For this pumpkin I cut my fabric 9×18″. That makes a pumpkin that is basically round. If you want a short fat one, you could cut the fabric something like 8×24″. It doesn’t have to be exact, you can experiment!
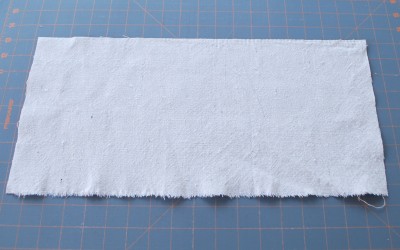
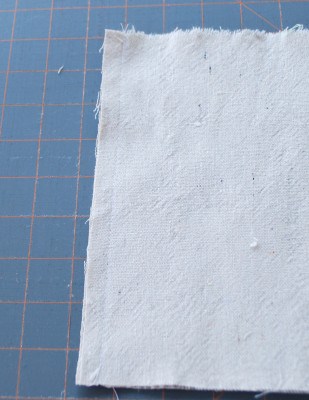
2-Fold the fabric in half.
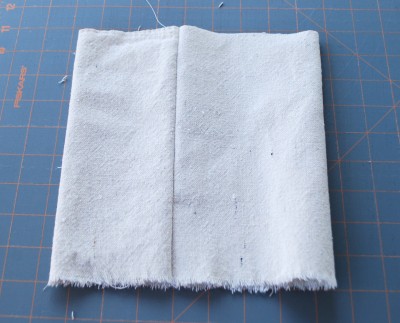
3-Stitch up the short side, leaving a 1/2″ seam allowance.
4-Now turn the whole thing right side out. You should have a groovy little tube.
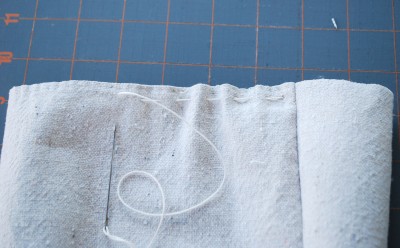
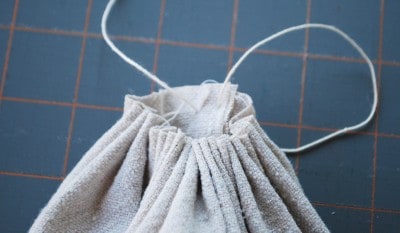
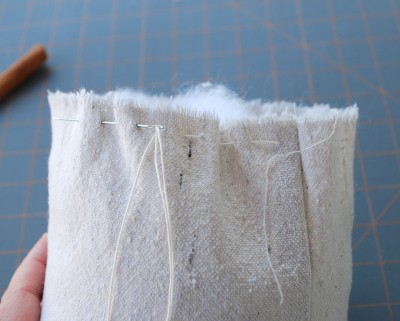
5-It’s time to gather the bottom together. Take your thread and needle and do a running stitch all the way around the bottom edge.
6-Pull the two ends of the thread to gather the fabric.
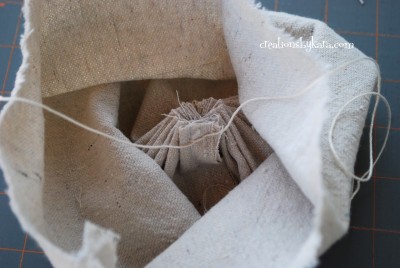
7-Now push the thread ends to the inside of the pumpkin and tie a knot on the inside.
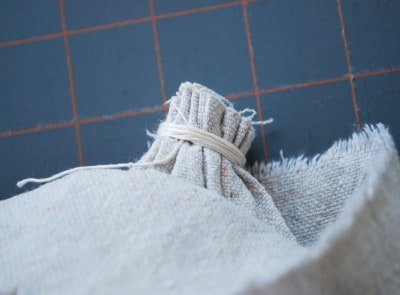
8-And since I like a bit of overkill, I wrap the excess thread ends around the fabric to make sure nothing slips. If you aren’t slightly OCD like I am, you can skip this step. 😉
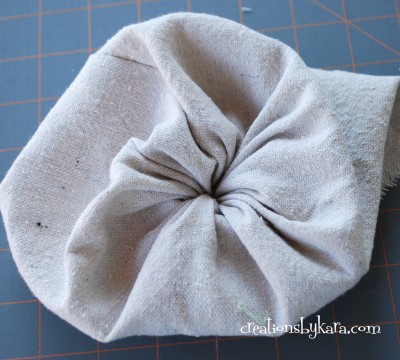
Your pumpkin should look like this on the bottom:
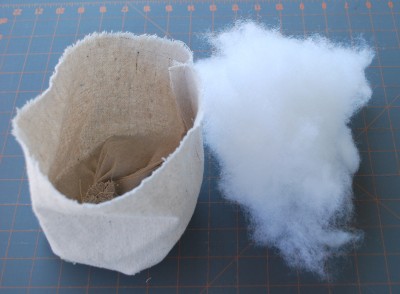
9-Now it’s time for stuffing. Take some fiberfill and put it in the pumpkin. It doesn’t need to be stuffed tight, it should be pretty squishy.
10-Now you need to gather the top, just like you did the bottom. Do a running stitch all around the top edge.
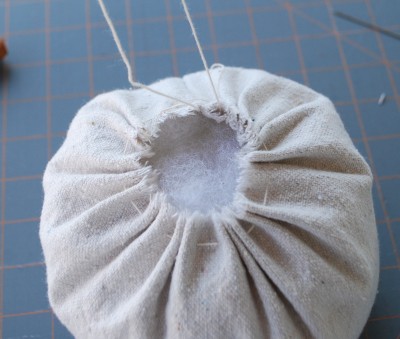
11-Start pulling the thread ends to gather the top. At this point you can add or take out stuffing to get your pumpkin how you like it.
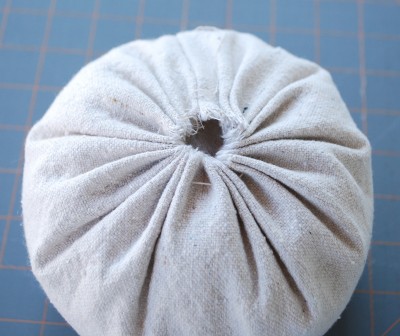
12-When you have it how you like, tie a knot. Make sure you leave a hole for your stem!
13-Put some hot glue in the hole and push in your cinnamon stick stem. If you don’t have cinnamon sticks, a wood stick will work just fine.
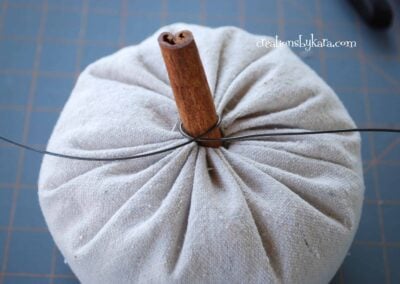
14-Take a piece of wire (mine was 22″ long) and wrap it around the stem.
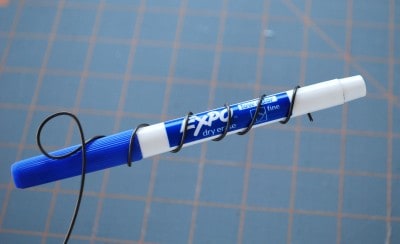
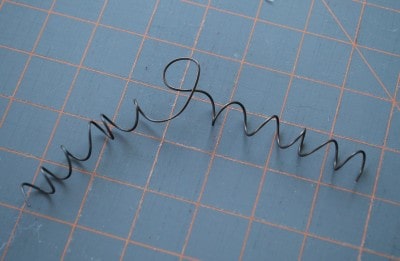
15-Now slide the wire off so you can curl the ends. Wrap them around a screwdriver, or if you can’t find a screwdriver, a dry erase marker will do. Ahem.
After both sides are nice and curly, just slide it back over the stem.
16-Now all you have to do is tie a ribbon bow and attach it with hot glue. Easy Peasy!
Wasn’t that easy? Once you get the hang of it, they’re so quick that you can whip up an entire pumpkin patch in an afternoon!
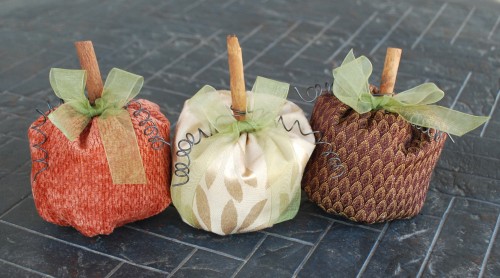
I made a bunch of pumpkins out of upholstery fabric. Aren’t they fun?
Vyvyan Wormwood
I just found this and it is super cute. I’m going to try my own rendition on my personal blog. This is going to be super fun.
Find me at
http://thedarkestdesigns.blogspot.com
Dorothy
I was able to see the finished product…..So good
deana
I really love those, just in time for me to make for my table this thanksgiving. also may I use the pic of the 3 pumpkins on my Face book page?
deana
Kara
So glad you like them Deana! And yes, you can use my photo on your FB page. Thanks for asking! š
Mixed Kreations
Oh these are so cute. I’m not much into sewing but these are really cute and they look easy to make. Thanks,
Linda
Marie
Hey Kara! I’m featuring you on my blog!
Marie
mylilpinkpocket.blogspot.com
Marie
Those are so darn cute Kara! Thanks so much for linking up with us at Show & Share!
Marie
mylilpinkpocket.blogspot.com