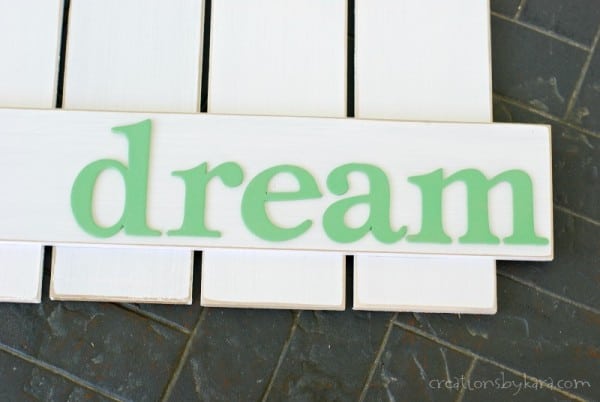
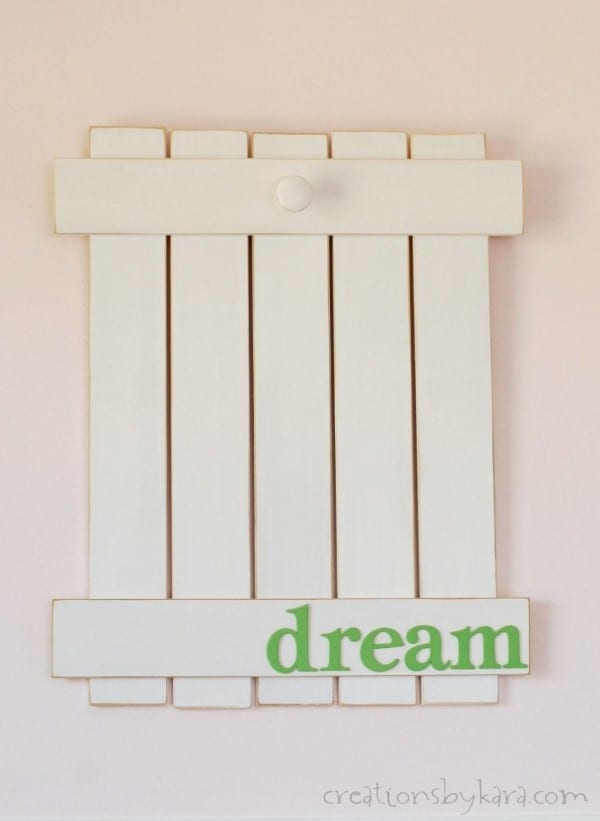
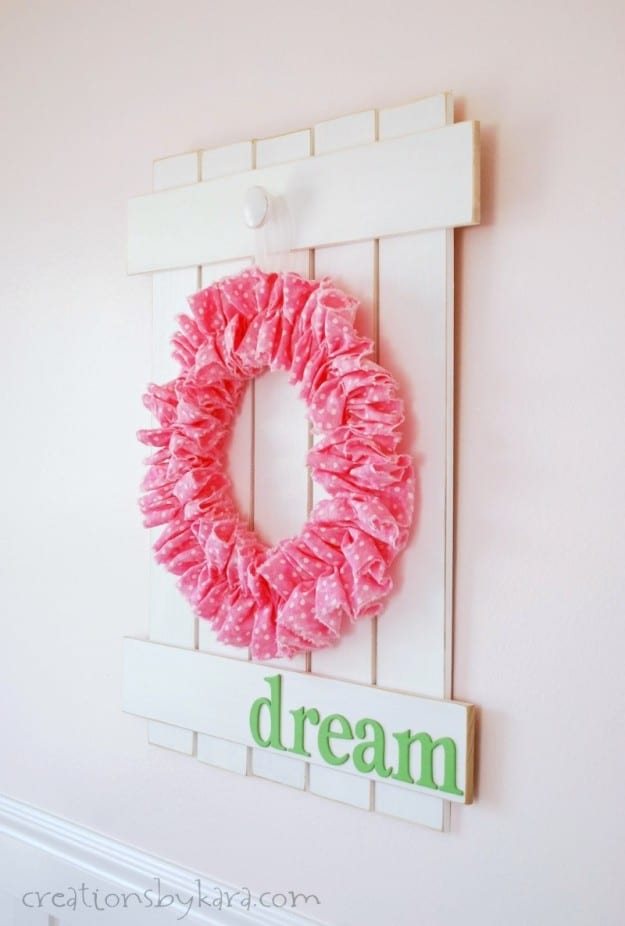
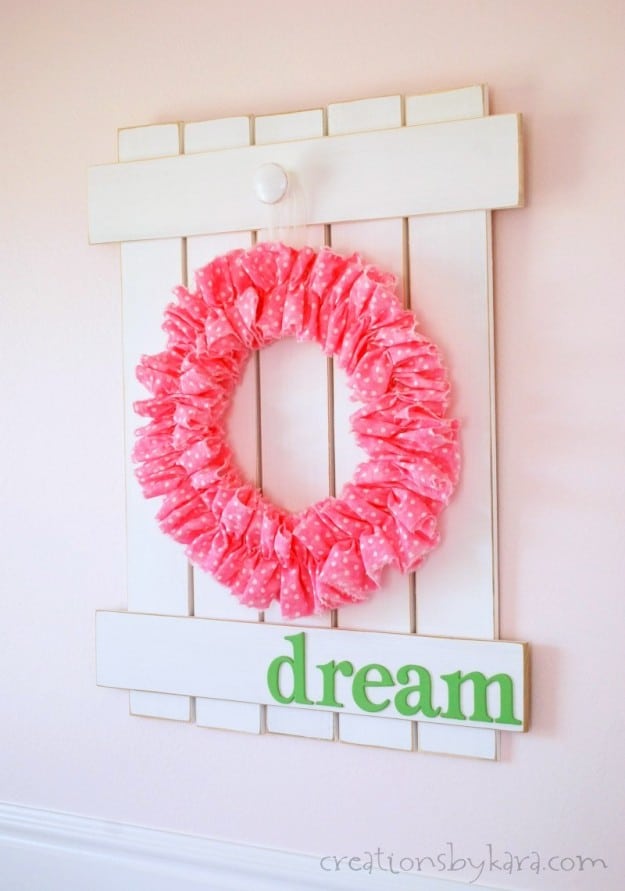
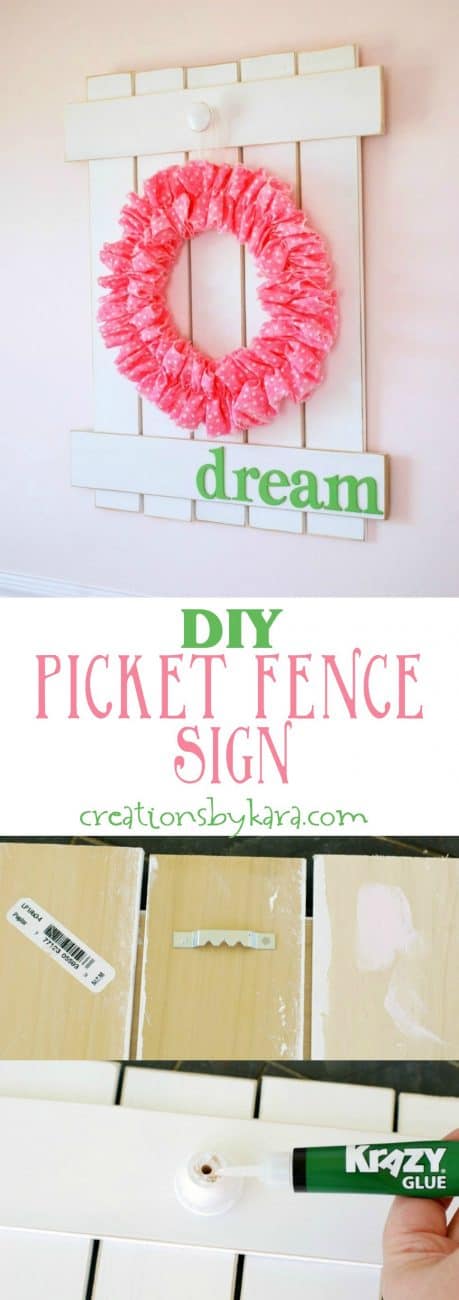
This farmhouse style Picket Fence Sign is easy to make, and you can hang anything you want on the front! Thanks to Krazy Glue for sponsoring this post and supplying me with some of their amazing glue!
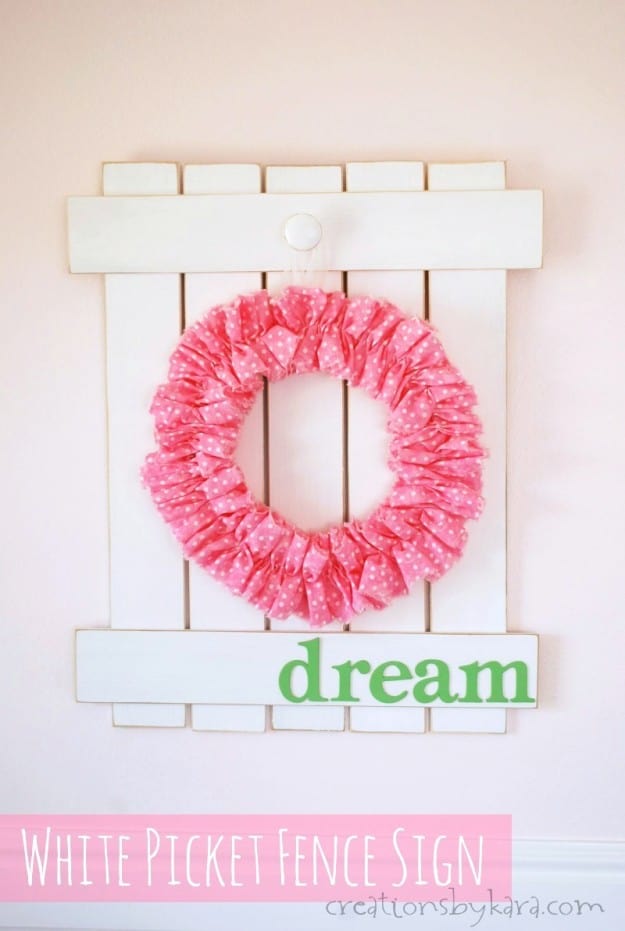
Now that we have carpet installed, I am busily working on all the decorations for Rachel’s new room. I made this White Picket Fence Sign to hang in her reading nook. It was so much fun to make, and I love it so much, that I almost changed it to use for my own space. Wouldn’t it be great in a craft room with the words “create” on the bottom? Or on a front door with “hello”?
Lucky for Rachel, I let her keep this sign. 🙂 If you’d like to make one of your own, just follow the tutorial below.
Farmhouse Picket Fence Sign
Supplies:
-Boards (I used 1/4″ thick poplar boards that are 3″ wide. I got them at Lowe’s.)
–Krazy Glue Craft Gel
-Wooden Knob
–Sandpaper
-Chipboard letters
-Paint and paintbrush
–Sawtooth picture hanger
-Hammer, nails, pencil
-Wreath (buy or make one)
-Saw (optional- You can have your boards cut to size at the lumber store if you prefer.)
Instructions:
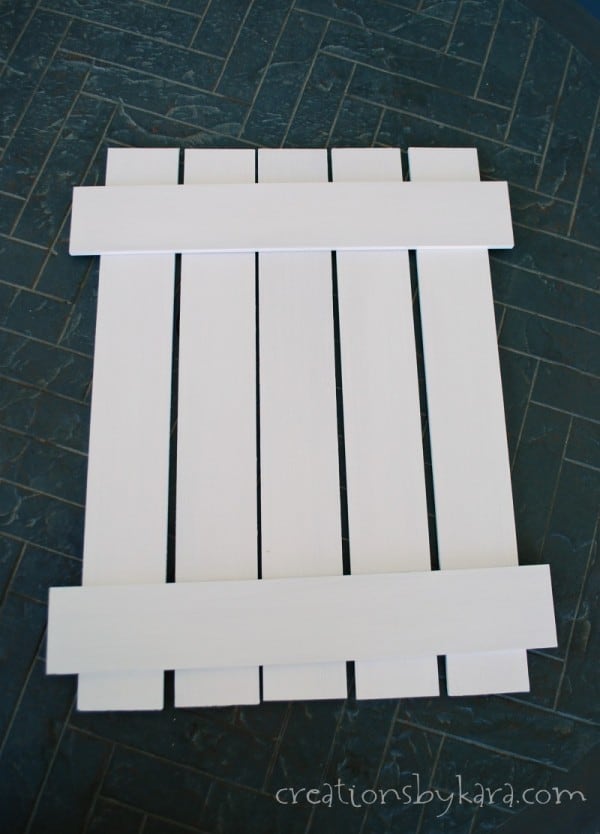
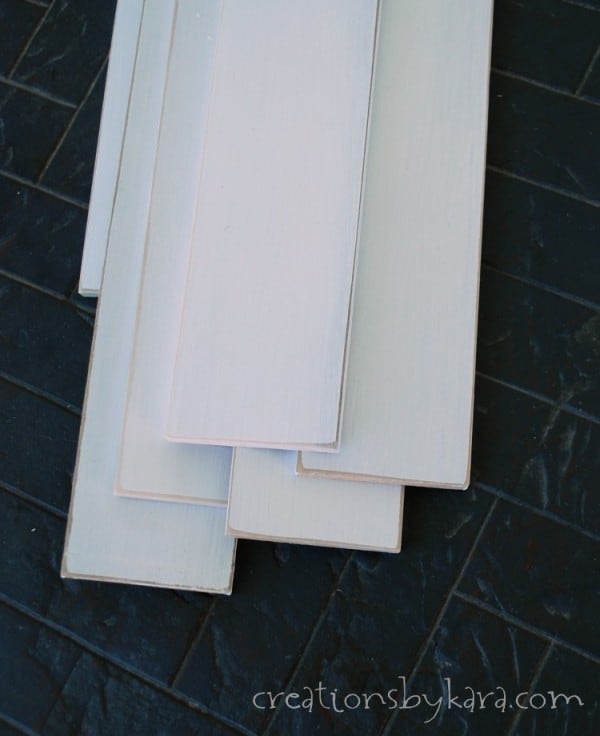
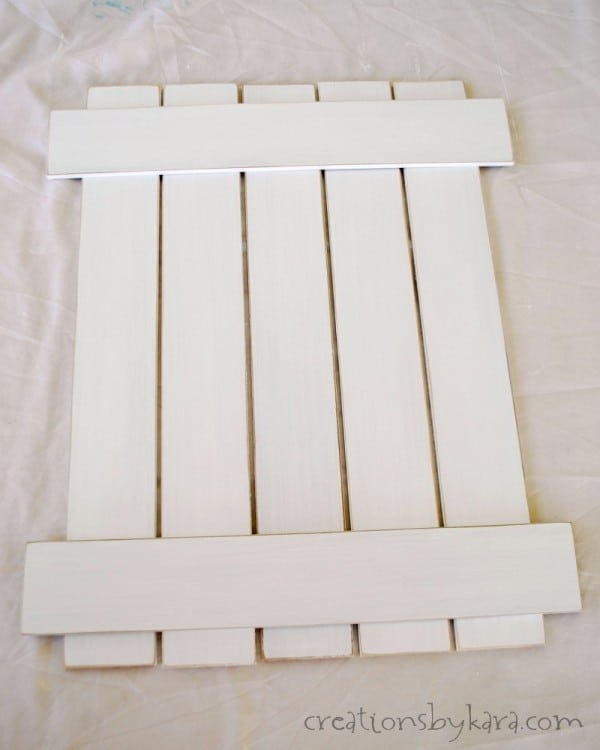
1- If you didn’t get your boards cut at the store where you bought them, cut them to size. My vertical pieces are 18 1/2″ long, and my horizontal pieces are 16″ long. You can use any size you like! Paint or stain them.
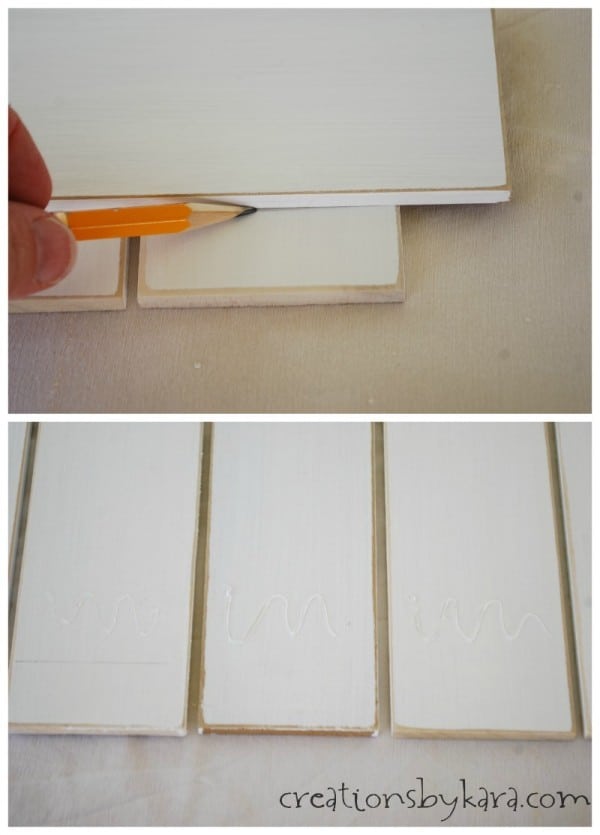
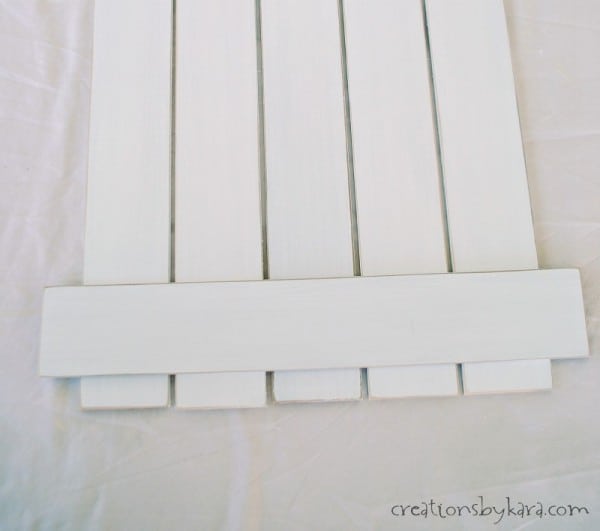

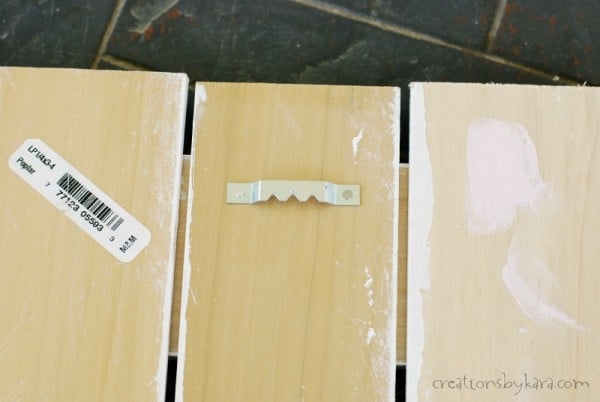
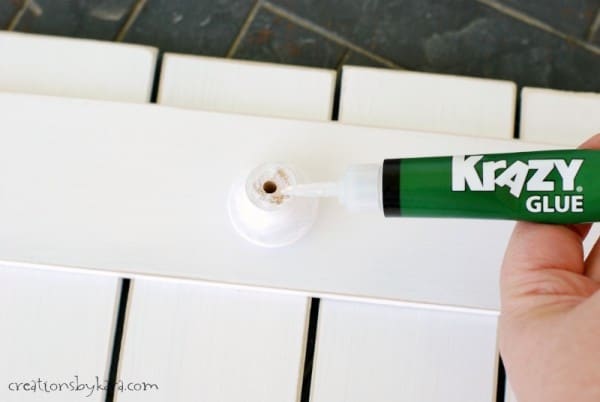
This is the first time I have ever used Krazy Glue Craft Gel for a craft project, and I actually really liked it, especially because it dries super fast, and it dries clear. It comes in a larger tube, so you can work on larger projects without running out. I also love that the lid just snaps on rather than screwing on, because it doesn’t get stuck on!
If you like this project, I’d sure appreciate it if you’d share it!
Here are a few more DIY projects you might enjoy!


Kara I love this! It is so adorable and perfect for a girls room.
Love this Kara! The wreath and fence are just the perfect size! Thanks for linking up at Motivational Monday!
This is so cute! I love how simple it is to make, too! I bet it looks so cute in your daughter’s room. You can never have enough places to hang things! 🙂 Visiting from The Creative Exchange! We’d love for you to link up at our party as well, Motivational Monday!
Thanks so much for the invite Amanda! I just linked up. 🙂