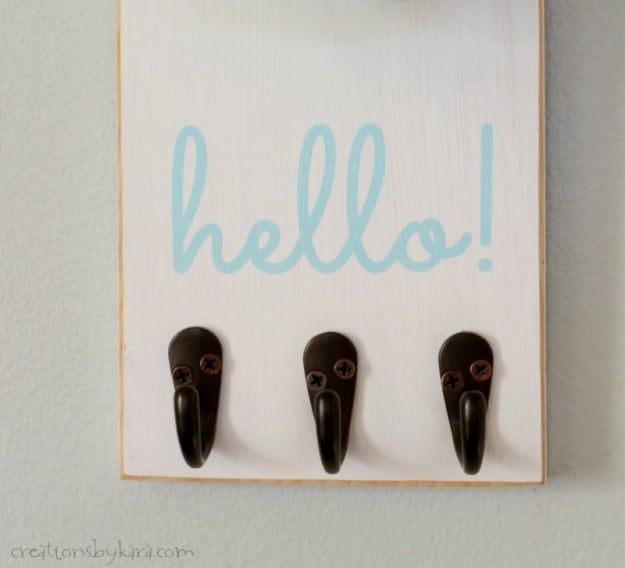
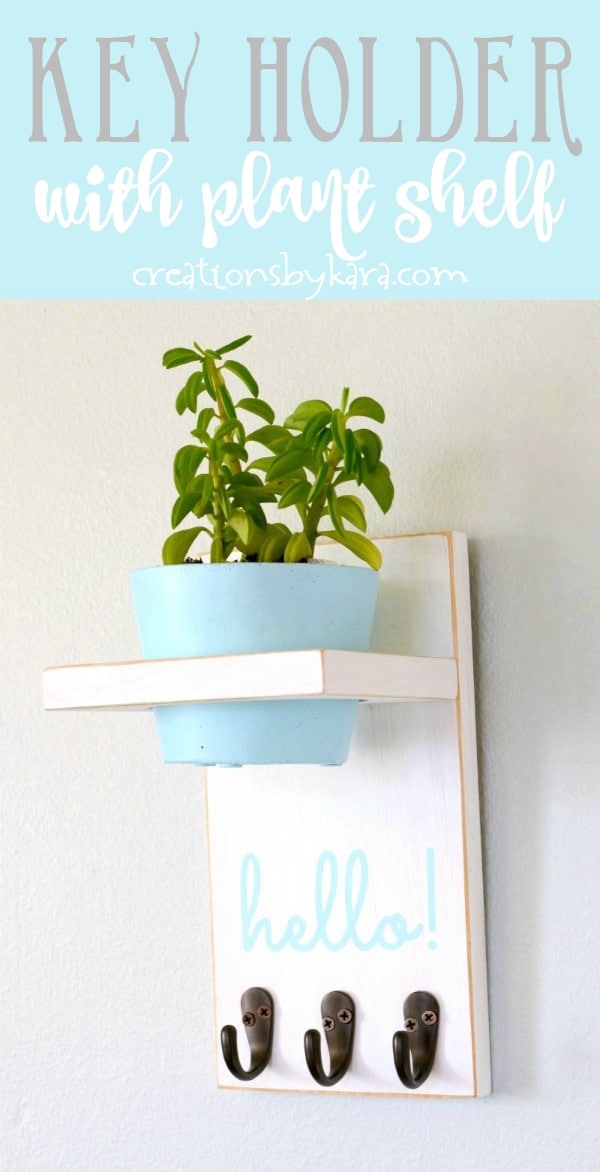
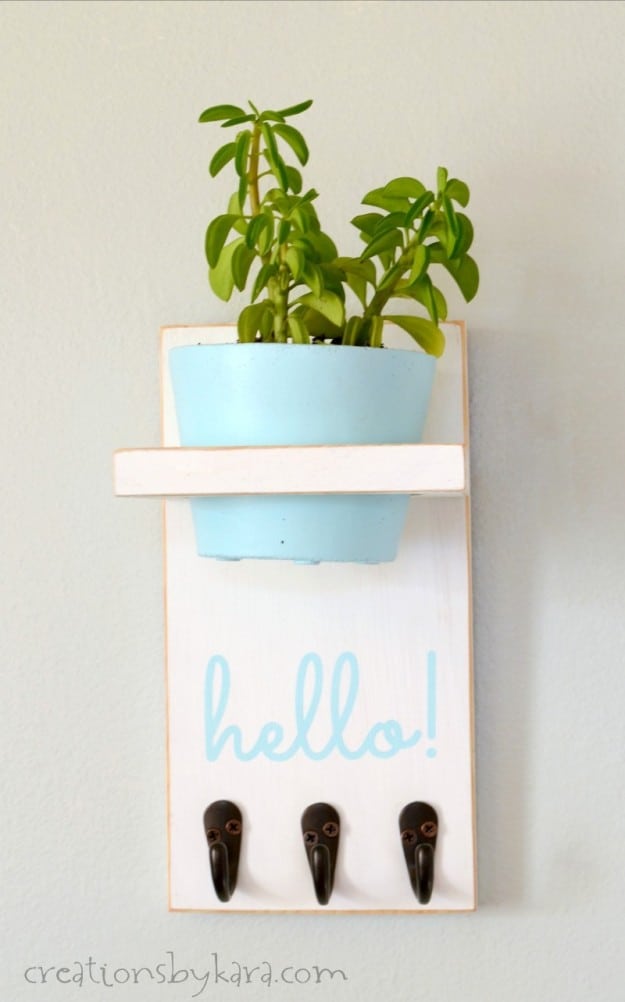
Both beautiful and functional, this DIY Key Holder with Plant Shelf is a perfect afternoon project. Never lose your keys again!
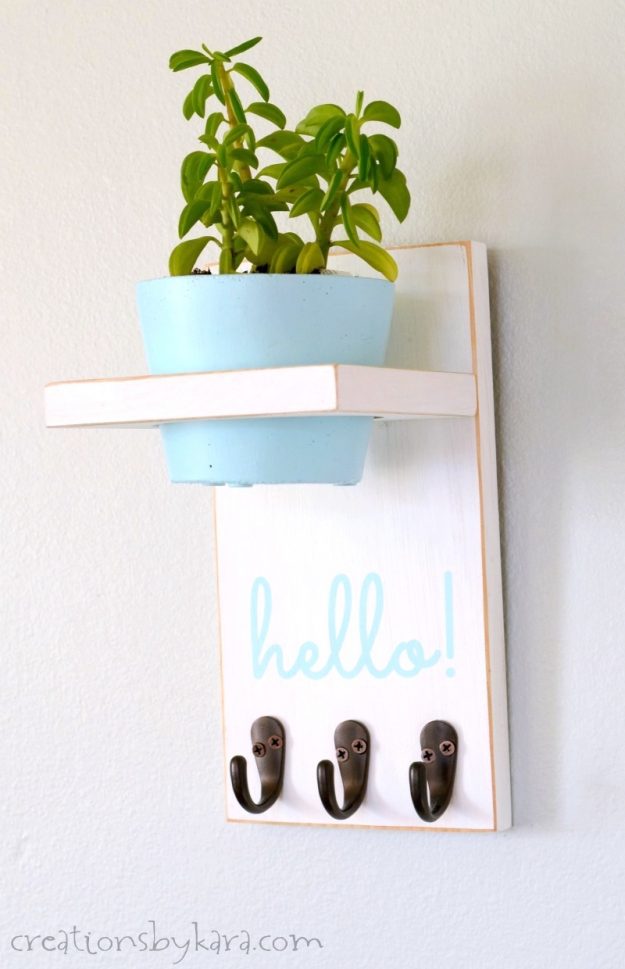 I was pretty thrilled when my super talented friend Stacy from Not Just a Housewife invited me to participate in her new series called Styled x3. Basically three bloggers take one home decor accessory, and put their own take on it. How fun is that?
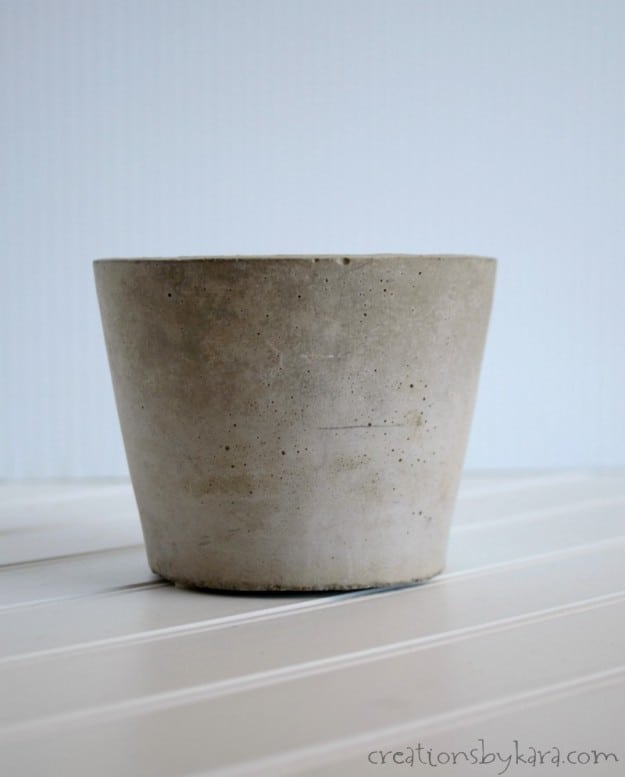
For this challenge, each of us was given a little concrete planter. When I got mine, I tossed a few ideas around, but finally decided to make something I really needed, rather than just something pretty. We are always misplacing our keys, and I’ve been meaning to make a place for them for months.
I knew it was time to fix the problem, so I used my little cement planter in this Key Holder with Plant Shelf. I’d seen similar ones with mason jars, but though this planter would work just as well. It did!
I love how it turned out, and I am so excited that we now have a place to hang our keys!
Need a place for your keys?
You can make your own Key Holder with Plant Shelf!
Supplies:
-Piece of scrap lumber (Mine was a pine board 5 1/2″ wide by 11″ long.)
-Chop saw (Or have the guys at the hardware store cut your wood for you)
-Scroll saw or jigsaw
-Paint and paintbrushes
–Sandpaper and palm sander if you have one
–Metal hooks (I got mine at Walmart, but Amazon carries a wide variety as well)
–Drill, drill bit, and screws
–Wood glue
-Stencil or vinyl for words (optional)
–Cement planter or other pot that is about 4 1/2″ across the top
-Gravel, soil, and plants (I used succulents)
*You can make your key holder any size, just adjust your cuts and the hole in your board to accommodate your pot.
Instructions:
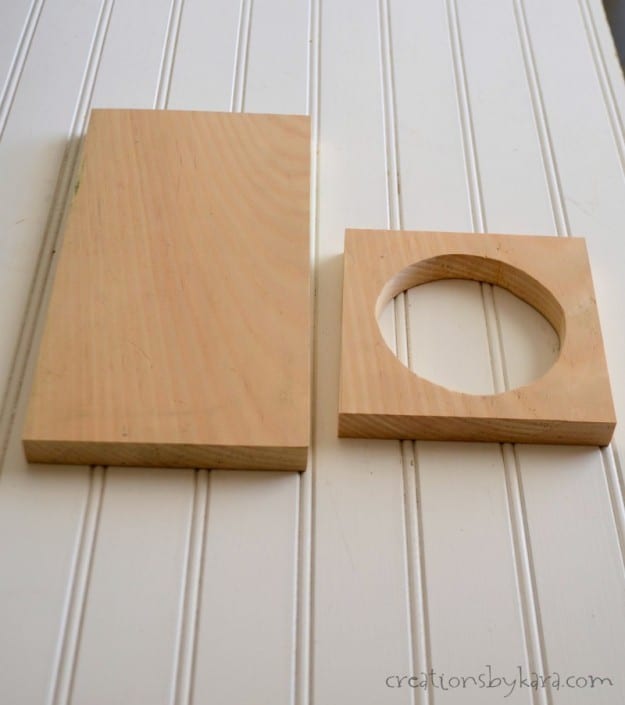
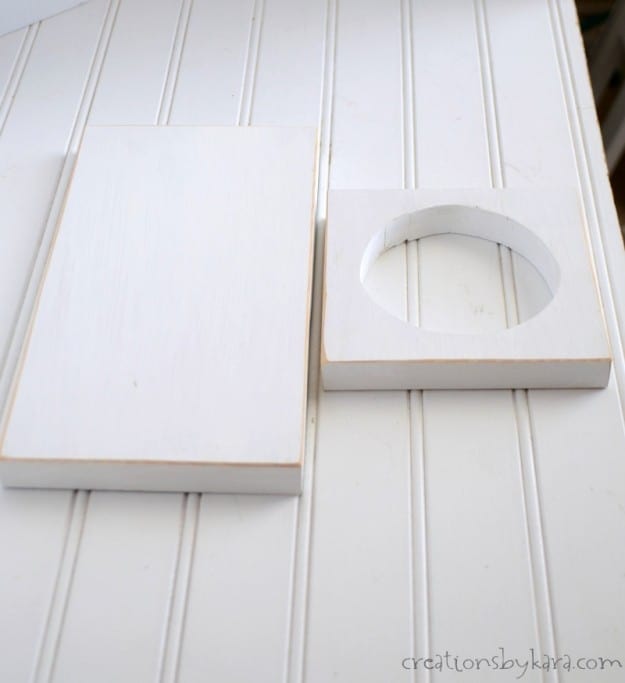
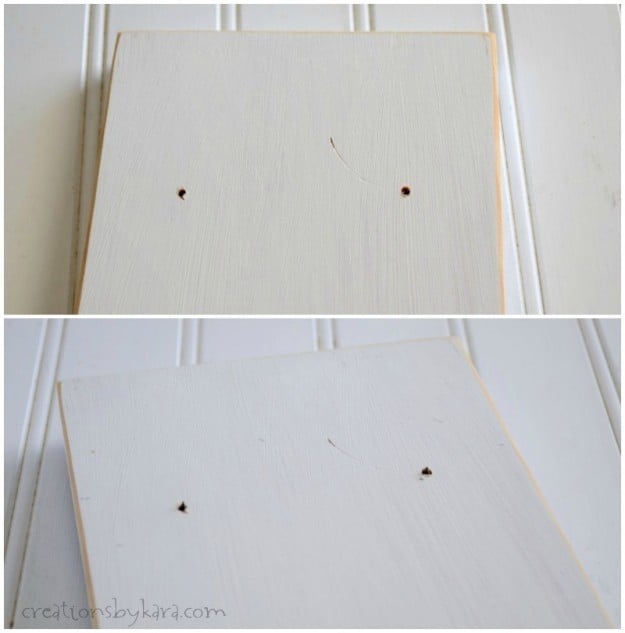
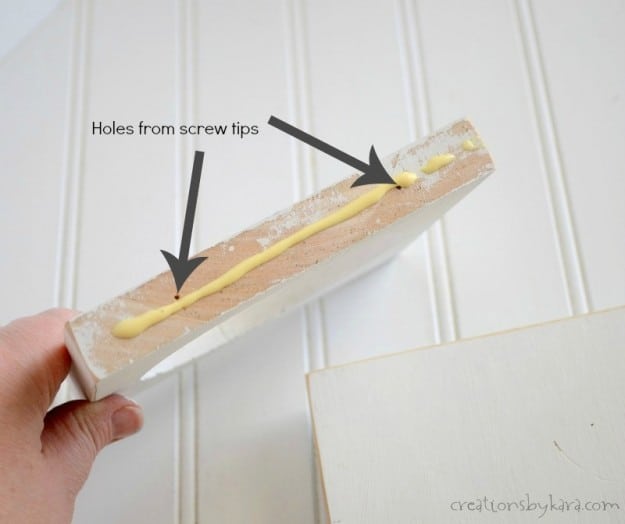
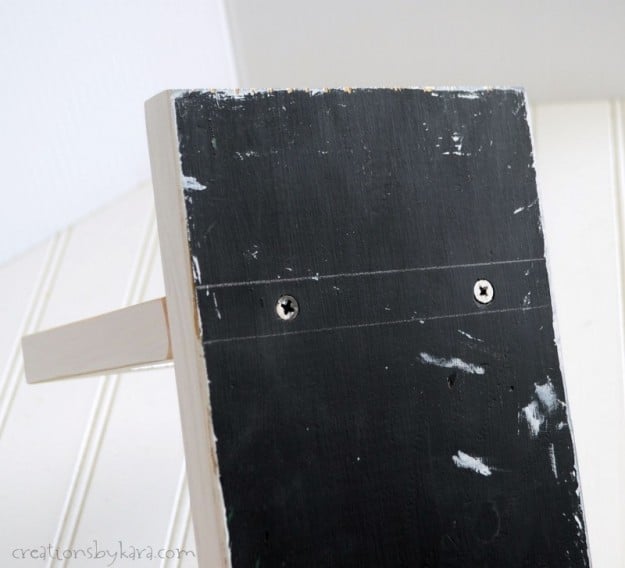
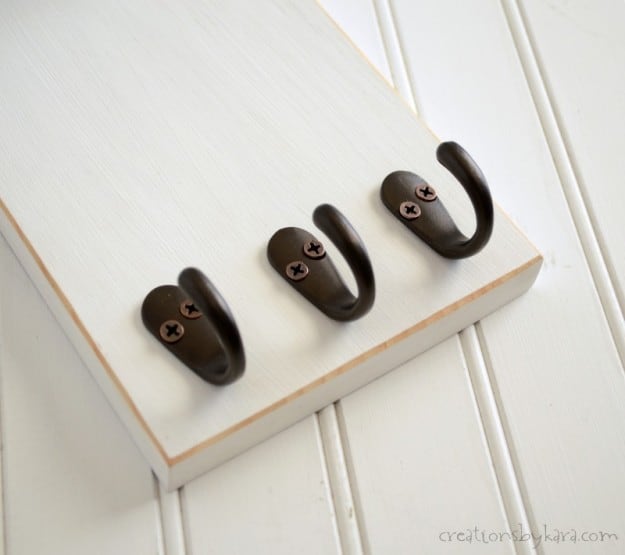
Cut one end of your board so that you have a square piece. Since my board was 5 1/2″ across, I cut off a piece 5 1/2″ x 5 1/2″. Then you need to cut a hole in the square that is about 1/2″ smaller than the diameter of the top of your pot.
I drilled a pilot hole with my drill, and was planning to cut the circle with my scroll saw. But it was malfunctioning, and I had to use the jigsaw. I have never cut a curved line with the jigsaw before, and I was terrible at it! You can’t really tell from the photo, but my circle is totally uneven and wonky. But it doesn’t matter that much, so don’t worry if yours is too. It can be our little secret.


I know I’m dying to see how Stacy from Not Just a Housewife and Taryn from Design, Dining, and Diapers used there concrete planters. Aren’t you? I love both those cute talented ladies, and I’m sure they came up with something fabulous!!

Here are a few more DIY projects:
- Easy Farmhouse Shutters
- Paint Stick Wood Sign
- How to Make a Pallet Sign without a Pallet
- DIY Mudroom Bench
- Spray Paint Fireplace
- Restoring Metal Patio Furniture
- Repose Gray Paint (the best gray!)


Oh this is so much fun!! I love how it turned out!
Thanks so much Ashley! I am always happy when a project turns out like I pictured it in my head. 🙂
Oh my word! Look at you! You went all out girl! I love, love, love it!
Thanks so much for asking me to participate. It was fun for me, and just the kick in the pant I needed to get a much needed key holder made!