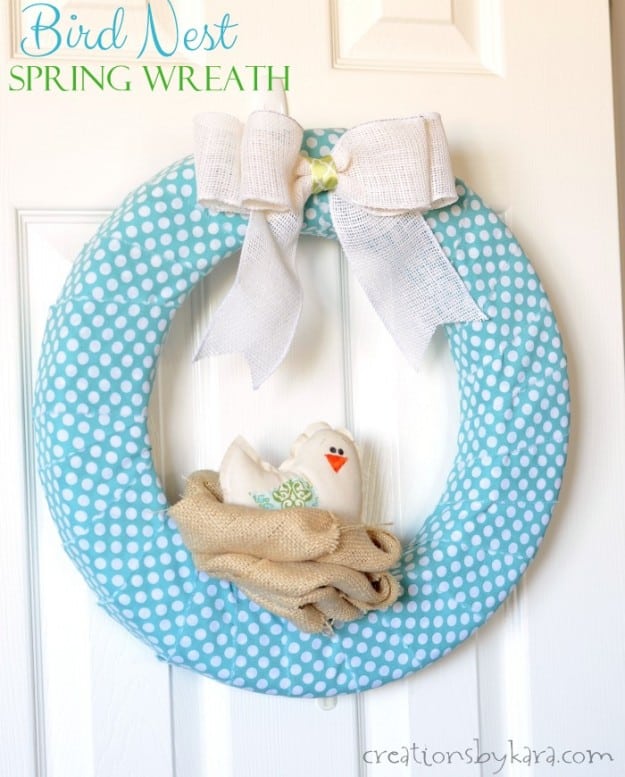
Bird Nest Spring Wreath – this DIY wreath is perfect for spring, and you can whip it up in an afternoon.
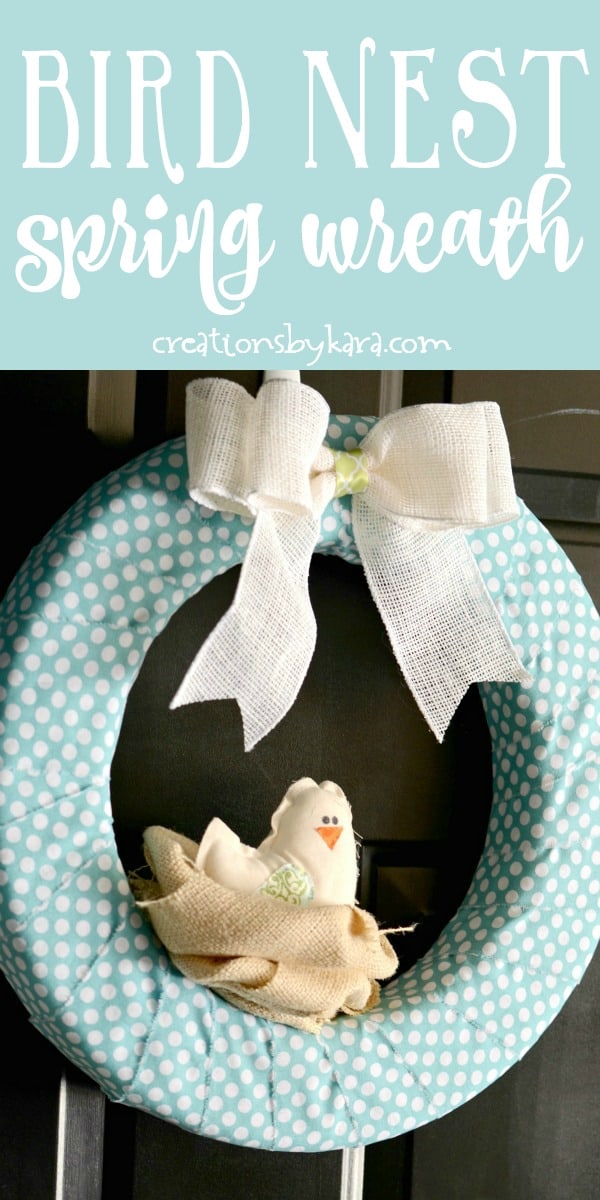
This time of year, I love listening to all the little birds tweeting outside my window, because it means the snow is coming to an end. Plus they make me happy because they are just so darn cute. I include little birds in my decorating all year round, but especially during the spring.
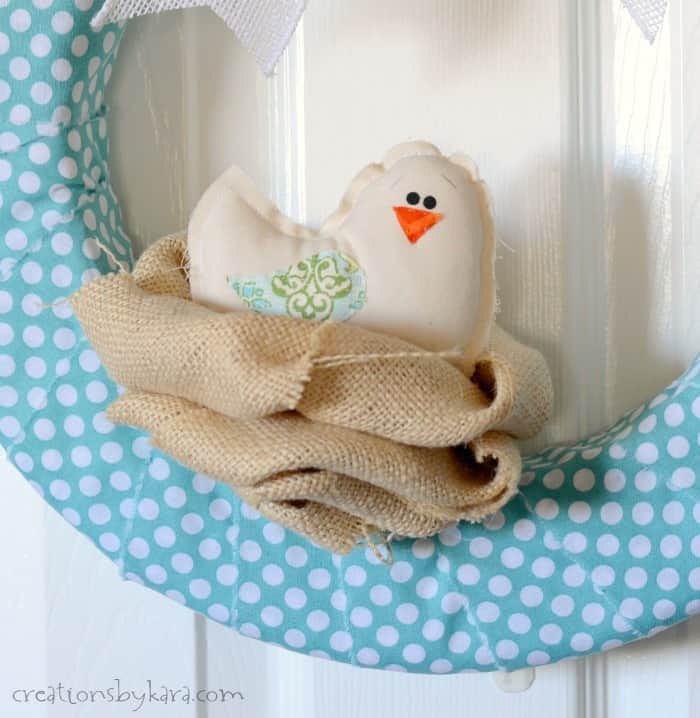
I whipped up this Bird Nest Spring Wreath, so now all visitors to my home are greeted with a pop of color and a cute little bird sitting on her nest. I hope it makes them happy too!
I think it looks pretty cute on my pantry door as well, don’t you?
Bird Nest Spring Wreath Tutorial
Supplies:
1 FloraCraft® Make It: Fun® Foam wreath (Mine was 16″)
1/3 yard fabric, ripped or cut into 3″ strips
Fabric Scissors
Pins
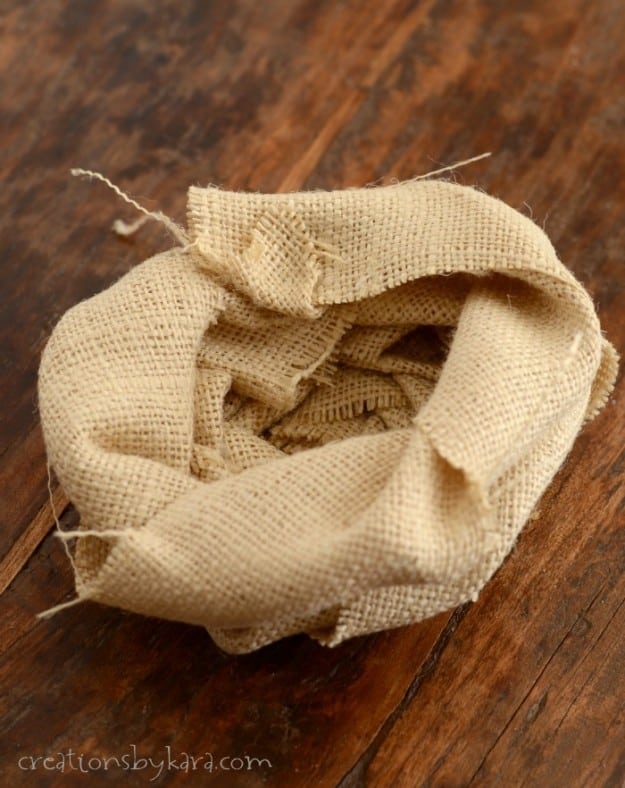
Scrap of burlap
Free Bird Pattern
2 7″ squares of fabric for bird body
Fabric scraps for wing and beak
Fiberfill
Permanent Marker
Needle and thread
Hot glue and glue sticks
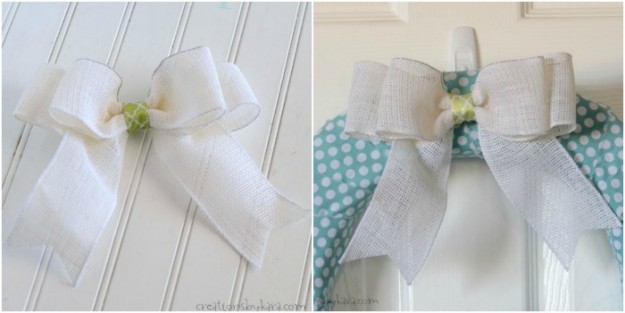
1-2 yards of ribbon for bow
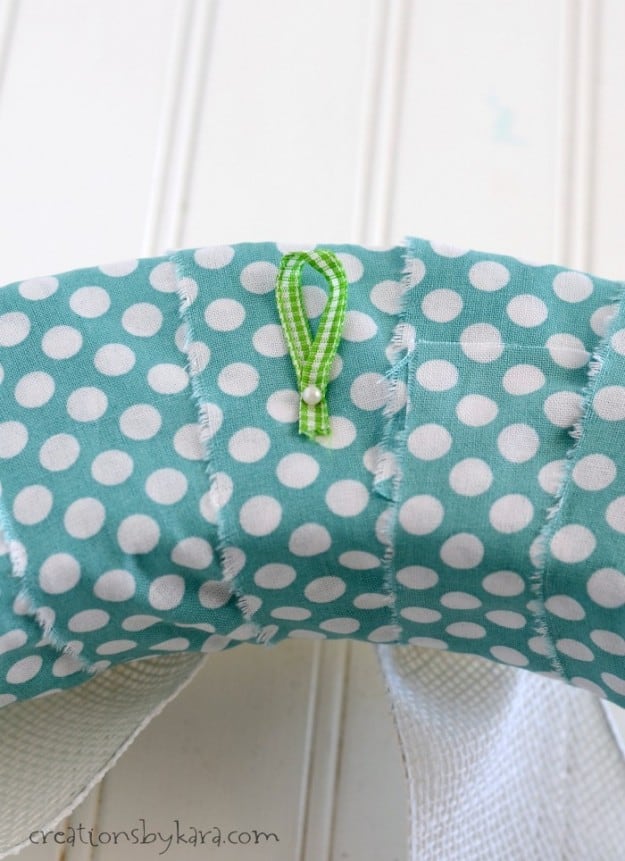
Small scrap of ribbon for wreath hanger
Instructions:
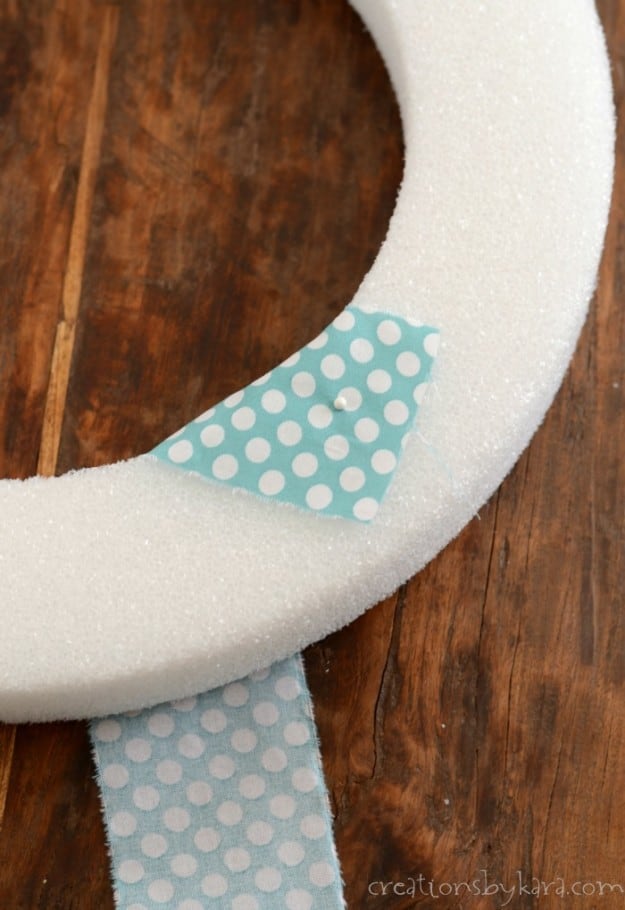
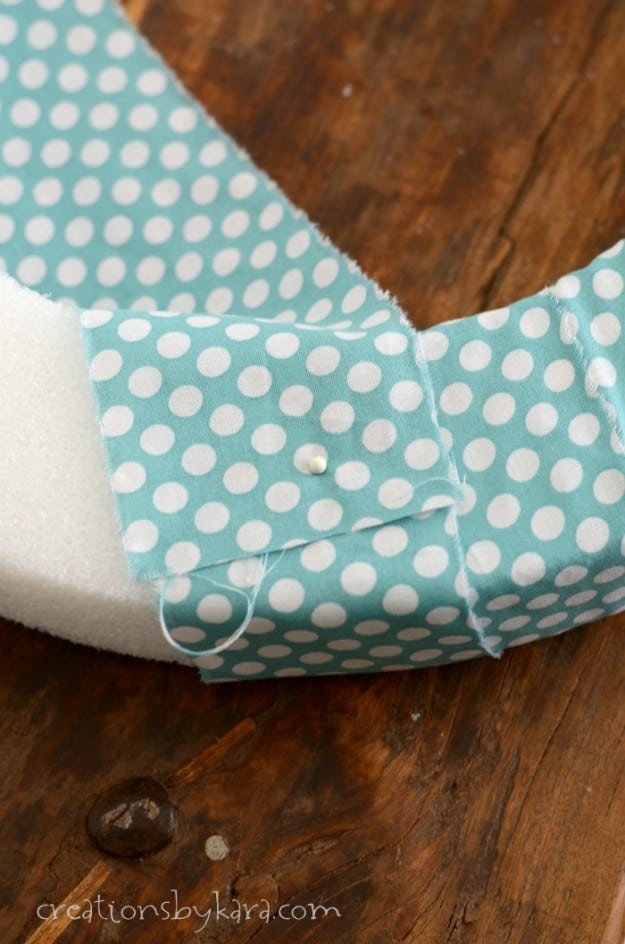
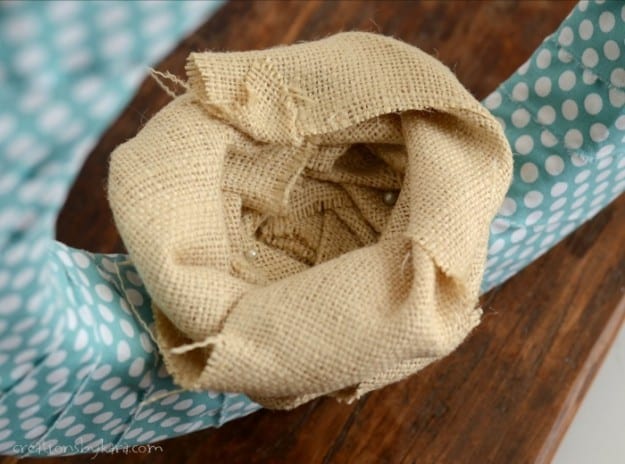
First up you need to wrap your wreath form with fabric. Take one of your strips, and attach it to the back of the wreath with a straight pin. I find it’s much easier to wrap if you start the fabric at an angle.
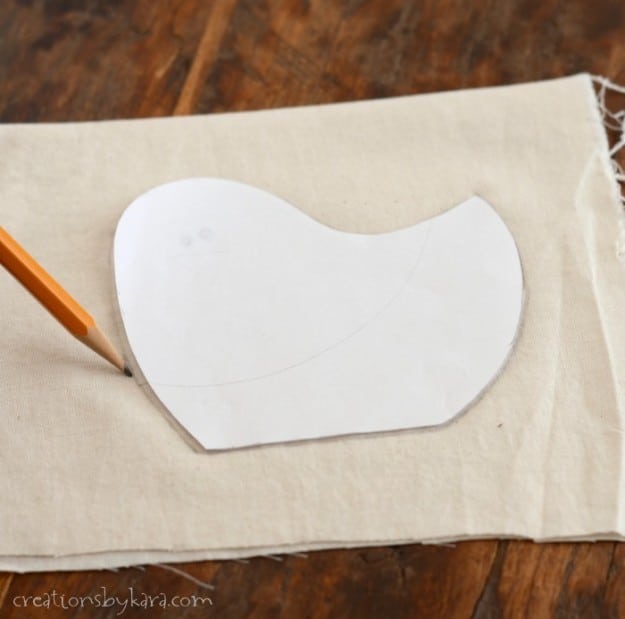
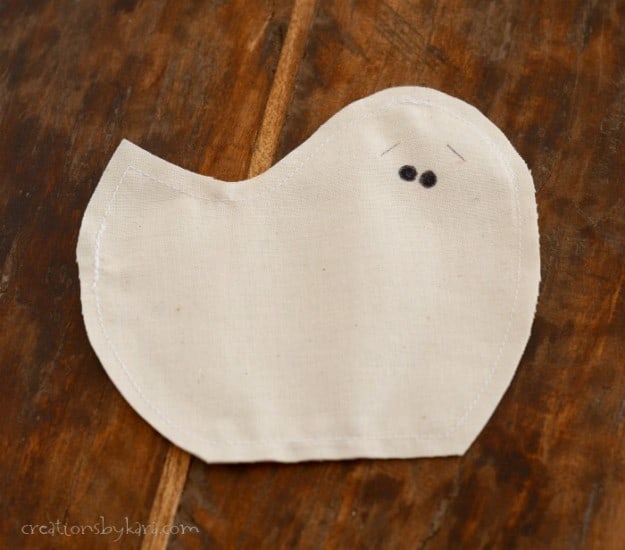
Now it’s time to make the cute little bird. Place your two squares of fabric on a table right sides out. Cut out the bird pattern and place it face down on the back side of your fabric. Trace around the edge of the bird pattern with a pencil.
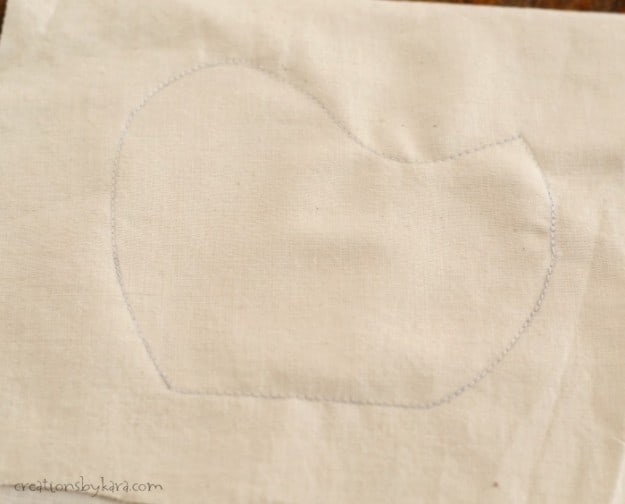
Sew the two pieces of fabric together by stitching directly on the line you traced.
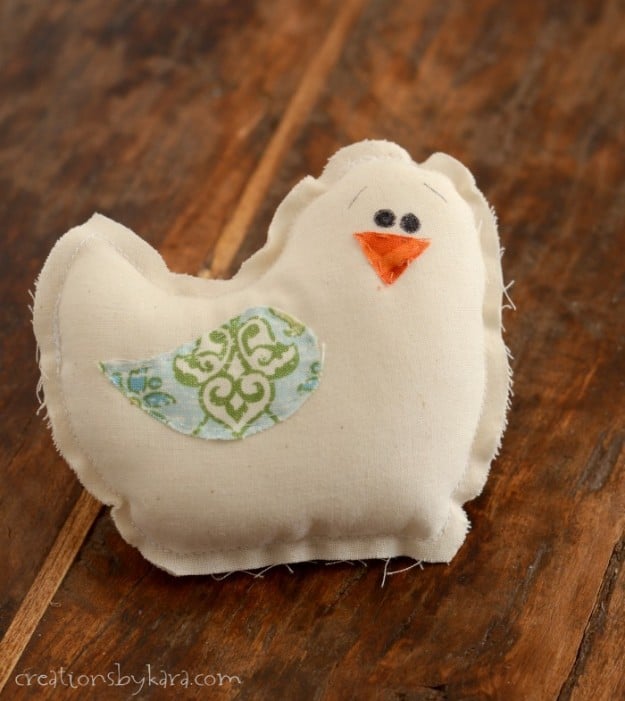
Cut out the bird, keeping your scissors about 1/4″ from your stitching line. Draw or sew on eyes and eyebrows with a sharpie marker or fabric marker.
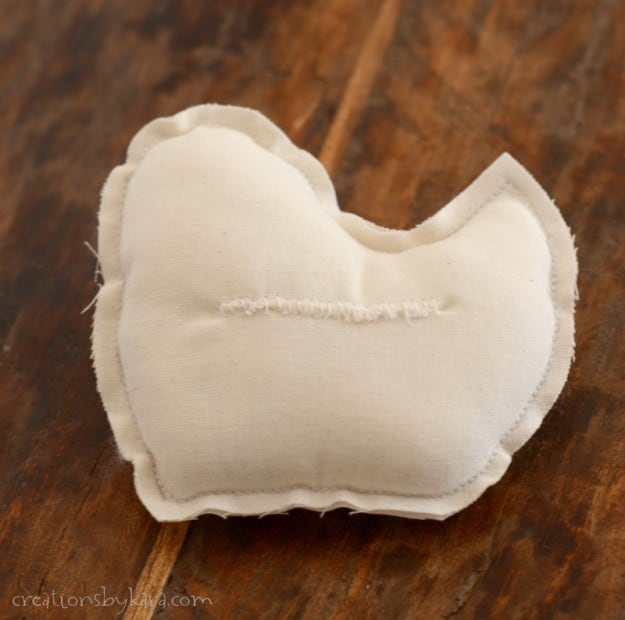
Carefully cut a slit across the back piece of fabric, making sure you don’t cut through to the front of the bird. Stuff the bird with fiberfill, then stitch the slit closed.
Cut out the wing and beak, and sew them onto the front of the bird.
Note: If you’d prefer not to hand sew on the wing and beak, you can attach them with Wonder Under fusible webbing before you stuff the bird, or just draw them on. Isn’t she darling?
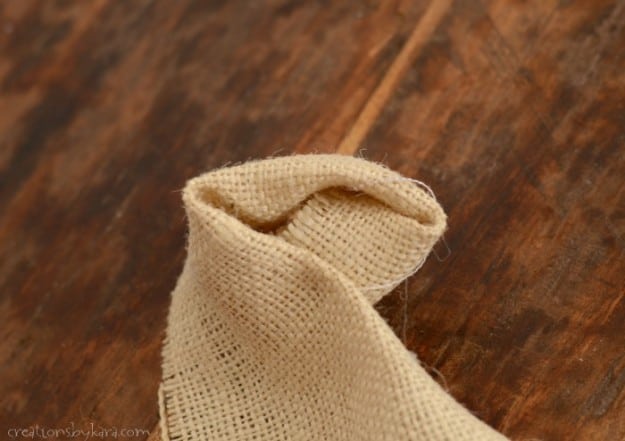
Now attach the bird nest to the wreath with a couple of pins.
Now tie a bow and attach it to the wreath. I just used a pin, but you could use hot glue if you prefer.
To make a wreath hanger, just loop a small piece of ribbon and attach it to the back of the wreath with a pin.
Now just add the birdie to her nest, and hang up your wreath. Cute right?
Here are a few more spring projects:
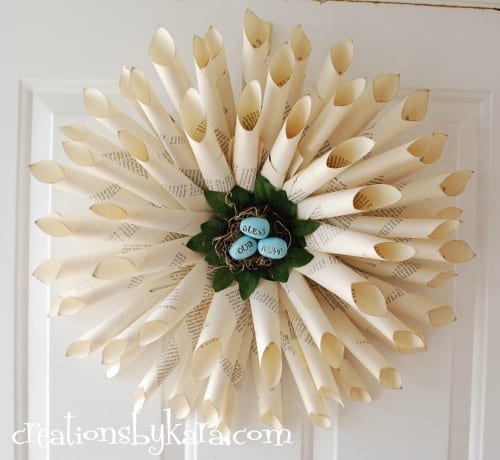
Interchangeable Book Page Wreath

We stumbled over here coming from a different web address and
thought I should check things out. I like what I see
so now i am following you. Look forward to looking at your web page
repeatedly.
I went over this site and I think you have a lot of fantastic
information, savedd to fav (:.
This is so cute and fun! I love the colors too. Very inviting. I’m not very crafty, but I might give this one a shot since it doesn’t look too hard for an amateur like me to try.
Thanks so much Meagan! It is pretty easy. The hardest part for me was making the bow. LOL!
Aww, this is so cute, Kara! Love the polka dots and sweet little bird. Thank you!
Thankss Sharon! It was fun to make. Love the wreath forms with the straight edges. I can’t wait to whip up a few more. 🙂