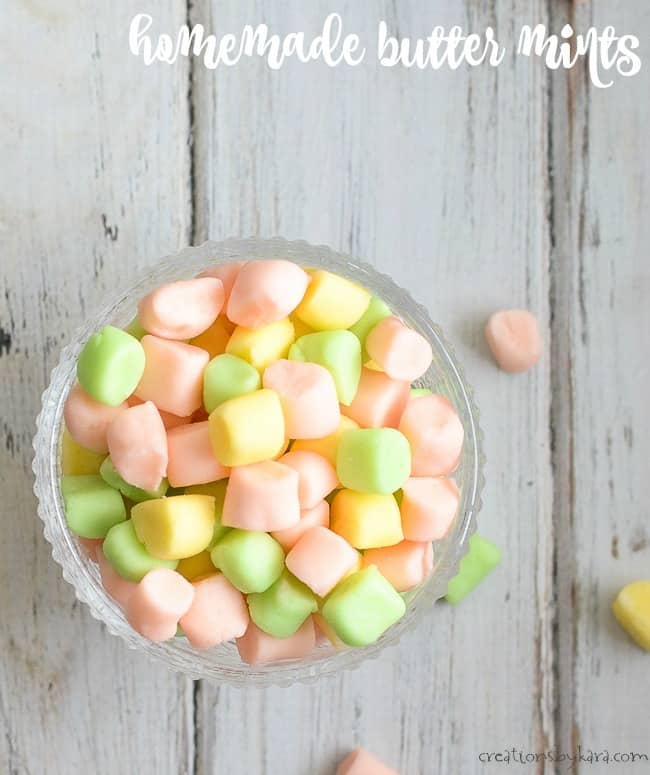
Homemade Butter Mints – these soft and creamy mints just melt in your mouth, and they are so easy to make. You just need five ingredients!
There’s just something about homemade candies that can’t be beat. I can’t resist Saltine Toffee, and my kids love my homemade Microwave Caramels!
I have fond memories of attending wedding receptions as a child, and those little nut cups they would have on the tables. They almost had those little pastel mints in them, and I LOVED them. My dad would eat the nuts in his cup and leave most of the mints for me.
Of course now that I’m older, I eat my own salted nuts, but I still enjoy the butter mints! I was excited to try my hand at making them at home, and this recipe didn’t disappoint.
They are even creamier than the store bought butter mints, and they dissolve into liquid pools of melty goodness in just seconds. You can use them for parties, holiday gatherings, or even to give as gifts.
You do need to allow plenty of drying time, so make them well ahead of time. They need to sit at room temperature for at least 24 hours to allow the edges to harden. The centers will stay soft and irresistibly creamy. It’s hard to resist them!
HOW TO MAKE BUTTER MINTS
Ingredients needed:
- butter, softened to room temperature (I use salted butter)
- whipping cream
- salt
- peppermint oil
- powdered sugar
- food coloring (optional)
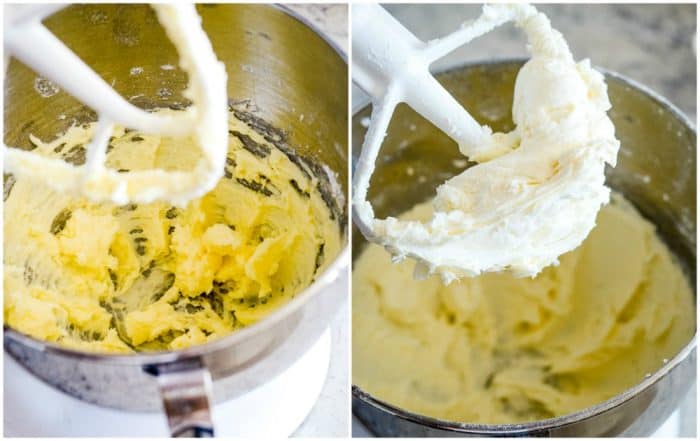
Place the soft butter, cream, salt, peppermint oil, and 3/4 cup of the powdered sugar in the bowl of a Kitchenaid mixer. Beat till smooth and creamy, scraping the side of the bowl a couple of times with a rubber spatula.
Gradually beat in the remaining powdered sugar, scraping the sides of the bowl with a rubber spatula often. Add food coloring if desired. Beat for 2-3 minutes till soft and fluffy.
Scrape the mixture to the bottom of the bowl, and press plastic wrap firmly over the surface. Chill for at least an hour, or till firm enough to handle. Divide into 5-6 sections. Sprinkle your counter with powdered sugar and roll each section into a rope about 1/2″ thick. Use a dough scraper, sharp knife, or pizza cutter to cut each rope into pieces about 1/2″ long.
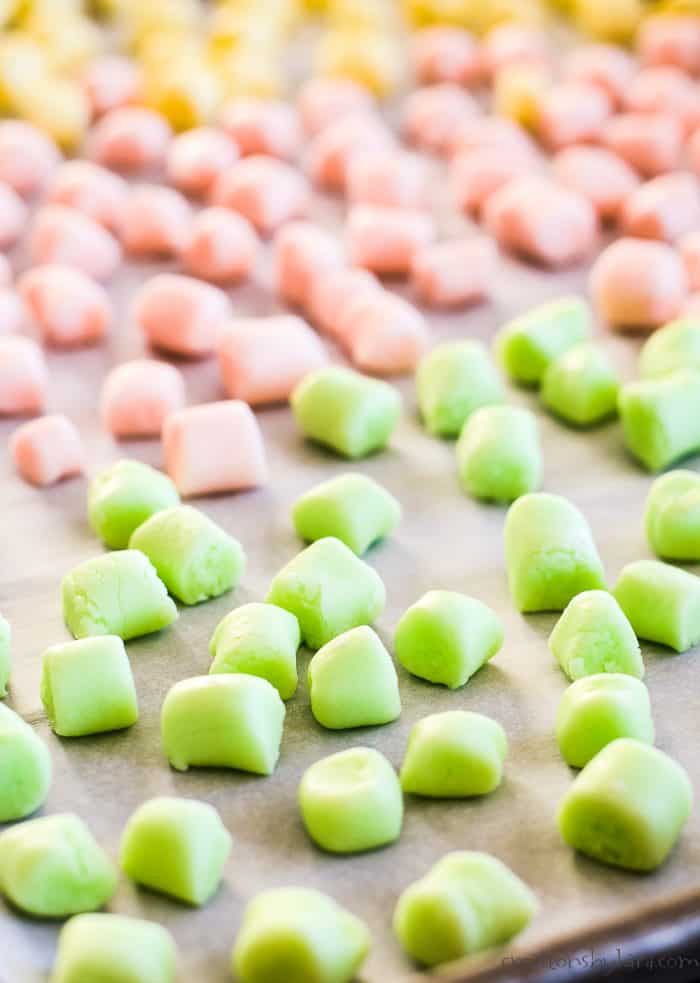
Place each mint on a cookie sheet covered with waxed paper. Let sit at room temperature for 24-48 hours to dry out.
Can I use peppermint extract or mint extract in place of the peppermint oil?
You can, but the mints may be a bit softer because you are adding additional liquid. You may need to add additional drying time. Start with 1/4 teaspoon – 1/2 teaspoon of peppermint extract and add more to taste.
BUTTER MINTS ARE PERFECT FOR PARTIES
One of the best things about making your own butter mints is that you can make them any color you need. You can adjust the food coloring to match any wedding theme. And of course you can make blue or pink mints for a baby shower.
Since I was just making them for my family, I stuck with the traditional pastel colors. After dividing my mint mixture into three parts, I added just a titch of yellow, green, and pink food coloring to each section. I used gel food coloring, and I used a toothpick to get a tiny drop of color.
HOW TO STORE HOMEMADE MINTS
-You can store these buttermints at room temperature. Because they are slightly soft, it’s best not to stack too many of them on top of each other. I like to divide them up and store them in sandwich size ziplock bags or small tupperware bowls. They will keep for about a week at room temperature, or up to a month in the refrigerator.
-If you want to store them longer, you can freeze them. Place them in heavy duty freezer bags or other airtight containers and they will last for about two months.
MORE EASY CANDY RECIPES
- Chocolate Peanut Butter Truffles
- Cookie Crunch
- Peanut Butter Fudge
- English Toffee Recipe
- Turtle Candy
- Easy Oreo Mint Candies
- Brigadeiro
- Pecan Caramel Recipe
- Rice Krispie Peanut Butter Balls
- Melted Snowman Bark
Homemade Butter Mints
Butter Mints

Creamy, melt in your mouth mint candies. Perfect for weddings and showers!
Ingredients
- 1/2 cup butter, softened
- 1 Tbsp cream
- 1 pinch salt
- 5-6 drops peppermint oil
- 3 3/4 cups confectioners sugar (powdered sugar)
- 2-3 drops food coloring, optional
Instructions
- Beat butter, cream, salt, peppermint oil, and 3/4 cup of the powdered sugar in a Kitchenaid mixer till very smooth and creamy.
- Slowly add in the remaining powdered sugar, scraping the sides of the bowl often. Add food coloring if desired. Beat for 2-4 minutes, or till smooth and fluffy.
- Scrape all of the mixture onto a large piece of plastic wrap. Wrap tightly. Chill for at least an hour.
- When mixture is firm enough to handle, divide it into 5 or 6 pieces. To form mints, sprinkle your counter liberally with powdered sugar. Roll each piece out into a rope about 1/2" thick.
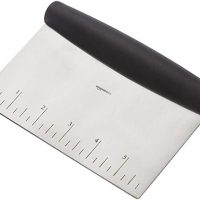
- Use a dough scraper to cut each rope into small pillow shaped pieces approximately 1/2" long. Place each mint on a cookie sheet lined with waxed paper. Let mints sit at room temperature for at least 12 hours to dry out.
Notes
I used food grade peppermint essential oil, but you can also use the peppermint oil you find on the candy making isle.
Recommended Products
As an Amazon Associate and member of other affiliate programs, I earn a small amount from your purchase, no cost to you.
Nutrition Information:
Yield:
15Serving Size:
1Amount Per Serving: Calories: 174Total Fat: 7gSaturated Fat: 4gTrans Fat: 0gUnsaturated Fat: 3gCholesterol: 17mgSodium: 59mgCarbohydrates: 28gNet Carbohydrates: 0gFiber: 0gSugar: 27gSugar Alcohols: 0gProtein: 0g







at least 12 – as in twelve – hours ?
Yep, 12 hours. That allows the flavors to blend together, and gives the mints time to dry out enough that they don’t stick together. I think they taste even better after 24 hours. 🙂
These are my favorite! I eat a whole bowl of them any time I see them, so I had to make these. So easy and even better than the stuff at the store!
These buttermints are amazing and super easy to make. Perfect for the holidays. 🙂