DIY Orange Bath Bombs – save money by making your own fizzy bath bombs right at home!
Soaking in a warm tub can be so therapeutic, and it’s even better when you have the benefit of a sweet orange scent to enjoy.
 Orange Bath Bomb Recipe
Truth be told, I am more of a shower girl than a bath girl. But there’s just something magical about dropping a bath bomb into your bath water and watching it fizz right before your eyes. It’s just so relaxing.
Sometimes I like to make smaller versions and just drop them into a small bin so I can soak my feet. This way I can watch tv or read a book while enjoying the benefits of a relaxing soak. No worrying about dropping anything into the bath water. Haha.
Bath bombs are so trendy right now they are practically flying off boutique shelves. Store bought lush bath bombs are pricey, but did you know you can make your own at home with just a few simple ingredients? You will save a lot of money too – money you could use to buy chocolate to enjoy while you soak in the tub. 🙂
How do you make homemade bath bombs?
Ingredients:
- baking soda
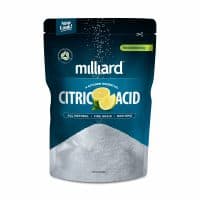
- citric acid
- cornstarch
- epsom salt
- orange zest
- coconut oil (or almond oil)
- orange essential oil
- orange food coloring (optional)
- water
This simple bath bomb recipe will have you making bath bombs like a pro in no time!
Basically all you have to do is mix up your dry ingredients in a small bowl, then slowly add the oils and a bit of water. I like to use essential oils to scent my bath bombs because they are all natural, but you can use regular fragrance oil if you prefer.
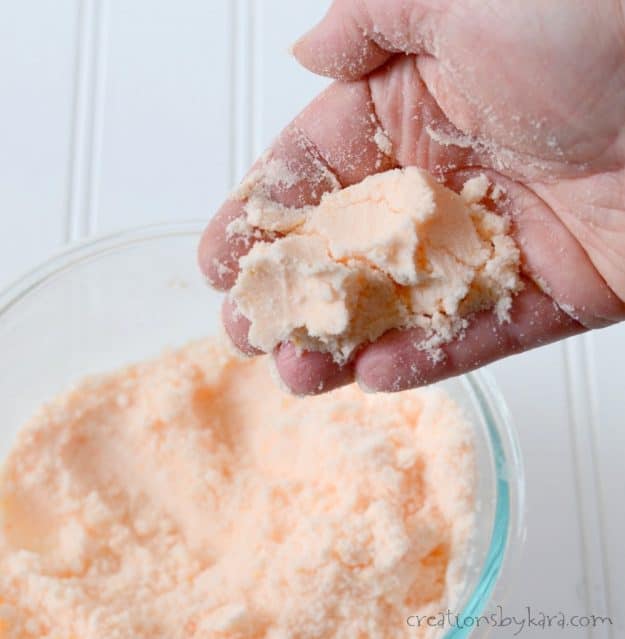
Spritz the mixture lightly with water just till it forms together. Don’t add too much water, or you will activate the soda and acid and your mixture will start to fizz. It’s kind of like playing with sand, but trust me, it smells much better!
After you have everything mixed together, you just need to mold your bath bombs. Most bath bomb recipes recommend using round bath bomb molds, but you can use plastic ornaments, silicone molds, muffin tins, or even Easter eggs. For a rustic look, you can even just roll them into balls by hand.
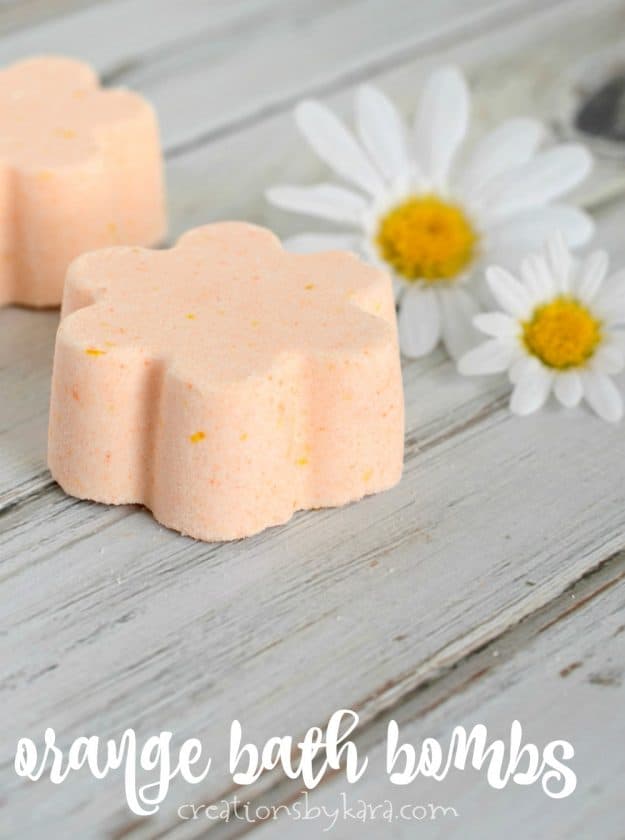
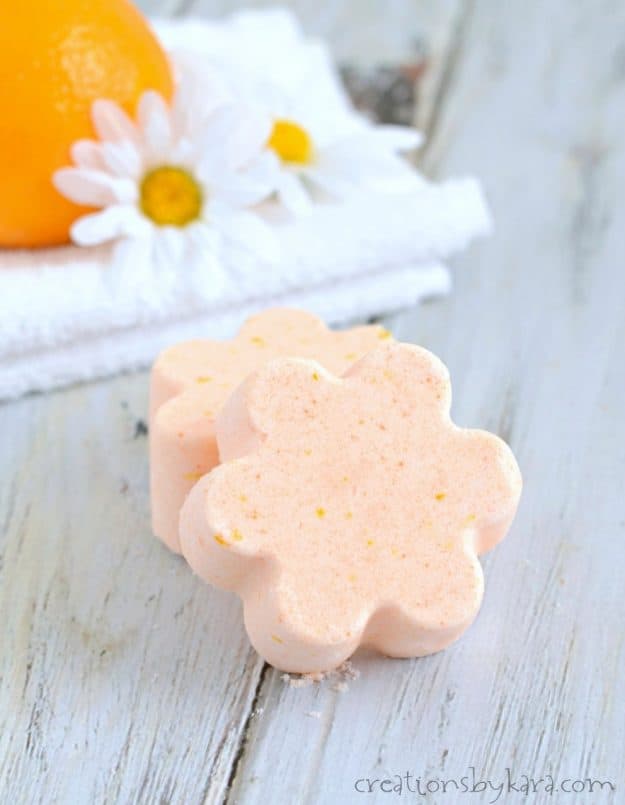
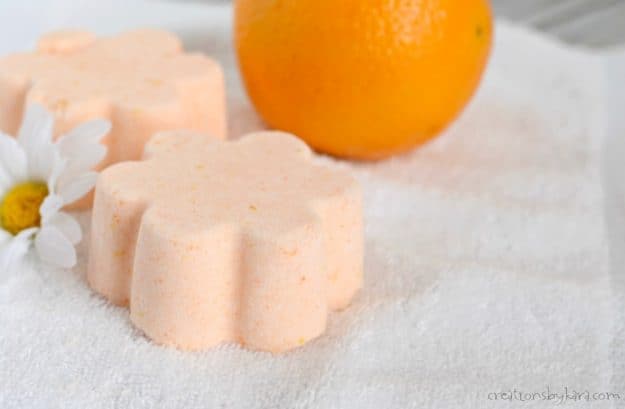
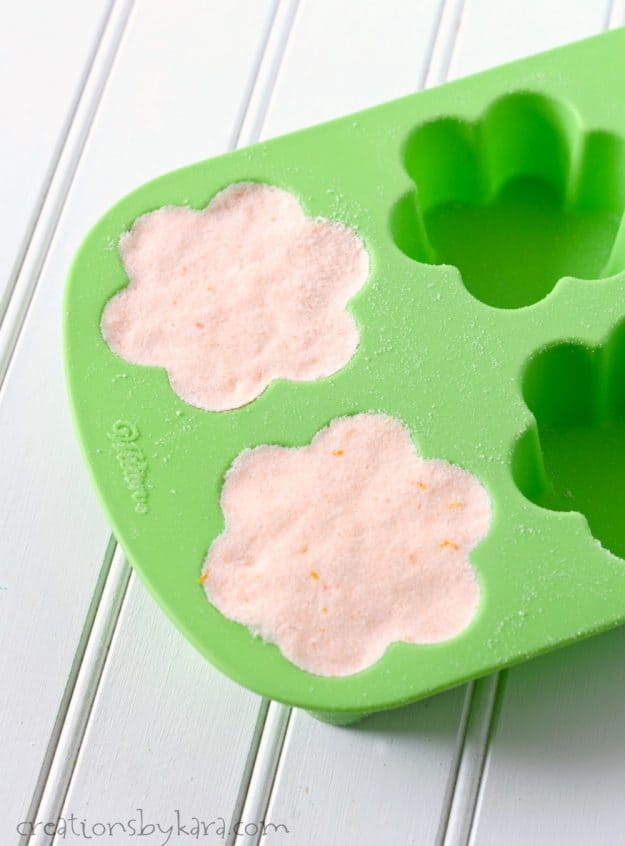
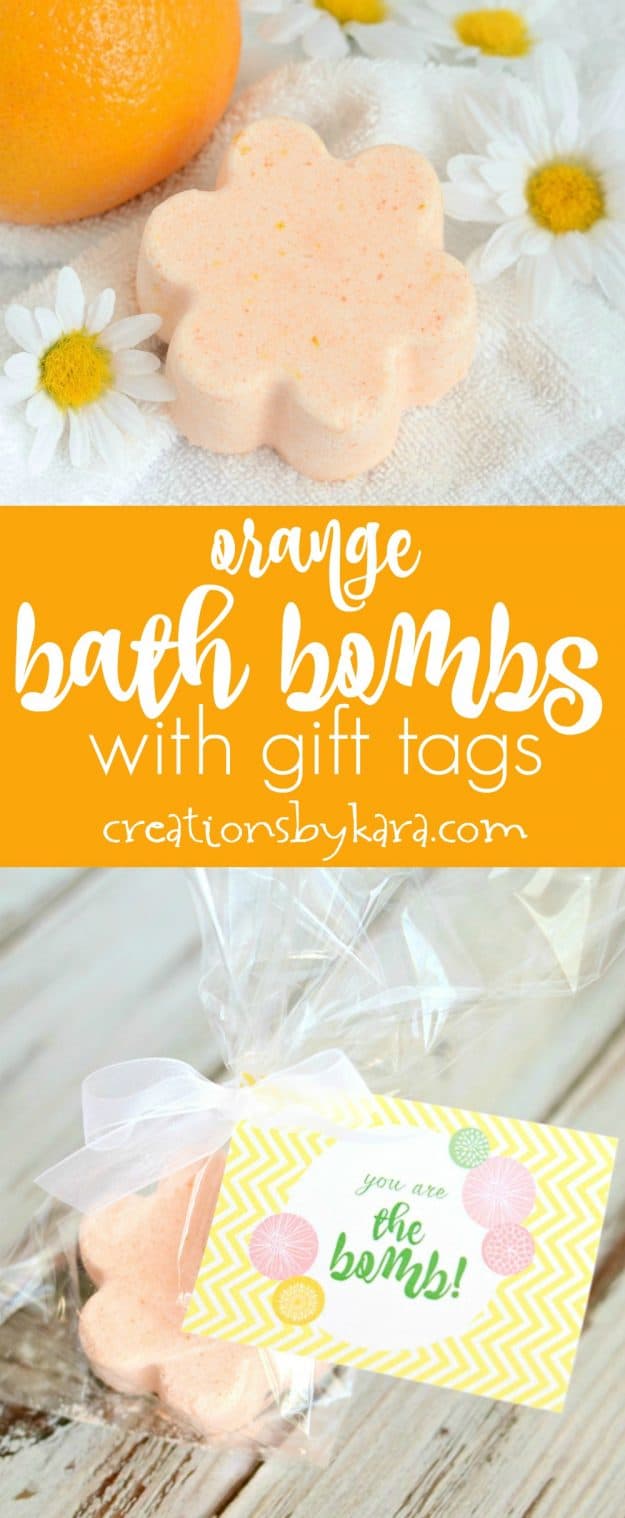
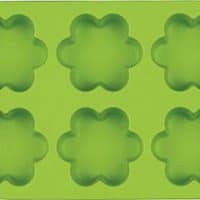
I used a silicone flower shaped mold for mine, and I think they turned out so pretty! Just make sure you press the mixture very firmly into whatever mold you use.
DIY Bath Bath Bombs Make Great Gifts!
After they dry for several hours, you will have beautiful orange bath bombs all ready to use. Just drop one in your bath full of hot water, then sit back, breathe in the refreshing citrus aroma, and RELAX!
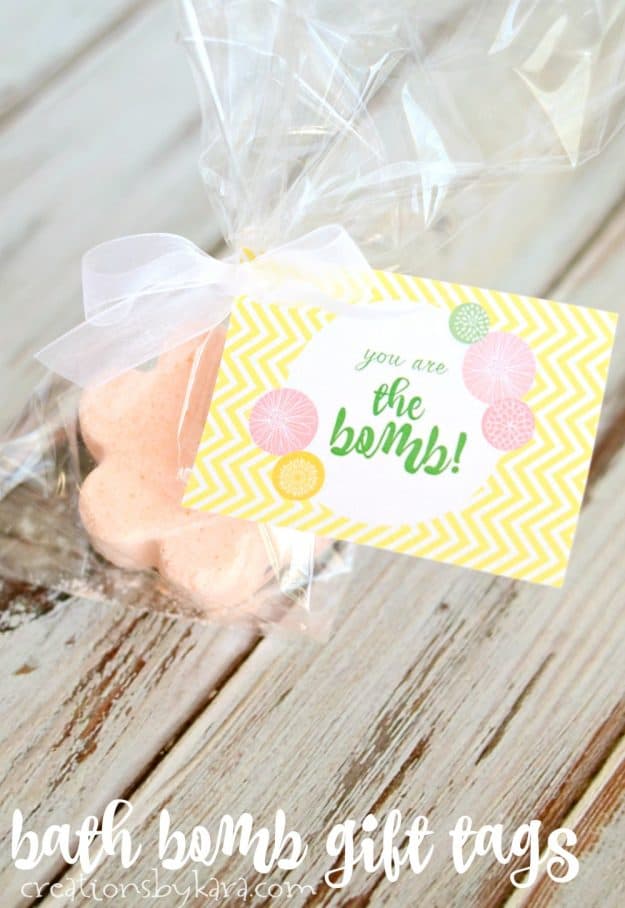
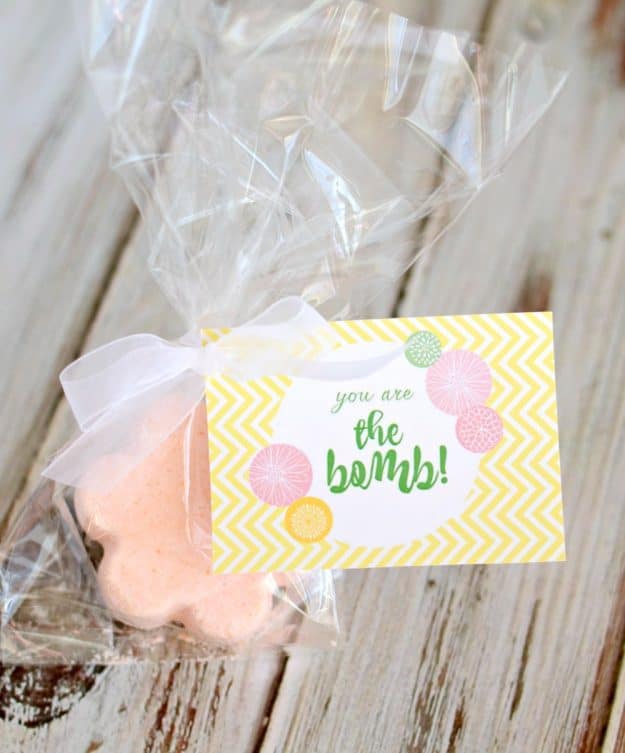
You can keep them for yourself, or you can give them as gifts. I am including some free printable gift tags that you can use. Just place a bath bomb or two in a cellophane bag, tie on the tag with some cute ribbon, and you have a perfect gift!
They are a perfect gift for coworkers, friends, neighbors- basically anyone who loves baths! Who doesn’t enjoy the sweet smell of orange while they are relaxing in the tub?
To download the gift tags, just click the link below. It will take you to a PDF file. You have the choice of printing a page with just two tags, or a full page of six. I like to print mine on white cardstock.
Bath Bombs Gift Tags
A few more diy bath bombs and sugar scrubs to try:
MORE DIY PROJECTS:
- Brass Fireplace Makeover
- Repose Gray Paint
- Staircase Makeover
- How to Install Trim
- Corner Bench
- DIY Wood Shutters
- How to Stain Wood
Orange Bath Bomb Recipe
Easy Bath Bomb Recipe
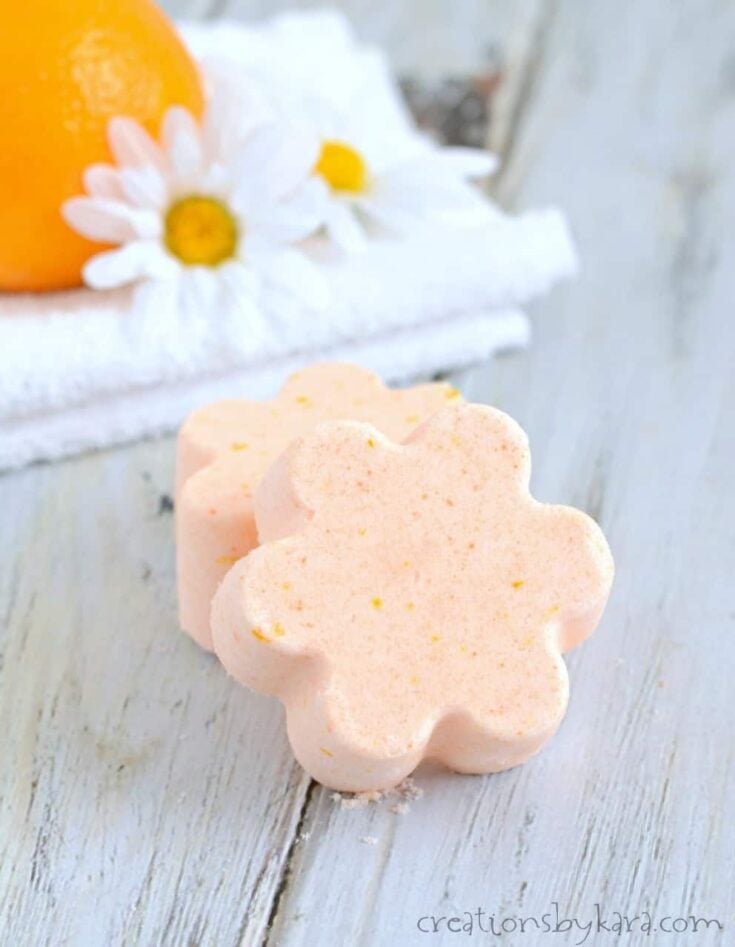
Orange scented bath bombs are easy to make at home, and they make great gifts!
Ingredients
- 1 cup baking soda
- 1/2 cup citric acid
- 1/2 cup cornstarch
- 1/4 cup epsom salt
- 1 tsp orange zest
- 1/4 cup coconut or almond oil
- 16-20 drops orange essential oil
- Orange food coloring (optional)
- Water
Instructions
- Combine baking soda, citric acid, corn starch, epsom salt, and orange zest in a mixing bowl. Whisk till free of lumps.
- Melt coconut oil in a small glass bowl in the microwave. Add the orange essential oil and food coloring if desired.
- Add the oil mixture to the dry mixture and mix well with your hands. Lightly spritz with water a couple of times to get the mixture to barely hold together. Don't add too much!
- Press the mixture firmly into molds. I used cute flower molds, but you can use a plastic ornament mold, or even a plastic Easter egg.
- Let dry for at least 4 hours before carefully removing from molds.
Notes
-Recipe originally posted on I Heart Naptime
Recommended Products
As an Amazon Associate and member of other affiliate programs, I earn a small amount from your purchase, no cost to you.
(Originally published Feb 15, 2017, updated 4/2019.)

 Orange Bath Bomb Recipe

Excited to Make these! Should the zest be dried first to avoid mold or is that not an issue?
I just use fresh zest, and I’ve never had an issue with it. 🙂
I like your variation, especially with the orange zest. I recently made some for birthday gifts for some teenage girls and they were a hit.
What a simple project to make for a baby shower favor!
I love that idea Melanie!