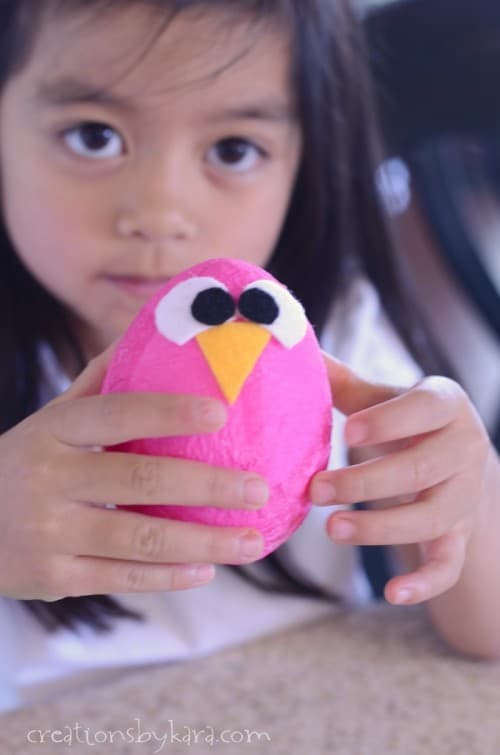
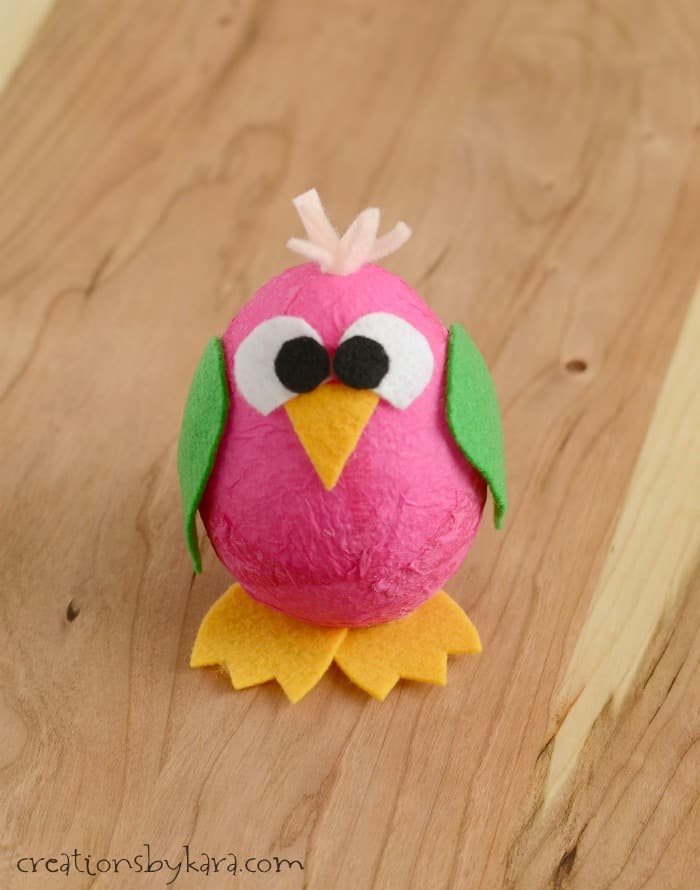
Kids Craft Idea- These cute little baby birds are a great way to keep kids busy for an afternoon. They are easy to make with the free pattern, and so cute!
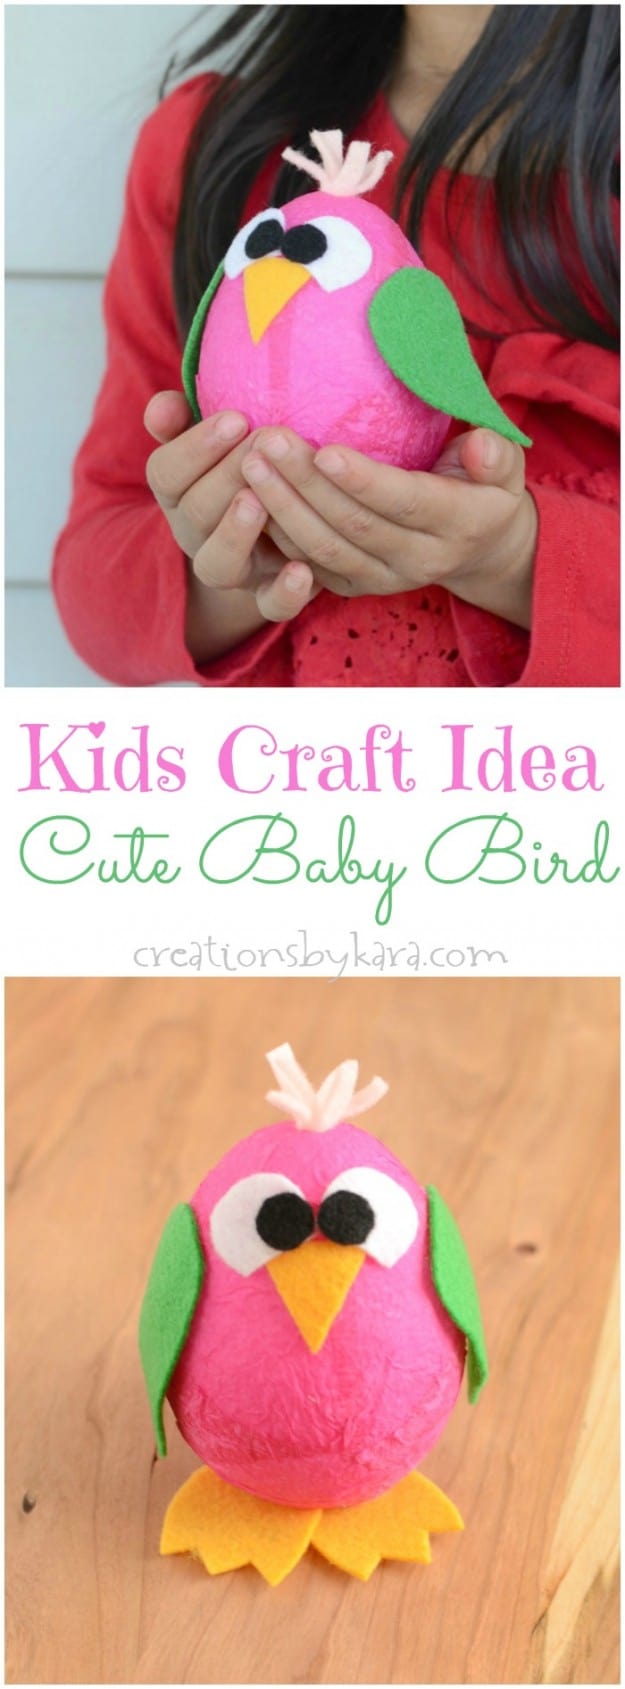
The theme for the Make It Fun Crafts® challenge this month is Kids Crafts. I was given supplies and a gift card, and had to come up with an idea. To be honest, I was a little nervous. My four boys were never into craft projects, they always preferred playing sports. And I wasn’t quite sure if Rachel was quite ready to enter the world of crafting. She’s only 4, and her attention span is about as long as a pencil eraser.
But we actually ended up having a lot of fun together. (After the initial tantrum when she found out she couldn’t do it all on her own, she’d need some help from mommy. Little miss independent.) When the box came in the mail filled with eggs, she was over the top excited. She thought it was Easter again. Haha!
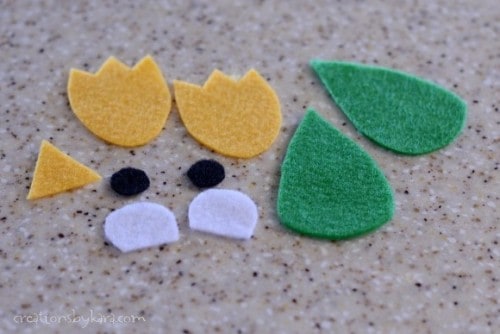
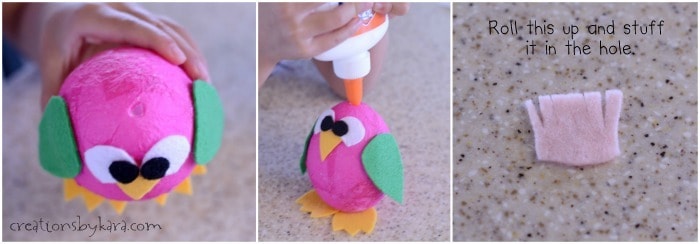
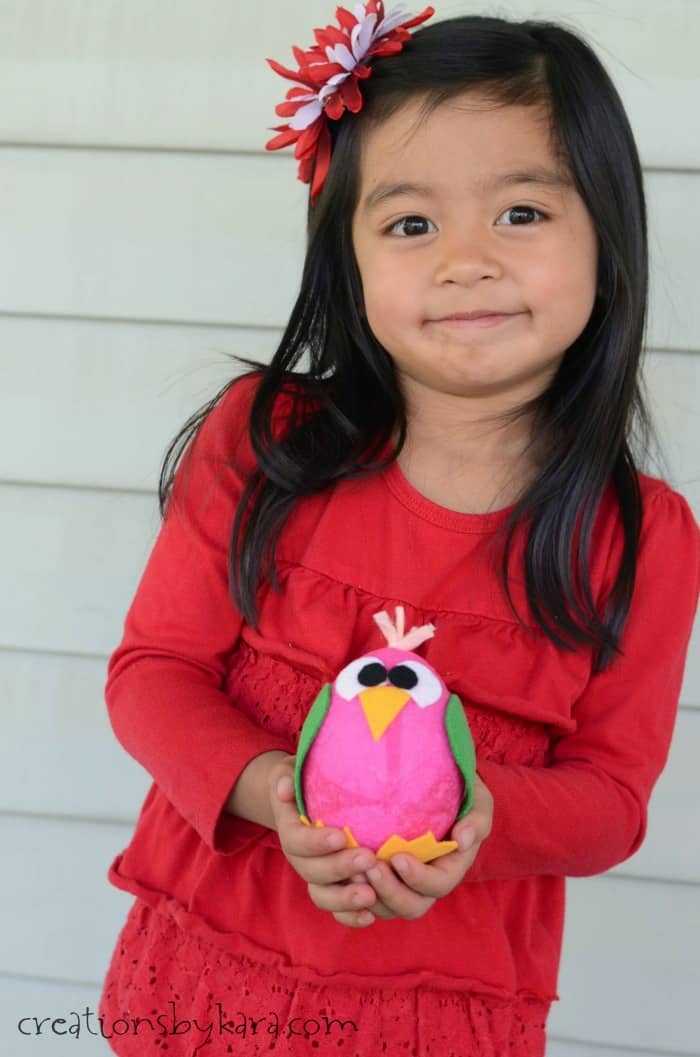
When I told her we’d be making a baby bird, and showed her the pretty colors of felt, she was on board. She loved working with the glue! Obviously I had to cut out all the pieces, and poke the hole in the top of the egg. But she had lots of fun, and is so proud of her bird. I see a crafting partner in crime in the near future. 🙂
Here’s how you and your kiddos can make your own Baby Bird.
Kids Craft: Baby Bird Tutorial
Supplies:
–FloraCraft® Make It: Fun® Foam Eggs
-Napkin (or tissue paper)
-Glue, paper plate, and brushes
-Felt scraps, scissors
–Free pattern, pencil or pen
Instructions:
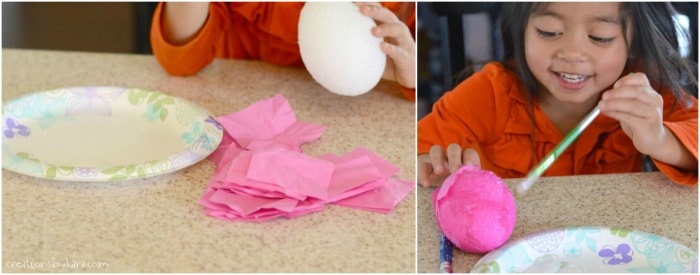
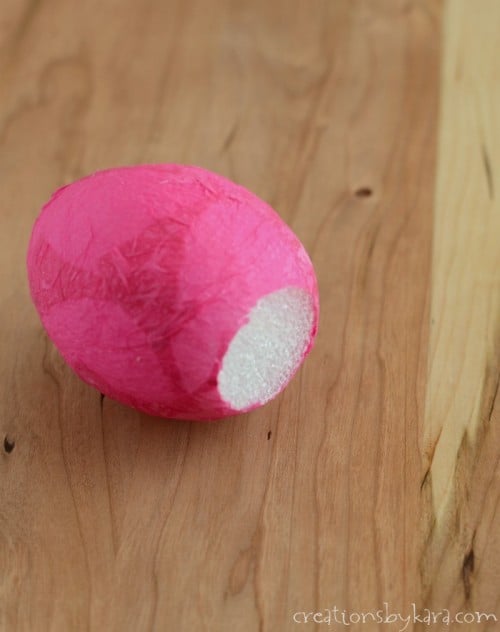
First up you want to slice off a thin piece at the bottom of the egg so your bird will stand up. I actually forgot this step and had to do it after we covered it with paper. Cut the napkin into approximately 2″square pieces. They don’t need to be perfect. Apply a liberal layer of glue to the egg, then press the pieces of paper on, then add more glue over the paper. This is a messy step, so Rachel loved it. 🙂

This is great idea I am going to do with my daughter she will love it!
I hope the two of you have a fabulous time! 🙂
We found you at today’s “The Crafted Sparrow’s Creative Collection Link Party” (our first time there)! Your project caught our eye. Will definitely be doing this with our collection of owls!!! Thank you for the inspiration!
Both the girl and the bird are adorable! This is such a cute ideas! I am visiting from CraftsALaMode today.
What a sweet little guy!
This is sooo adorable! I need to make one with my baby girl! Thank you for sharing this super cute project idea, pinning it!
Thanks so much! Hope you have as much fun as we did. 🙂
What a pair of cuties — the bird and your little girl! How awesome that you have a little crafter. Thank you, Kara.
What a cute project. My girls would love it, and I love the pics of Rachel. She sure has grown up since we’ve seen her.