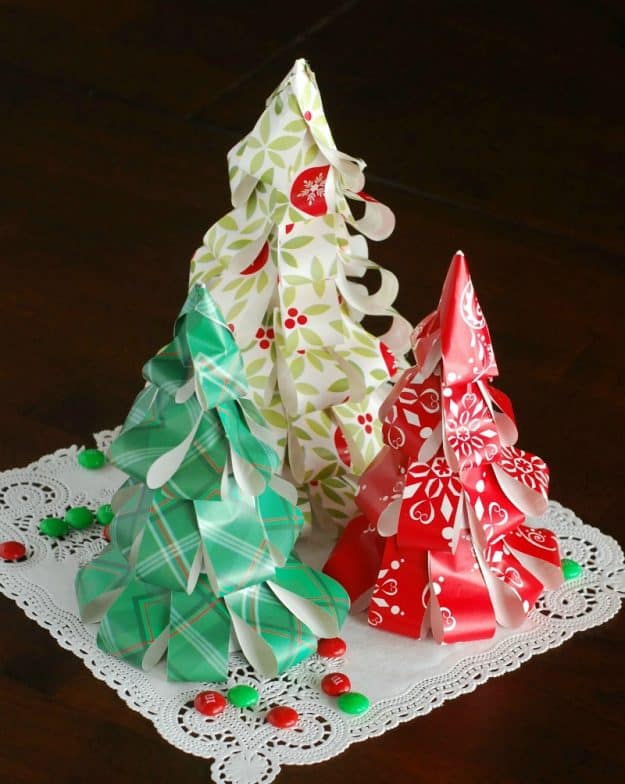
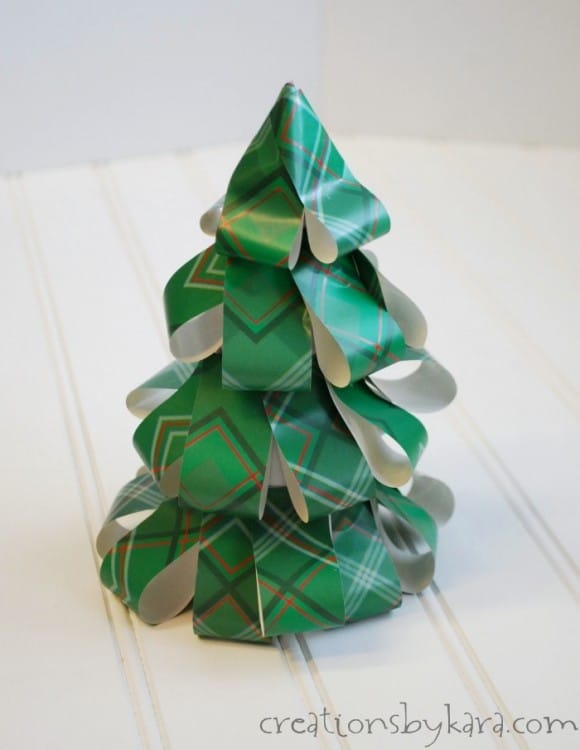
Wrapping Paper Christmas Trees . . . these simple and inexpensive paper trees can be made in any color to match your Christmas decor.
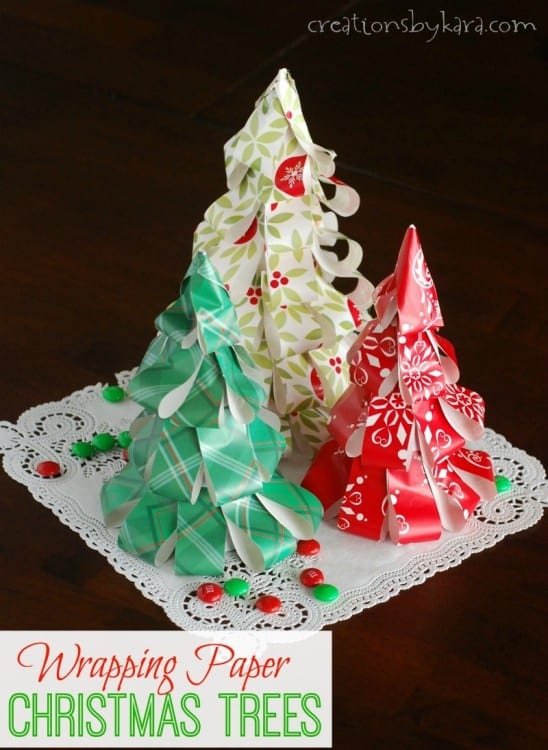
I was put in charge of the Christmas decorations for our ward (church congregation) Christmas party. I had to come up with 30 centerpieces for basically no cost. Kind of a daunting challenge, no?
While unpacking my Christmas decorations, I came across my fabric Christmas trees, and figured I could make them even cheaper by using paper. Then while at the Dollar Store, I saw all the pretty Christmas wrapping paper, and the idea was born.

At the actual party, the tablecloths were white, so I used colored napkins under the trees instead of doilies. But I really like the doilies better. Instead of sprinkling confetti around the trees, I opted for M&M’s. I knew that with 100+ kids running around, that would mean no clean-up! Confession: The night of the party, things were so crazy that I didn’t actually remember to put the M&M’s out. 🙂
I had several people come up to me that night and ask how I made these trees, so thankfully I took photos along the way! They really are simple to make, and they come together pretty quickly. But if you have to make 90 trees, you are going to need some help. I spent over 10 hours, and that was with help from several of my YW leaders!
How To Make Wrapping Paper Christmas Trees
Supplies:
–Wrapping paper (If you can find the kind with the grid printed on the back, it will be a huge time saver!)
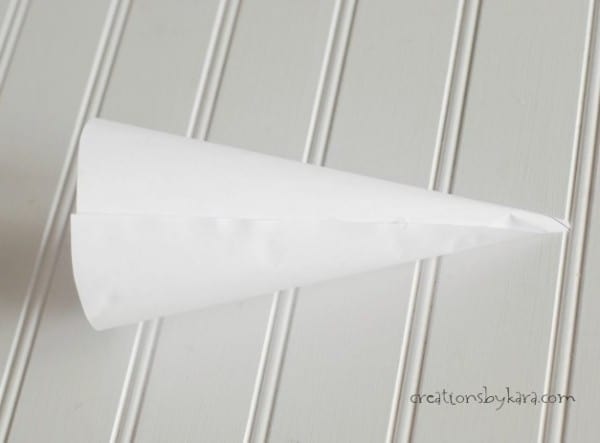
-Paper or cardstock for cones
–Scissors
–Glue sticks
–Hot glue gun and glue
-Ruler and pencil if you are using non-grid wrapping paper
-Clothespins (optional)
Instructions:
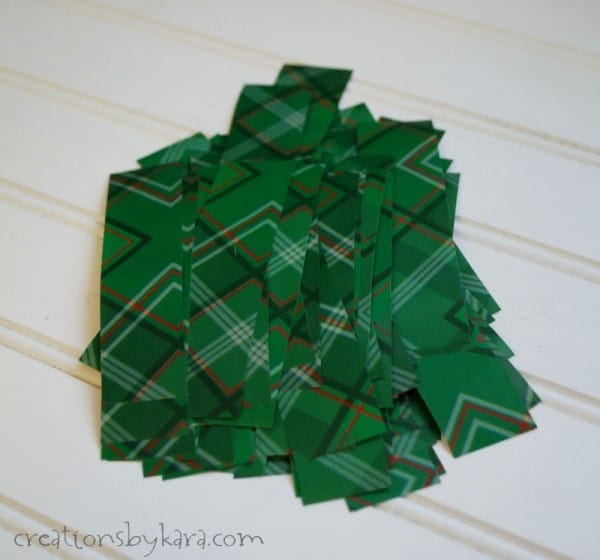
1- Cut out all your strips of paper. I found it much more efficient to cut multiple strips of wrapping paper at the same time. Here’s how I did it:
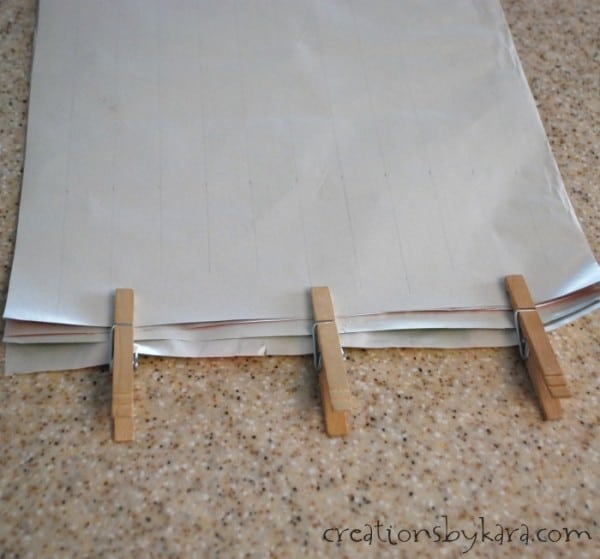
Cut 6-7 pieces of wrapping paper that are all approximately the same width. (Your cut lines don’t need to be perfectly straight.) If you don’t have the grid paper, you need to make 1″ lines across the length of the paper. Starting on one of the straight side edges, use a yardstick to mark 1″ lines across one of the pieces of wrapping paper. Stack all the pieces with the marked piece on top, and the straight edges lined up evenly. Use clothes pins to secure the pieces of wrapping paper together. Now you can cut through several pieces at once, saving yourself lots of time!
This photo shows my wrapping paper after I had already cut half of the strips. I also have clothes pins at the top end, you just can’t see them.
2-After you have all your long strips of paper cut, trim them down so they are 4 1/2″ long.
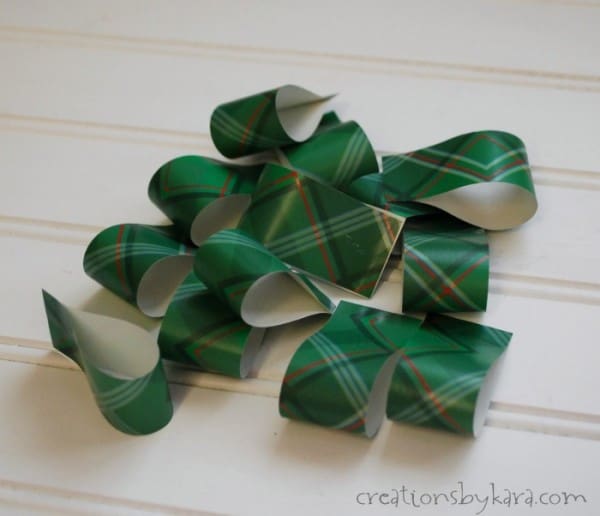
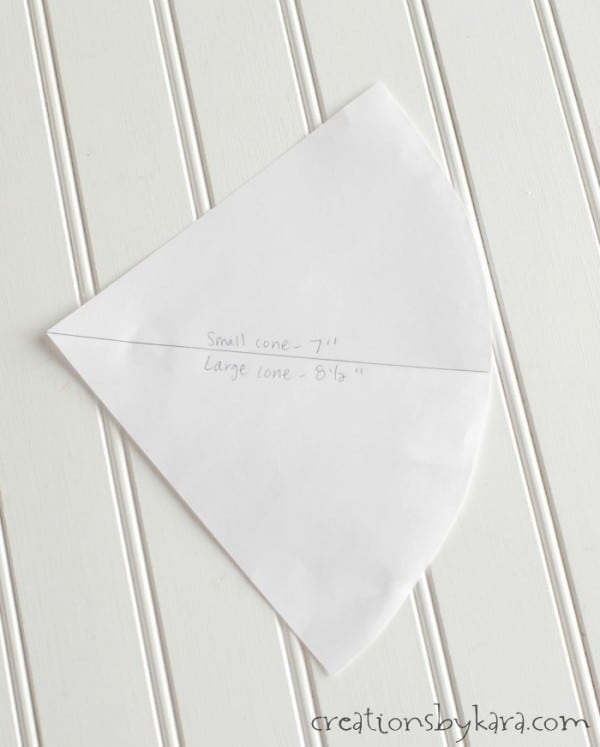


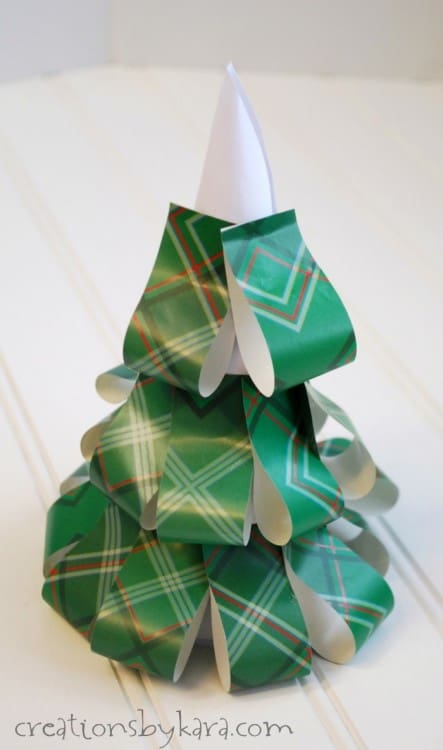
If you want, you could attach a ribbon or paper star at the top of each tree, but I just left mine as is.
If you love these wrapping paper Christmas trees, check out these projects:
Book Page Christmas Tree Banner
Circle Punched Christmas Trees
Book Page Christmas Tree Ornament



Almost 10 years later and I’m here looking for ways to decorate for my ward christmas party 🙂 love it, thanks for the tutorial!
Haha, that’s a job that I am often in charge of. Glad it was helpful for you!
Thanks for sharing the ideas.
You are so welcome Nina! Thanks so much for taking the time to stop by and leave a comment. 🙂
Thank you Kara beautifully created…I would add a little glitter to make the trees sparkly like the Lord Jesus’s sparkling ♥️ Love to all people…May the Lord bless all your creativity thank you again for sharing your adorable talent????☃️❄️☃️????❄️☃️????❄️☃️????❄️☃️????❄️☃️????❄️☃️????♥️
I love these! So simple and adorable!
Thanks so much Amy!
Way cute! Pinning to make! Super cute and easy. These could be cute center pieces for a Christmas party!
Very pretty! Our ward Christmas party had “zero” budget for decor too, so we used small nativity sets as centerpieces. I imagine making some pretty ornaments with loops of wrapping paper would be nice too. Our tree is super sparse & could use some extra pops of color. I love the pinwheel looking ones I made with scrapbook paper last year after seeing your tutorial, but wrapping paper would be even more economical! Looking forward to seeing you again next week.