Well ladies, it’s time for the next installment of my Interchangeable Book Page Wreath. This time around I’m doing a Christmas version. It took a couple of tries before I came up with a center embellishment that I was pleased with. My first attempt involved making a 3-D star, the second involved trying to use greenery. Neither option turned out how I envisioned it. So I tried a third time and came up with this:
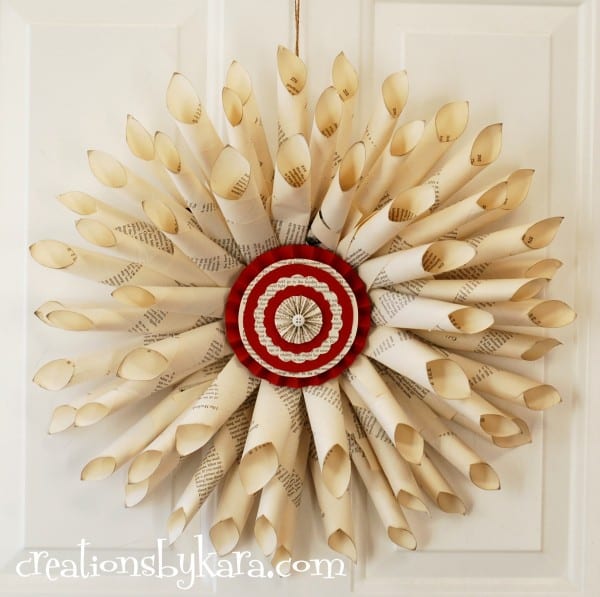
It was actually the most simple to make, and I liked it the best. Just wish I woulda thought of it first before wasting time on my other two ideas!
I am including the instructions in case you’d like to make your own.
Interchangeable Book Page Wreath–Christmas Version
Supplies:
–Book Page Wreath (click for instructions if you don’t have one)
-Cardstock and book pages
-*Electronic cutter (like a Silhouette), or free downloadable patterns
-Scissors and pencil
-Scoring table and bone folder (for the paper medallions)
-Hot glue gun and glue
-Button
-Foam core board or cardboard
-Velcro
*I know that most of you probably don’t have a Silhouette machine, so I am including the patterns for the circles and the scalloped circles. I cut mine by hand, so it is doable. 🙂
Instructions for the center of the wreath:
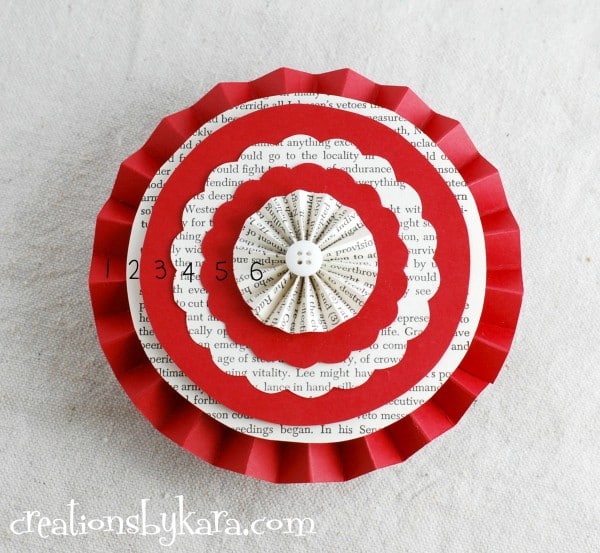
Layer 2: Cut a 4 1/2″ circle out of an old book page.
Layer 3: Cut a 3 7/8″ circle out of cardstock.
Layer 4: Cut a 3 1/4″ scalloped circle out of a book page.
Layer 5: Cut a 2 1/2″ scalloped circle out of cardstock.
Layer 6: Cut a book page into two 3/4″ strips. Cut off the ends where there is no printing. Carefully score both strips every 1/4″. Form into a medallion.
Layer 7: A small button or embellishment of your choice.
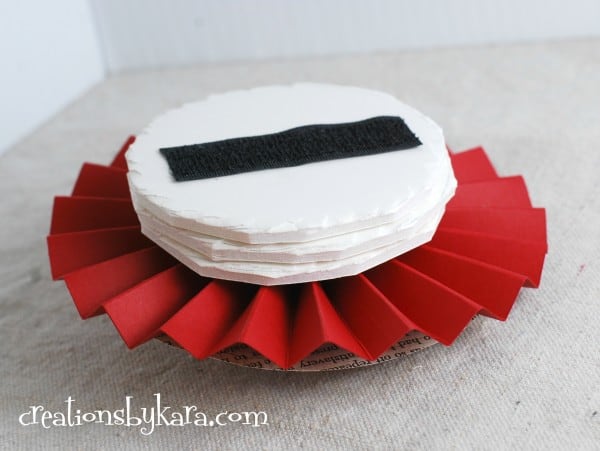
After you have all the layers completed, hot glue them together starting at the bottom and working your way up. If you are making a regular book page wreath, you can just add hot glue around the edges and glue the whole thing into the center of your wreath.
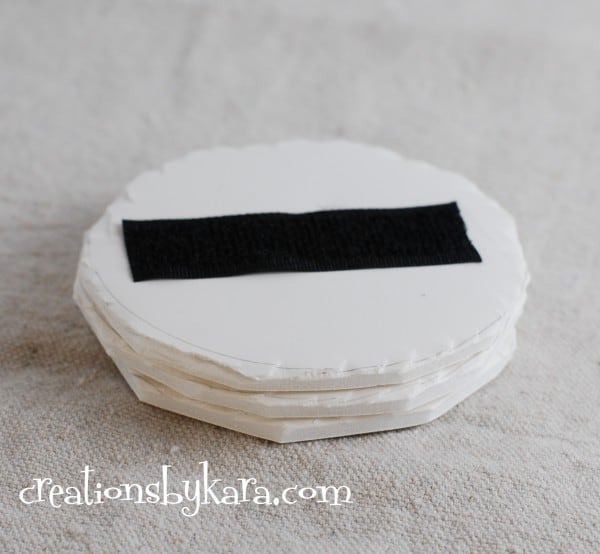
If you are making an Interchangeable Book Page Wreath, you need to add some height so that the velcro can touch in the center without smashing your wreath. I cut three circles out of foam core board, hot glued them together, and hot glued the velcro across the center.
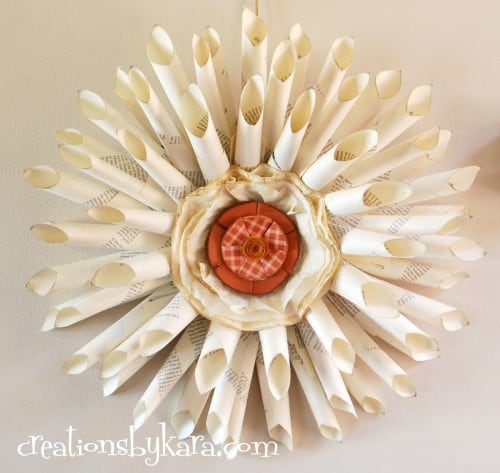
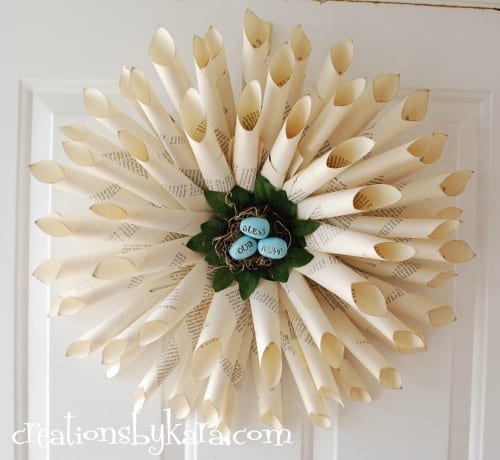
And in case you missed them, here are the previous versions of my interchangeable wreath:




Good write-up, I’m regular visitor of your web site, and I love this wreath!
I have been absent for a while, but now I remember why I used to love this blog. Thank you, I will try and check back more frequently. How frequently you update your web site?
I usually post twice a week. 🙂
super cute, and fantastic tutorial Kara!
thanks for sharing at CCC, catching you this week
gail
I think that wreath is so gorgeous! I love that it’s interchangeable too. I confess that part of me is always itching to see it against a contrasting background- black or burgundy or chocolate brown- to make the beautiful shape stand out.
I love the interchangeable idea and I am going to “borrow” it. Lovely!
Kara, That is AWESOME! Do you keep it up year round? If you don’t how do you store it w/o it smashing. Thanks for sharing! Barb
Thanks Barb! Yes, I do keep it up year round. I have found that it does get easily smashed, so I moved it from my front door to my mantel so it will last a little longer. 🙂