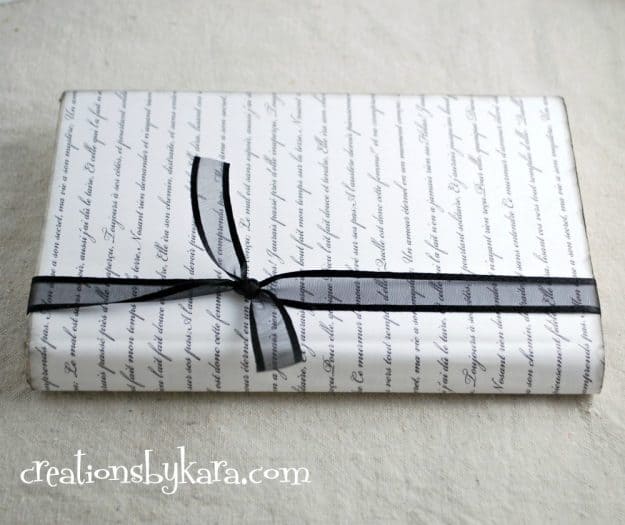
![]() Paper wrapped vintage books are an easy and inexpensive way to add a little charm to your home decor. You can customize them for any holiday or color scheme with a little ribbon!
Paper wrapped vintage books are an easy and inexpensive way to add a little charm to your home decor. You can customize them for any holiday or color scheme with a little ribbon!
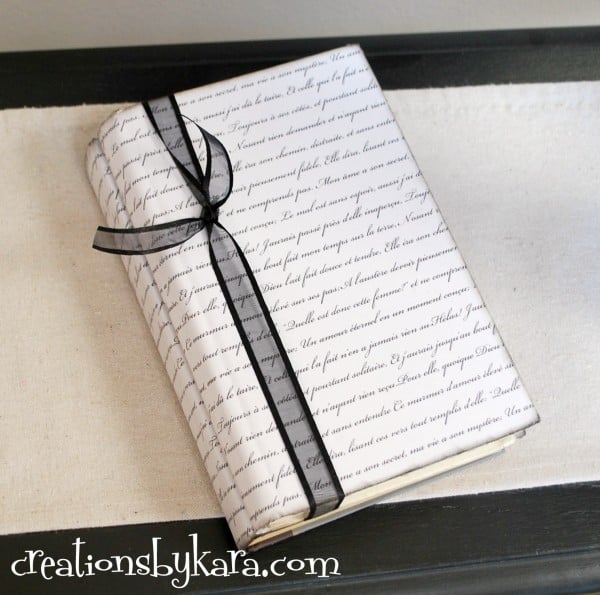
I am a big fan of using old books in my decorating. Sometimes I use the book pages, but I also love using the actual books. They are a great way to add height and visual interest to displays. Every time I go to the library, I check the box of books that they are discarding because they are damaged. Sometimes they are a quarter, but sometimes I can get them for free. I pick out the ones that look vintage but are still sturdy, and add them to my stash for when I need them.
I saw a cute idea over at Decor Chick for DIY painted and stamped books. Emily (who I happen to adore) used a script stamp for her books. But I don’t have one, and the nearest craft store is 40 minutes away. So I did what any DIY-er would do. I improvised!
I found a french poem online, copied and pasted it over and over again, and printed out my own script paper. If you would like to use it, just click on the link below, then print it out.
Script Paper for Vintage Books
Paper Wrapped Vintage Books:
Supplies:
-an old book (I used a hardback book)
-downloadable script paper (Unless your book is very small, you will need at least two copies)
–glue stick or spray adhesive
-scissors
-ribbon
–black ink and sandpaper (optional)
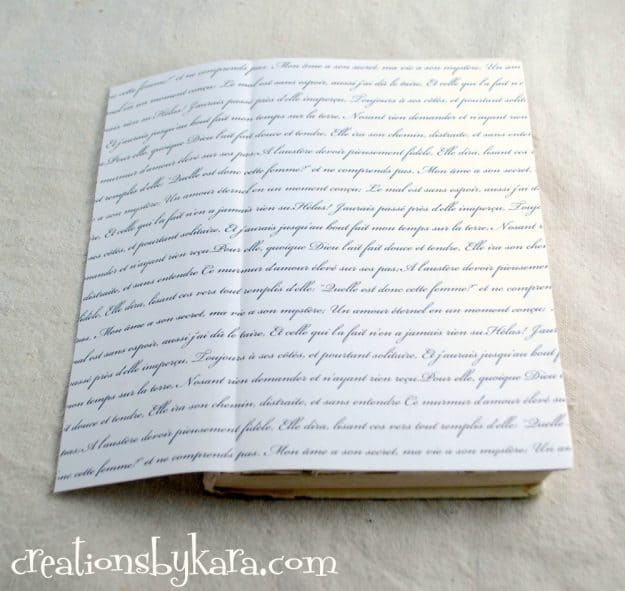
Cut the borders around the paper that your printer didn’t print on. Then carefully measure the height of your book and cut the two pieces of script paper to fit from top to bottom. Place one piece of paper on the front cover of your book, making sure it is straight. Use your fingernail or a pen lid to follow the crease at the side of the book. Tip: It is best to use a book that is small enough for your paper to wrap around the back.
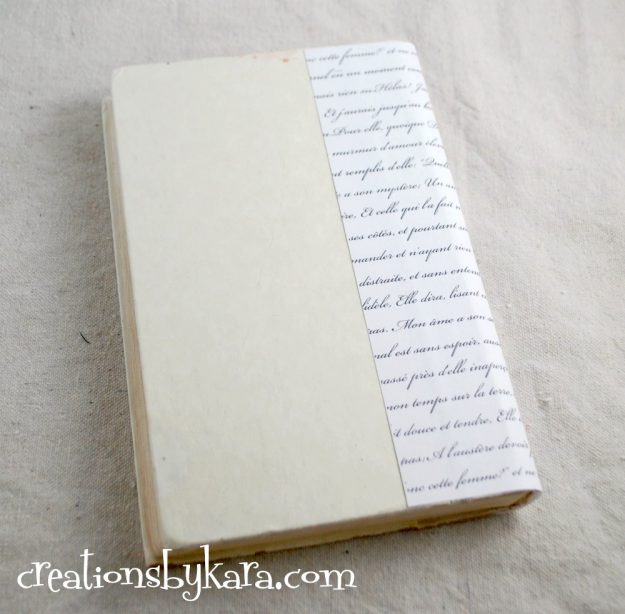
Use a glue stick or spray adhesive to attach the paper to the book. I glued the front first, then the binding, then flipped it over and glued the back. I used a glue stick and it worked just fine. You want your paper to wrap around the back by at least an inch, but more is OK.
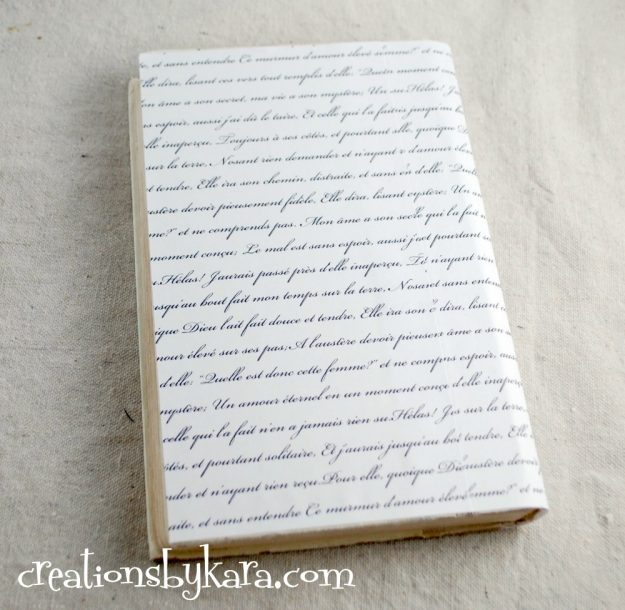
Now cut that second piece of script paper so that it is wide enough to cover from the edge of the book to about 1/2″ over the edge of the paper already attached. I’m OCD so I had to make sure my lines of script matched up, but no one will see it so it probably doesn’t matter that much. 🙂 Glue it on.
If you’d like, you can sand the edges a little. Then use some black ink to give it a more vintage, distressed look. To finish it off, wrap a ribbon around it and tie a knot. Easy peasy.
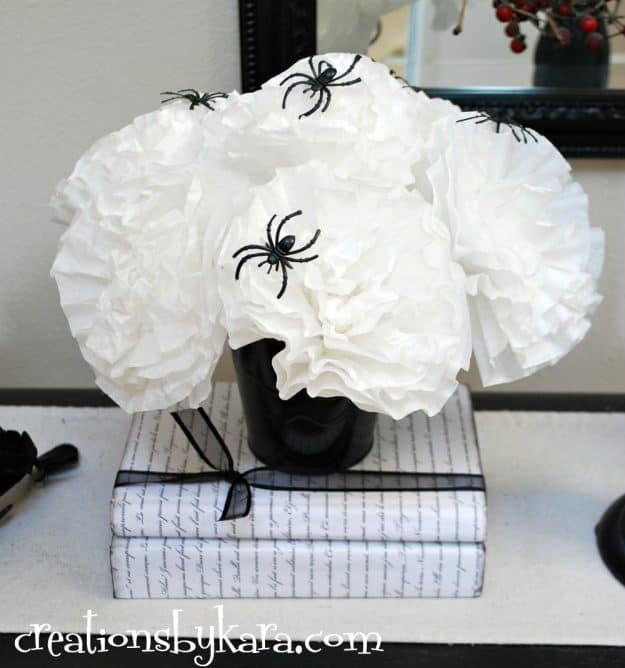
I stacked a set of two together and used them for my black and white Halloween entry table display.
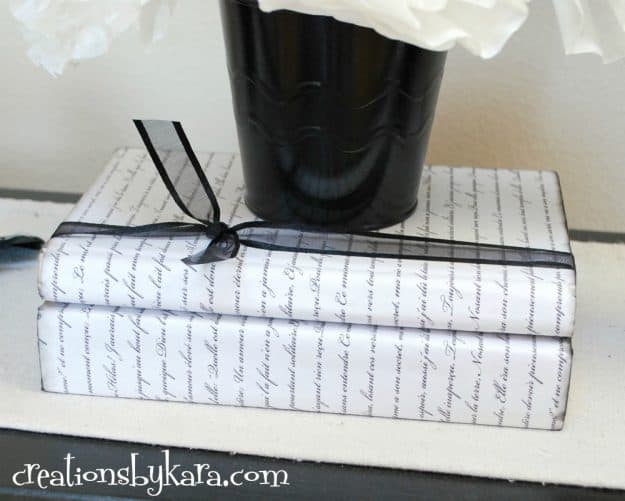
Here’s a little close up:
I am loving them with my Halloween display, but when the season is over, I’ll just swap out the ribbon to match my decor. Don’t you just love it when your projects multi-task? 🙂


These are too cute! I love how the books look. Great job Kara!
Thanks so much Taryn!
Cute!
Thanks my friend!