I shared this baby bib tutorial over at UCreate last month, but I realized that I never posted it here. I think it’s about time, don’t you? I came up with the idea when I was making my frayed edge baby quilt. I had some fabric left over and thought if a frayed edge quilt was cute, a frayed edge bib would probably be cute too. I am totally pleased with how they turned out! Wanna learn how to make some?
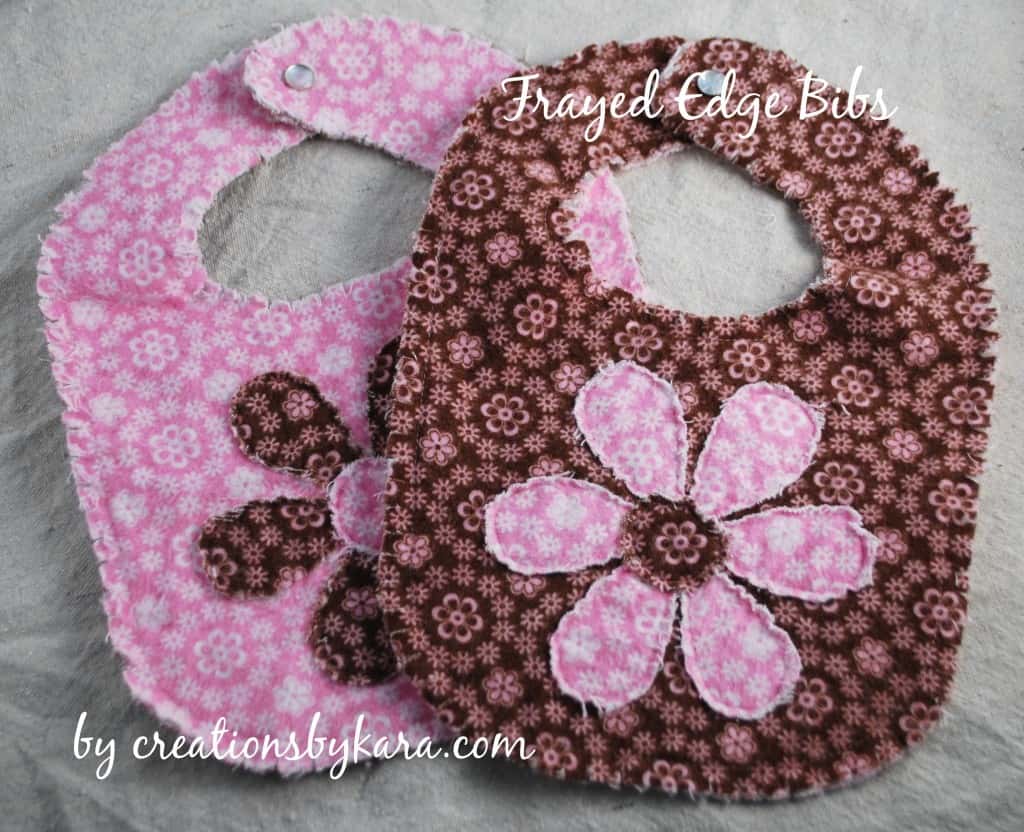 Baby Bib Tutorial
Here’s what you need:
-Fabric, enough for the back, front, and flower. I used about 1/4 yard.
-Bib pattern or old bib to trace. I traced a bib I already had, but you can find a similar pattern here.
–sewing machine and thread
-A pair of sharp scissors
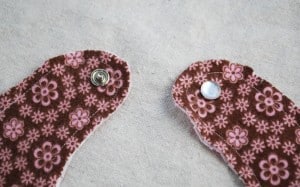
-A snap, and a hammer to attach it. (Or you could use the sew on variety.)
-A glue stick
Alrighty, here we go!!
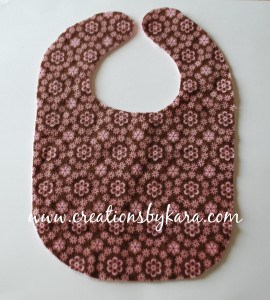
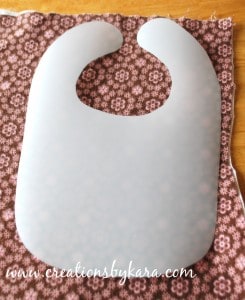
First you need to make a pattern by tracing a bib, or downloading one.
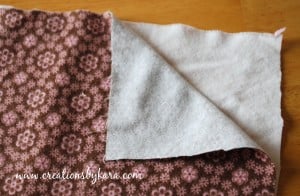
Take your two pieces of fabric and place them wrong sides together. I used two coordinating prints, but you could use the same fabric on the front and back.
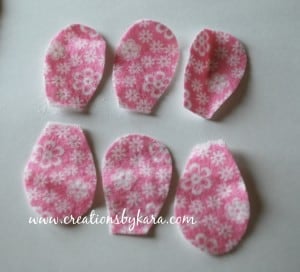
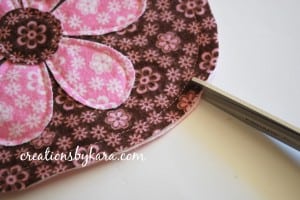
Cut out your six petals.
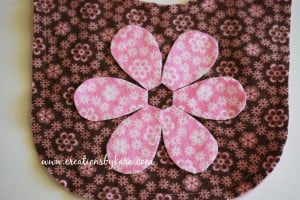
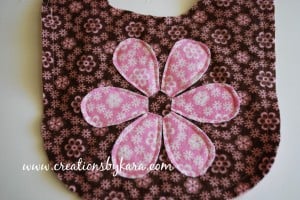
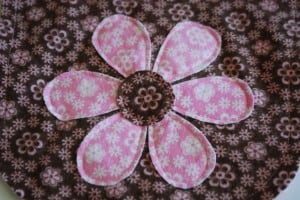
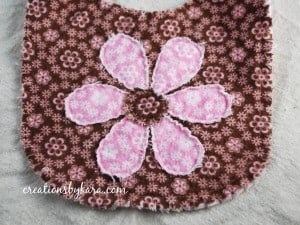
I hope you have fun making some adorable “rag quilt” baby bibs. Feel free to ask me any questions. 🙂

I feel like I’m the only 16 year old on this haha. Great idea I definitely will be making thesense for my own children and as gifts!
I seen another thing like this and they add alow loft batting to to the middle for absorbing better. Do you think this would work with these bibs?
I’m a grandma Kara , I have a special friend that I’d love to give that darling quilt too. I was wondering if you sell them and what is the price if so. Thank you so much they are darling quilt and bib…
These bibs have been fun to make, I’ve made two so far for my granddaughters. Thanks so much for sharing you great ideas, and making the instructions so easy to follow!
Hi, I want to thank you for the quilt tutorial, it was great and the steps were spelled out beautifully for a beginner (and I am). The cutting of all the edges for the final step just about put me over the edge, but I did it!! Very cute, now I’m going to try the bib!
So glad to hear it Linda! I’m with you on the cutting at the end. It does seem to take forever! Luckily the bib is much, much faster. 🙂
Sorry for coming to the party so late, but wanted to share that I have made bibs like this using denim for one or both of the layers. Worked out beautifully! Bibs were not only easy to wash but cute as can be.
Just wanted to say thanks for sharing your rag quilt tutorial. I am a beginner and I have almost finished a rag quilt within a few days. It is so pretty and easy with your help:) I can’t wait to do another but I want to make a bib next. Lol
Thanks again!!!
These are adorable! I have a three month old grandson who spits up and slobbers so much that he needs to have his outfits changed several times a day. So, I started making a wide variety of bibs. I have lots of odds and ends of flannel and have made them from two layers of flannel with a layer of lightweight felt in between. So far, he’s never soaked through any of them! Even if they get gross, changing his bib is much easier than changing his whole outfit!
I’ll use a different applique besides your flower pattern for my grandson’s bib but his dad’s best friend has a new little girl I need to make something for, so I will make her a pair of color coordinated bibs like yours. Thanks so much for sharing!
PS
I just finished one for my grandson. Instead of an applique, I put a strip of a print fabric down the center, for the top layer, with a strip of accent fabric on each side, When I put it together with the solid backing piece, I top stitched an eighth inch from the seams on the top piece, through the back. It’s not as thick as the other bibs I’ve been making, but my grandson will be here all day tomorrow, so we will see how it holds up to a day of spit up and slobber!
Love this tutorial and with 4 grandchildren, it seems the bibs I make for home walk away with the children. I love simple and easy. Thanks so much
Haha, bibs seem to be like socks that way, don’t they?
Hi, is this tutorial did you use flannel? and does it work on cotton?
Dear kara! I can not speak English, so I used the google translator! I was delighted with his work, too bad that in Brazil we have difficulty finding the materials they use, did not know the technical rag quilt and I’m in love! Congratulations on your work, beautiful …
I love this!! Great tutorial. Thanks for sharing.
Extend the one side to curve around and place the button on the front of the bib by the chin, as it is easier to button up, especially when your baby has hair.
Hi! I lucked upon your tutorial while looking for a baby rag quilt. We have a new grand baby on the way and want to try my hand at quilting. This project and the rag bibs are so cute! My question is… How would you do the rag quilt if you did not want to use any batting…. Just using it like a lap blanket, etc.? Do you do video tutorials as well? Thanks for sharing you creativity. Susan
love these! i can’t believe how simple they are to make! I also used your tutorial for the rag quilt you made with this same material. So easy to follow! thank you!
So fun having a matching set, isn’t it? I’m glad to hear that you made both of them, it makes my day! 🙂
I am making some of these today since I vowed to use up all my flannel pieces before I am allowed to buy anymore and JoAnns is having a big sale on the 5th of March, so perfect timing to find this pattern:) Thanks for sharing it with us!
Did you use cotton or flannel in the bibs pictured here? I am super excited to try making them!
I used flannel for mine, but cotton would work too. It just doesn’t fray quite as nicely.
I like this! Found it from pinterest. I ave a few coworkers who are pregnant….though I might do velcro instead of the snap! Thanks for sharing
Hi Kara! These are so adorable. I am just learning how to use my sewing machine, but would love to make these cute bibs. I featured them in my Friday Favorites!
http://www.laniejandco.com/2010/08/friday-favorites-82010.html
Thanks Lanie! I’ve already grabbed your cute button. 🙂
hey girl, just wanted to let you know i featured this today!
best wishes,
Linda
those are super duper cute!! thanks for leaving me a link 🙂
Super cute Kara! Thanks for planting your creative seeds at Plant a Punkin Seed Party!
Hugs,
Kristi
Punkin Seed Productions
Beautiful! I love these! I can’t wait for a friend to have a baby girl so I can make one!
Thanks Jess!
These are so cute! They look soft and just what a baby would want. Thanks for the tutorial!
Thanks so much for sharing this! My sis just had a baby about a month ago and I’m dying to make some bibs. These are super-cute!!
Sounds like I did the tutorial just in time. Have fun making them! 🙂
I can’t wait to make some of these! Thanks for the tutorial 🙂
Super Cute! Every Mother enjoys receiving a handmade gift that is cute, practical, and useful! Thanks for sharing!
Have a great weekend!
Love, Brenda
I agree Brenda. Those were always my favorite baby gifts. Nothing beats handmade!
i followed this tutorial to make some of these!! thanks so much for posting this!! I can’t wait to make some more!