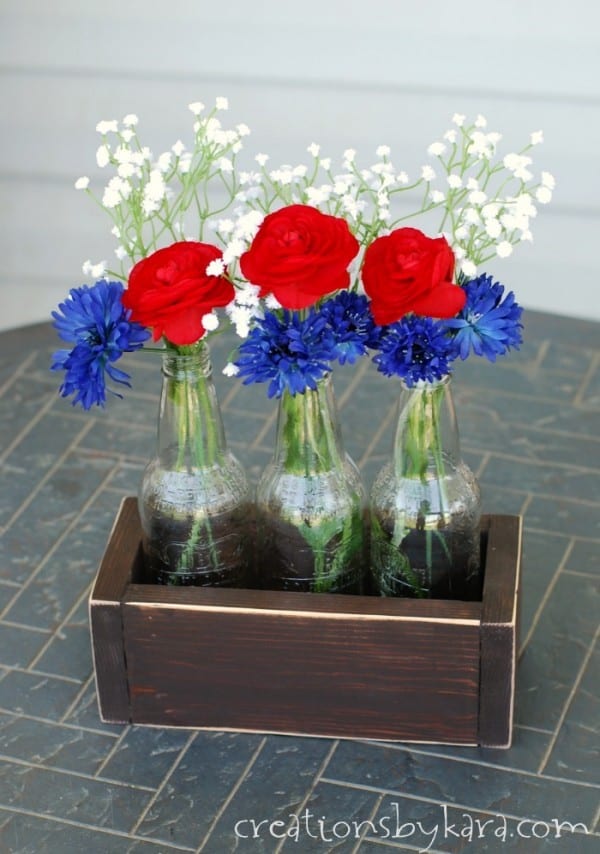
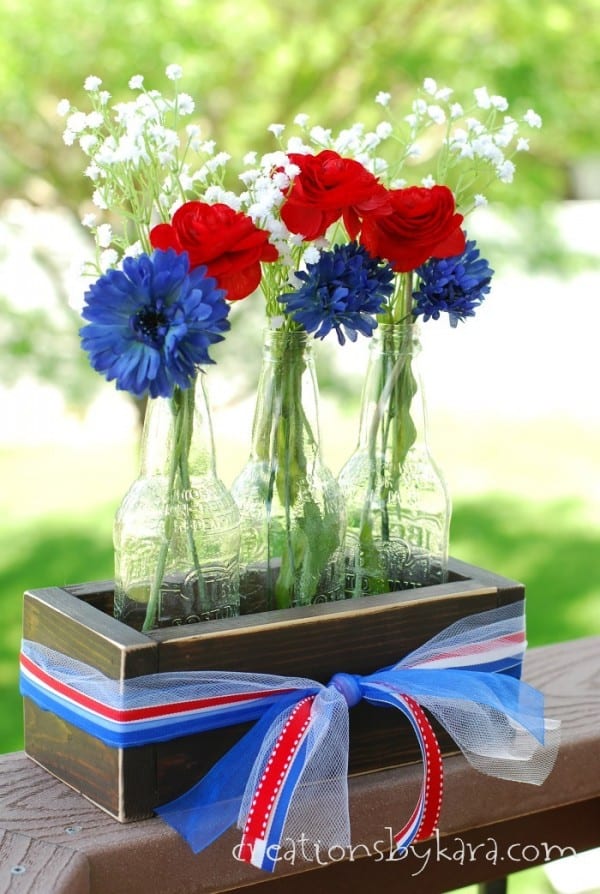
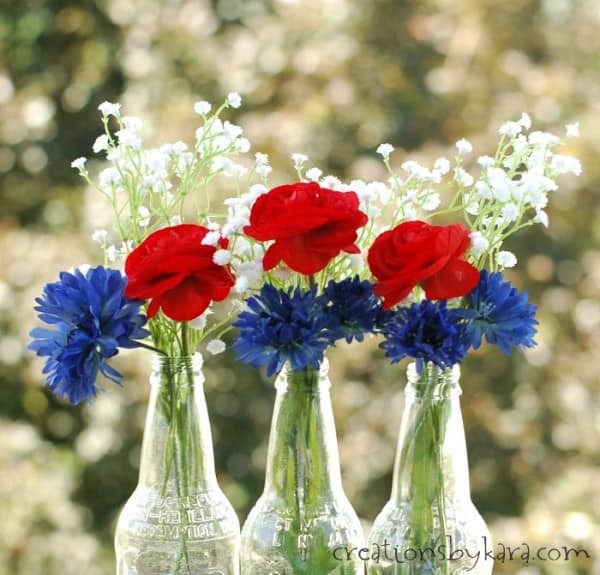
This rustic 4th of July Centerpiece starts with a DIY wood box. Fill it will glass bottles and flowers for pretty, patriotic home decor!
I have been needing a 4th of July centerpiece for a couple of years, and I’ve had several ideas floating around in my head. I finally decided to just get ‘er done! This rustic crate was inspired by a similar centerpiece that the Shanty sisters from Shanty 2 Chic made for Christmas. I love them, and if you haven’t ever checked out their site, you are missing out!
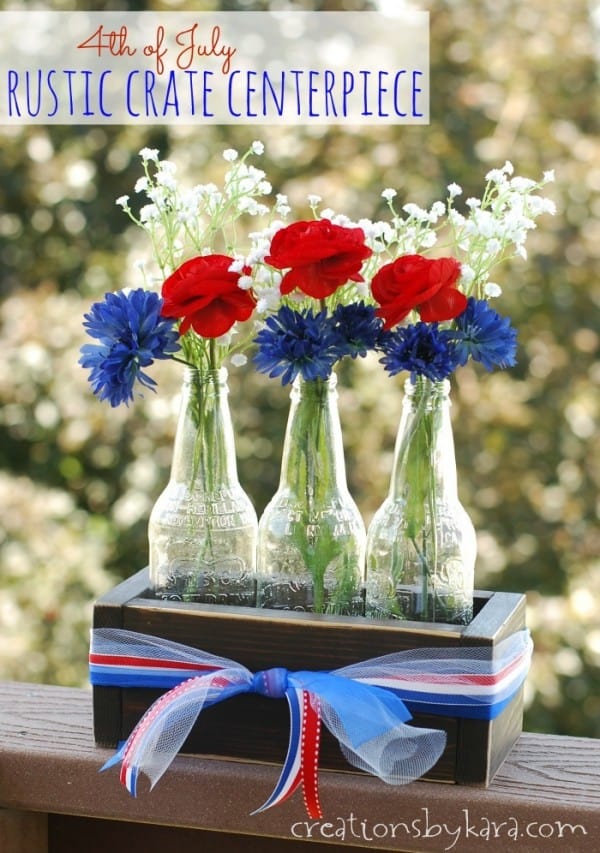
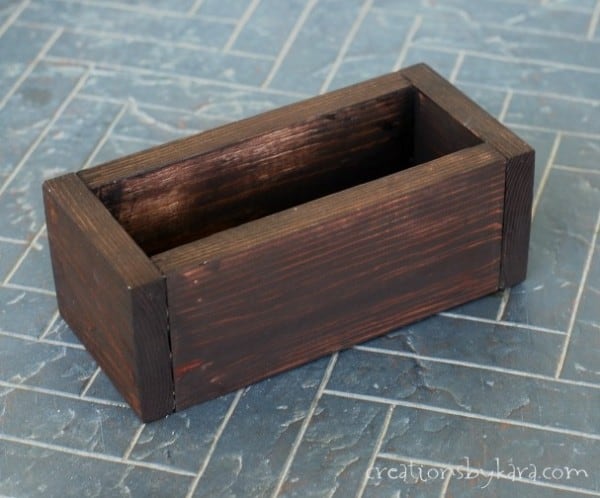
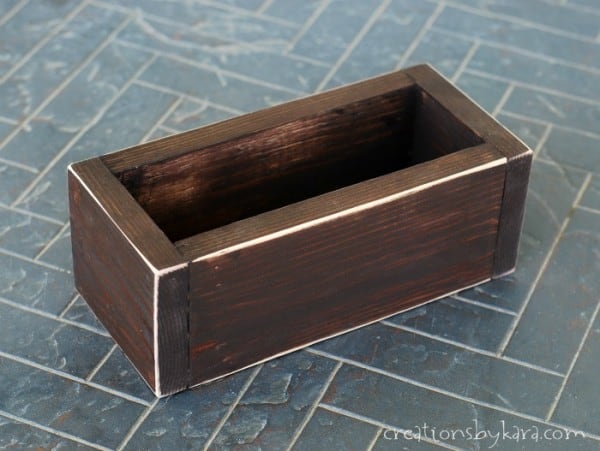
Speaking of power tools, I am having a blast with mine! Now that summer is here, my husband is parking his car on the driveway so I can use my power tools in the garage. 🙂 Rachel’s room is coming along nicely, and I have several projects in the works that I can’t wait to show you! But for now, let’s talk about this 4th of July centerpiece. It was easier that I thought, and I am pretty thrilled with how it turned out. When Independence Day is over, I can swap out the flowers and ribbons for something else. I love interchangeable decorations!
4th of July Centerpiece- Rustic Crate with Bottle Vases
Supplies:
-A 1 x 4 x 6 pine board (The actual size of a 1×4 is 3/4″ x 3 1/2″. Go figure.
You will need the following lengths:
Bottom piece: 2 3/4″ x 8″
2 side pieces: 3 1/2″ x 8″
2 end pieces 3 1/2″ x 4 1/4″
-Miter saw (or you can have them cut your wood to length at the hardware store)
–Wood glue
-Nail gun (I use the Ryobi Cordless Brad Nailer and adore it)
-Wood filler (optional)
–Palm sander
–Tack cloth or soft cloth
–Wood stain and rags to apply
-3 glass bottles (I used IBC root beer bottles)
-Ribbon and tulle in 1 yard lengths
-Flowers (fresh or fake)
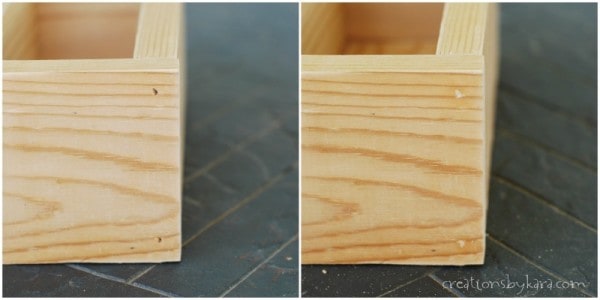
Instructions: Cut all your wood pieces to the correct size, and sand off the jagged edges. The 3 1/2″ boards are just 1×4’s. Only the bottom piece has to be cut down lengthwise.) 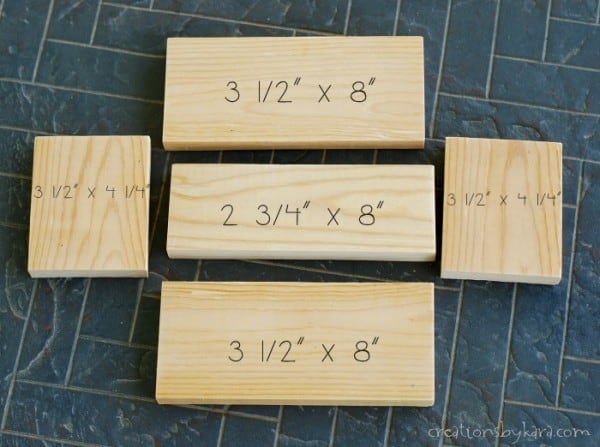
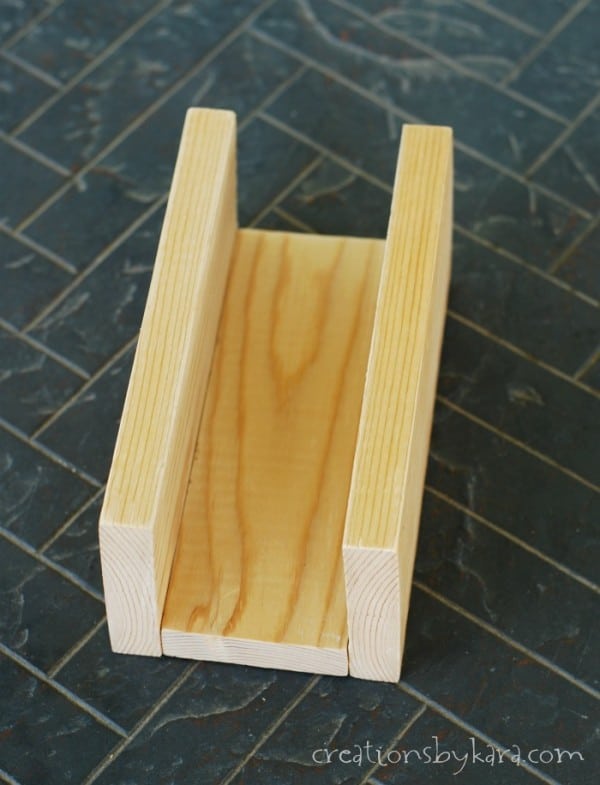
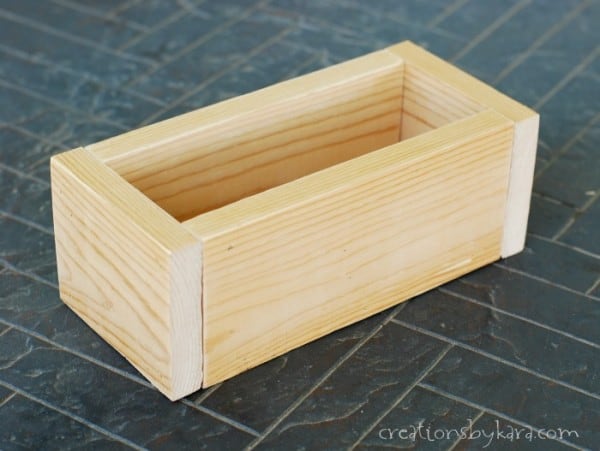


I have a huge collection of wine bottles. I made this kind of crate. It served as a beautiful centerpiece for the ceremony, and then later i put a vase on each table for the meal.
Thanks
Of all the patriotic decorations, this one caught my eye. It is soo pretty. I made this ,only, I used a picnic basket and filled it with 12 small milk bottles. It served as a beautiful center piece for the ceremony, and then later i put a vase on each table for the meal.I bought red carnations and added one blue hydrangea and one white astilbe from my garden.
So glad you liked it! It sounds like your version turned out just perfect! I love that you doubled it up as a serving container! 🙂
I absolutely LOVE this rustic crate! The bottles with the flowers look so pretty! Not to mention it could be updated with different ribbon and flowers to fit any season. I think I just HAVE to make me one of these! Thank you so much for the fabulous tutorial! You did a great job, we would love it if you linked up with our party this week!
Thanks so much Amanda! I tried to link up, but it was already closed. I’ll have to try again next week. 🙂