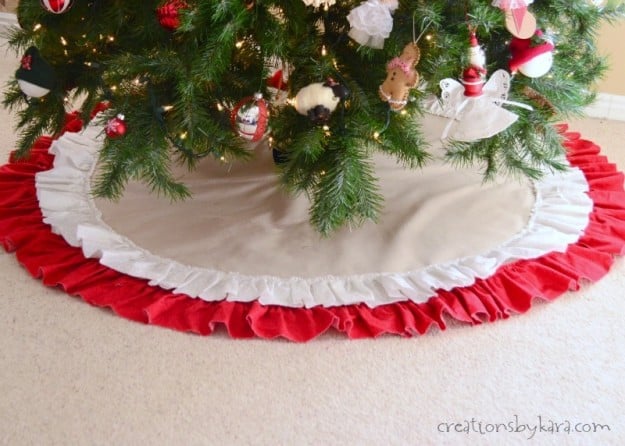
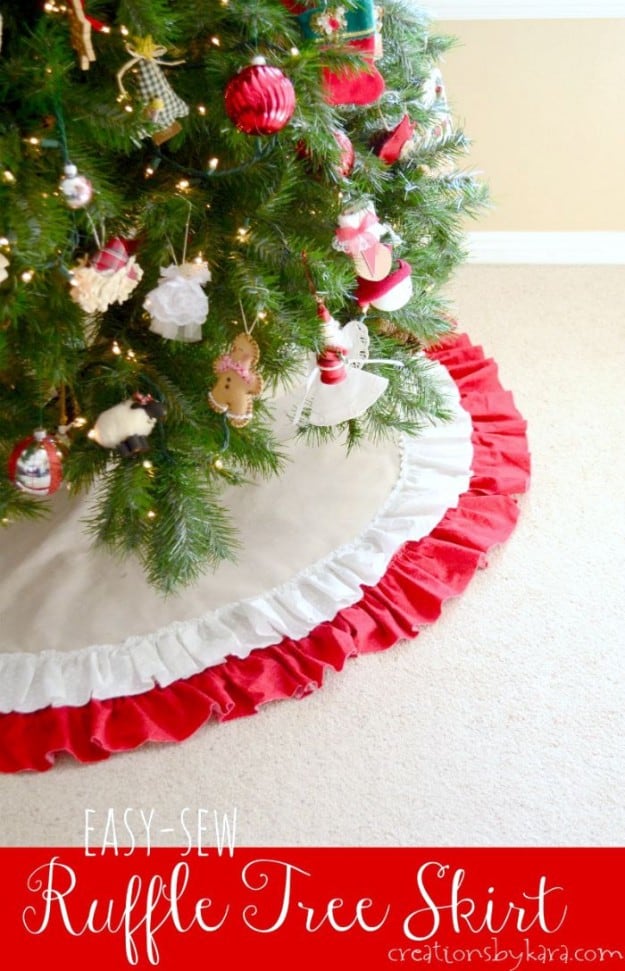
Ruffled Tree Skirt Tutorial – you can make your own farmhouse style tree skirt with these step by step directions! Or use different fabrics to match your decor.
I had been wanting a new ruffled tree skirt for a couple of years. I found several on Pinterest, but every single one was no-sew, made with hot glue. I wanted to sew the ruffles on so that if I ever needed to wash the tree skirt, I’d be able to.
And I’ll need to. Because I kid you not, my youngest hid under the tree last year to eat stolen chocolate. Definitely need a washable tree skirt! 😉
So I came up with my own method for making an easy to sew ruffled tree skirt. And honestly, it was so quick that I don’t think it takes much more time than the new-sew versions. And there’s no risk of burning your fingers with hot glue!! 🙂
How To Make an Easy to Sew Ruffled Tree Skirt
Supplies:
Canvas drop cloth
2 yards cotton fabric (I used 1 yd white, 1 yd red)
String and pencil or pen
Fabric Scissors and Pins
Thread and Sewing Machine
Iron and ironing board
Instructions:
1- Cut your canvas into a 45″ by 45″ square, and fold it into fourths.
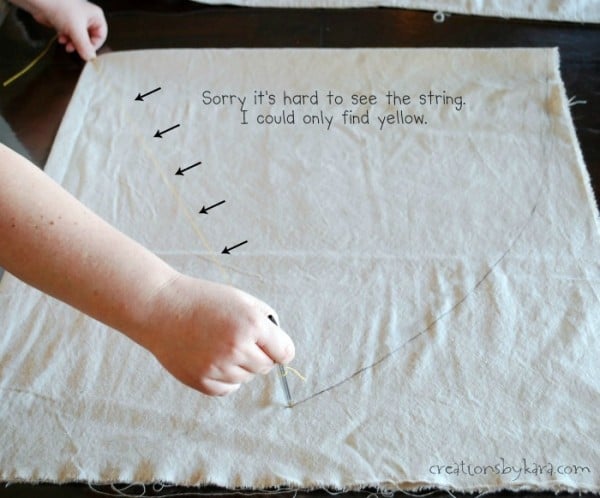
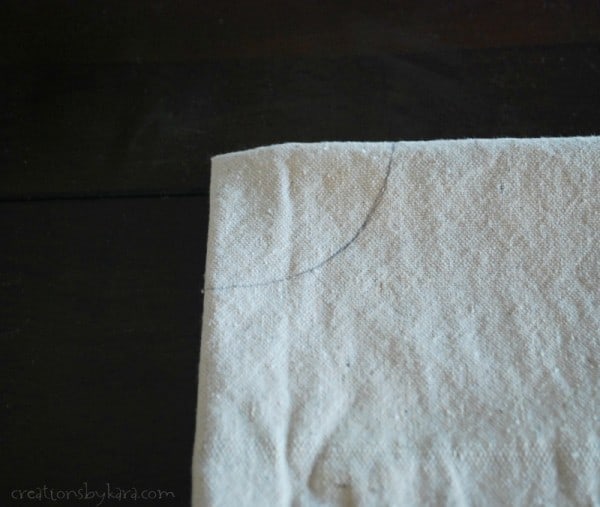
2-To cut the outer circle, take a long piece of string and tie it to a pen or pencil. Hold one end of the string in the folded corner, and extend the string with the pen touching the fabric. Start going around, and you will end up with a perfectly rounded arc.
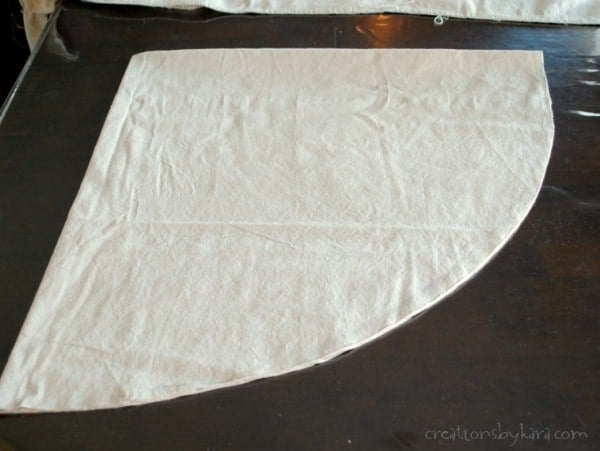
3- Use your Fabric Scissors to cut along the arc, cutting through all four layers.
4- Now you need to make the inner circle that goes around the tree trunk. Using the same method (with the string much shorter), draw an arc on the folded corner. Cut it out. Tip: Start small, it will get bigger after you hem it up.
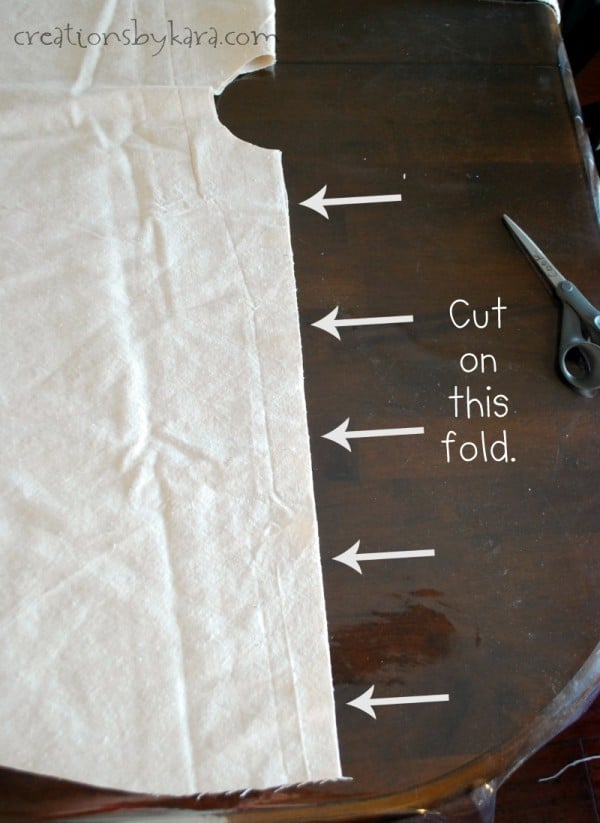
5- Unfold the fabric so you have a half circle. Cut up one side of the fold. This will allow you to wrap the skirt around the tree.
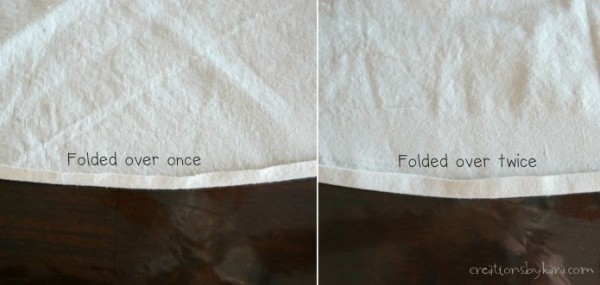
6-Now it’s time to hem up all of the edges. Fold the raw edge under about 1/4″, then iron it. Fold it under another 1/4″ and iron it again. And now that I look at the photo, I notice that you can’t really see a difference. But in real life, you can tell. 🙂
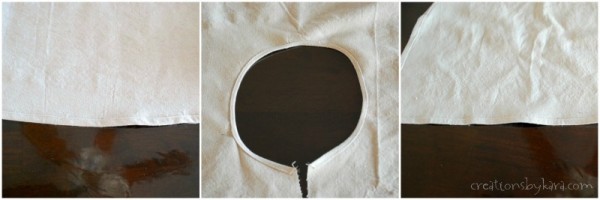
7-. Sew a running stitch close to the inside edge. I did the outer circle, then the inner circle, then the two straight cut sides. The inner circle is a little tricky to iron under because it’s a circle. But it doesn’t matter if it’s perfect, no one will see it!
8-Now it’s time to make your ruffles. You want your outer ruffle to be 1″ wider than your inner ruffle. (I made both of mine 4 1/2″ wide, I wish I would have done the outer one 6″ wide, and the inner one 5″ wide.)
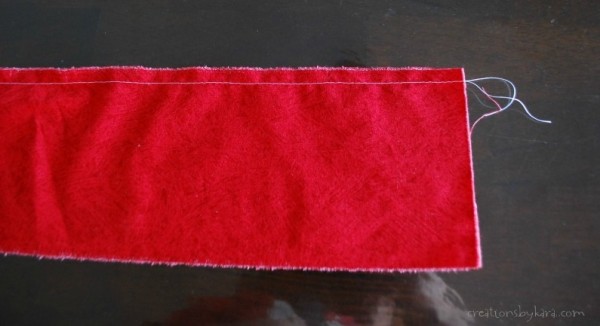
So, you do this: Tear or cut long strips of your red fabric 6″ wide. Gather one edge of each strip. You can use the longest stitch on your machine and sew a basting stitch along the edge (which is what I did), and then pull the thread to gather. Or you can use the much easier method for sewing ruffles that I discovered after I sewed this tree skirt. Trust me, it is easier and faster. It would have saved me a lot of time!
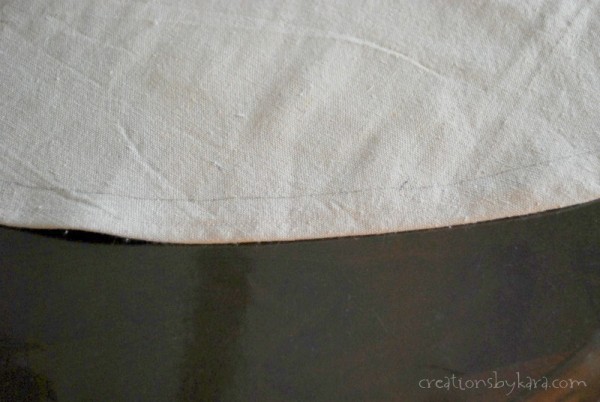
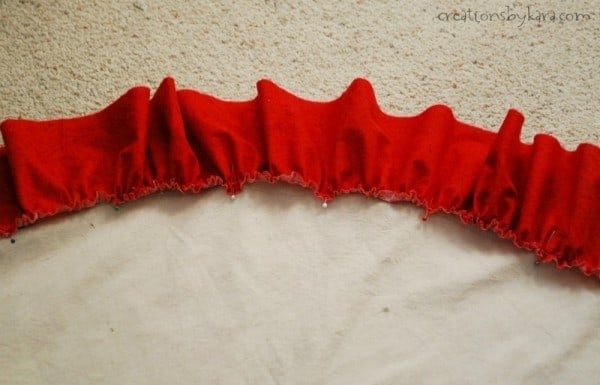
9- To make it easier to attach the ruffle to the skirt, I drew a pencil line all the way around the edge of the skirt, about an inch in. Then I pinned the ruffles all around the edge, lining it up with the pencil mark. If you are not OCD like me, you can just eyeball it. 😉
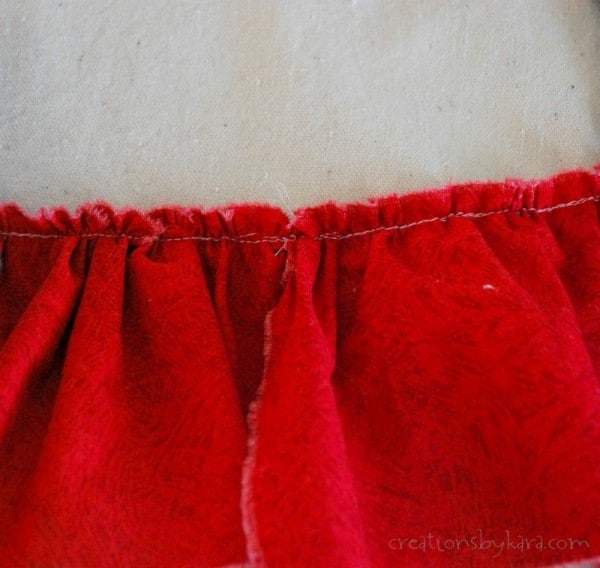
10- Now sew the ruffle on, about 1/4-1/2″ from the edge of the fabric. Where the strips meet, overlap them a little so you won’t have a gap in your ruffly goodness.
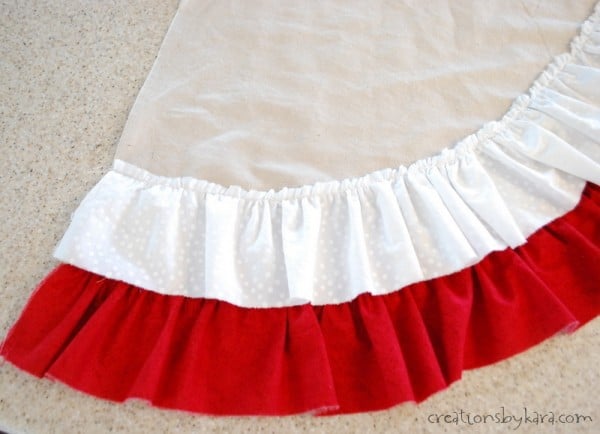
11-Tear or cut strips of your white fabric 5″ wide, and gather it like you did the red. To attach it: You want your second ruffle to overlap the first one by about an inch. I only did a half an inch on mine, and it wasn’t enough. Aren’t you glad I made all the mistakes so you don’t have to?
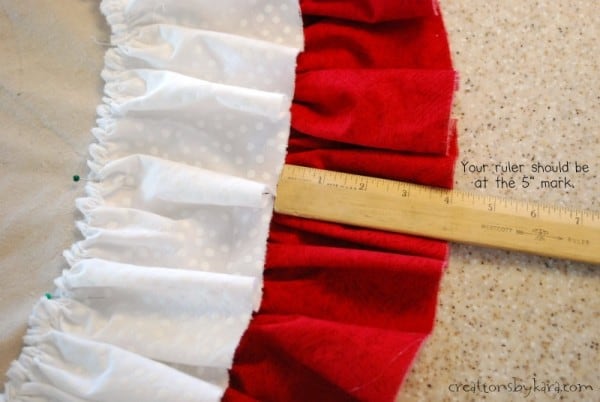
To make sure you pin your ruffle on straight, just use a ruler as you go around. Place the edge of your red fabric on the 5″ mark of the ruler, and line up the edge of your white fabric with the end of the ruler. If you do that all the way around, your circle will stay perfectly round!
12-Now stitch the white ruffle in place.
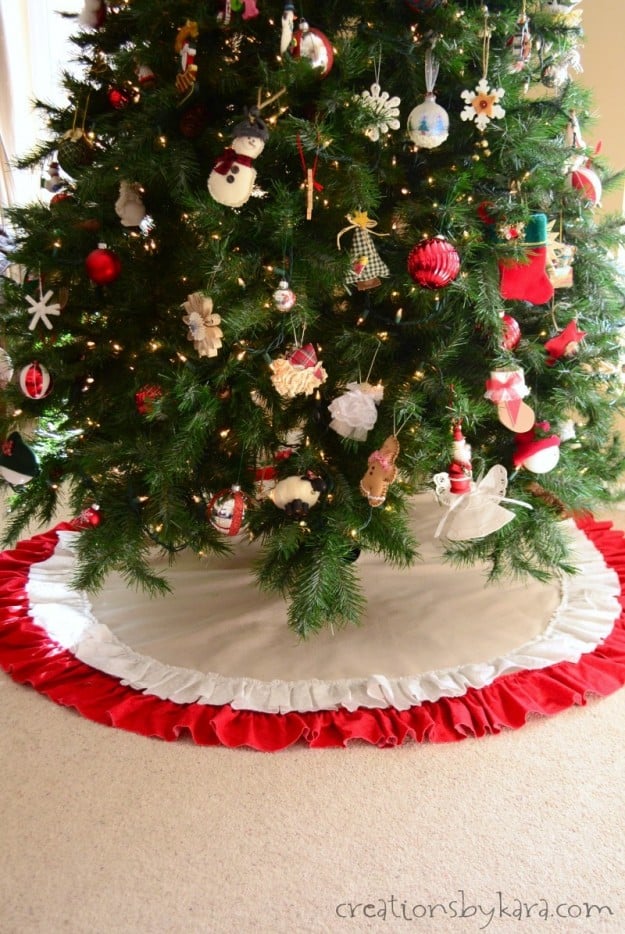
Beautiful, isn’t it? Now just give it a quick iron and it’s ready to wrap around the tree!
For other easy Christmas decor ideas, check these out:
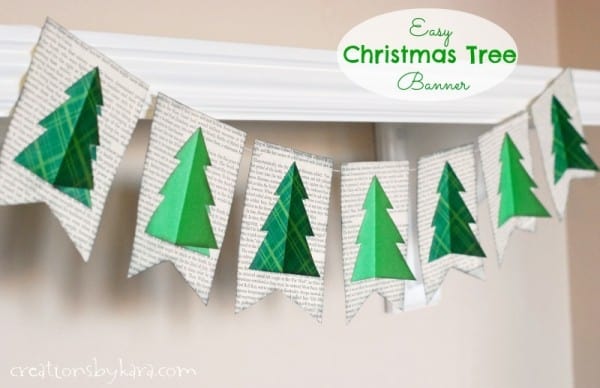
Book Page Christmas Tree Banner



It would drive me crazy not having the ruffles hemmed & having them raveling out all the time. I know it would take a lot longer to make but couldn’t stand having the threads coming off the skirts all the time. It’s a cute project & I could make it an inch wider & hem it if it bothers me so much, Right?
Yes, you could definitely make it wider and add a hem! Although after pulling off the extra threads the first year, I haven’t had a problem with more of the threads unraveling. 🙂
So if I wanted to skip one of the ruffles, should I tack on about 6 more inches to the original 45×45 dimensions? This is an amazing tutorial, thank you!!!
You could definitely make it with just one ruffle, and you could make it as wide as you want!
Those are wonderful DIY stuff Kara! And I agree, I know a lot of people loves doing easy DIY stuff that they decide to just go on with hot glue but I don’t really like that. I mean, what happens when I wash them?
Anyway I’m so glad I found this tutorial, I love doing DIY myself and I’m a sewer too. Seriously, if only people knew how easy it is to sew… they wouldn’t need to use hot glue, ever 🙂
Thanks for the tutorial 🙂
Haha, yes! With 5 kids, I need things that can be washed!