Looking for a quick, easy, and inexpensive way to add some rustic country charm to your home decor? Give these DIY wood shutters a try. I was able to whip up five of them in an afternoon!
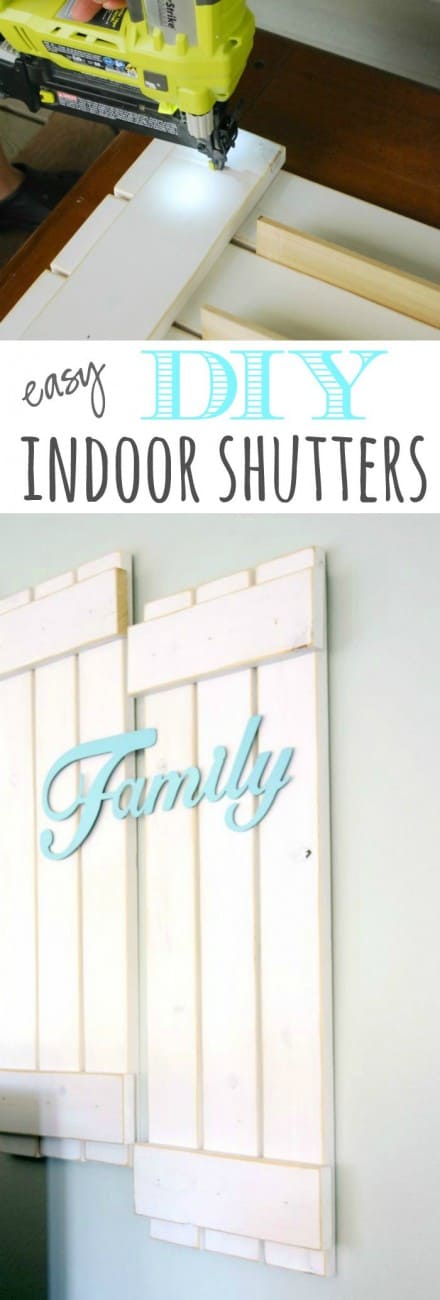
I am kind of obsessed with the show Fixer Upper on HGTV. I love Joanna’s farmhouse style, and I save every episode so I can drool over the gorgeous rooms over and over again. She uses lots of cool architectural elements like corbels, salvaged doors, and old shutters. Love.
Unfortunately, I don’t have the best luck finding salvaged pieces that are actually in good working condition. So I decided to take matters into my own hands and make my own. Shutters that is. And I am in love with them.
The best part- they were SO easy to make. For reals. You can totally do this. Probably in less time than it would take you to actually drive around and look for old shutters. You got this!!
How to Make Your Own DIY Wood Shutters
Supplies (contains affiliate links)
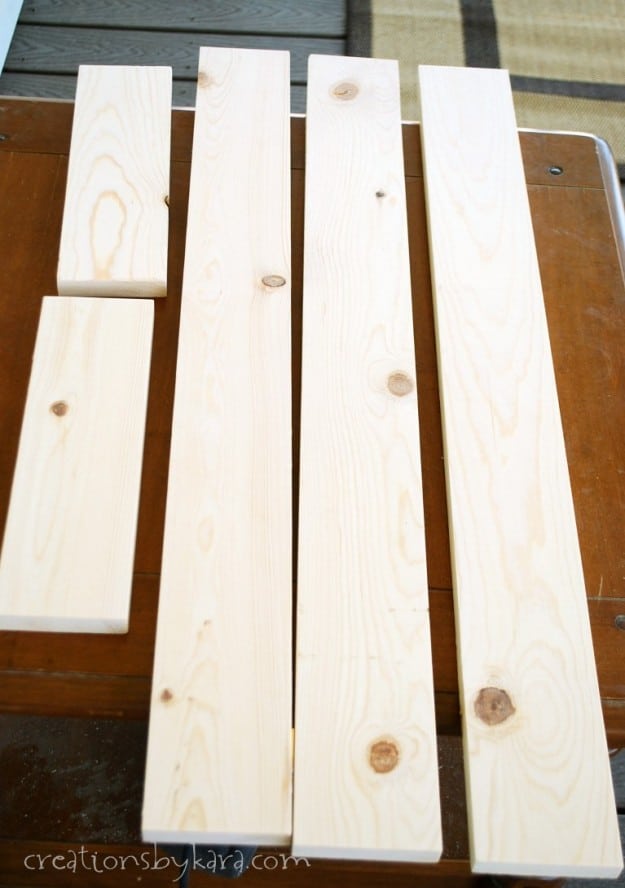
-One 10 foot long 1×4 for each shutter (cut into three 32″ long pieces and two 12″ long pieces)
-Chop saw (or have the lumber store cut your wood for you)
-Palm sander or sandpaper
-White paint
-Paint brush
–Wood Glue
–Brad Nail Gun and finish nails
Instructions:
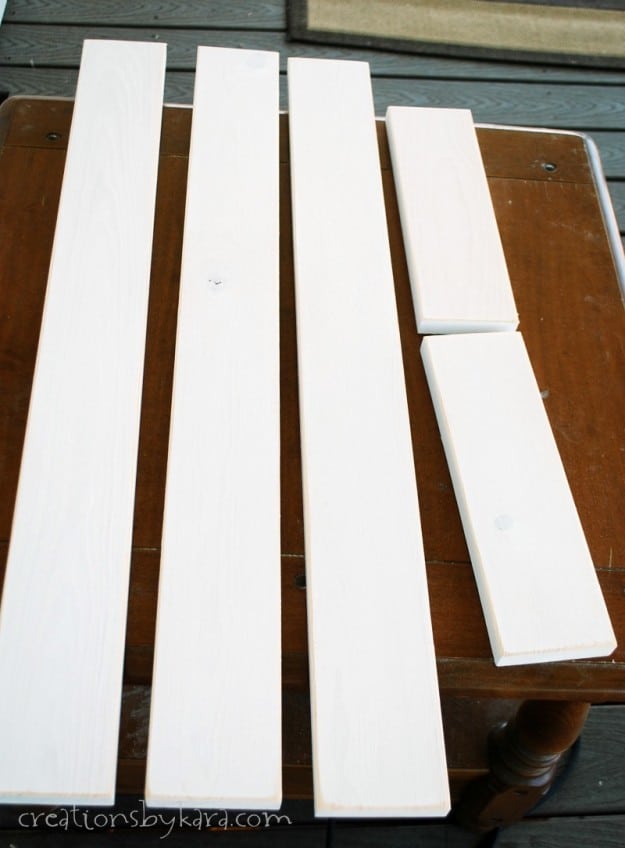
-When you buy your boards, have the lumber store cut them into pieces for you. Or bring them home and cut them with a chop saw. From each 10 foot board, cut 3- 32″ pieces and 2- 12″ pieces.
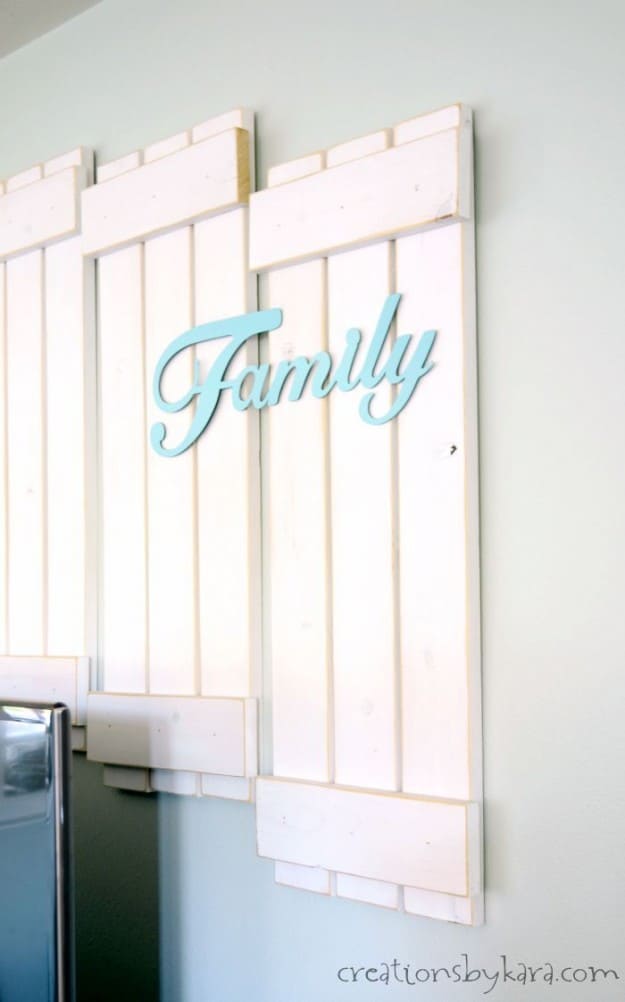
Water down some white paint and paint the top and sides of each board. It only takes one coat for a whitewashed look. Sand the edges for a more rustic look. I like to use my palm sander because it is MUCH faster than sanding by hand.
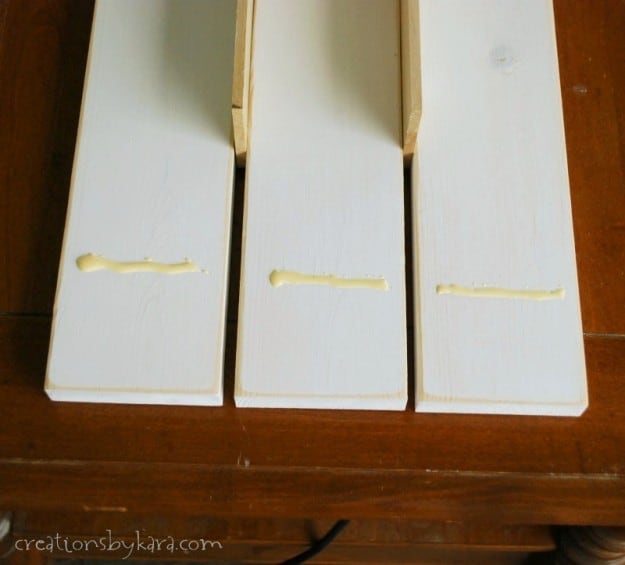
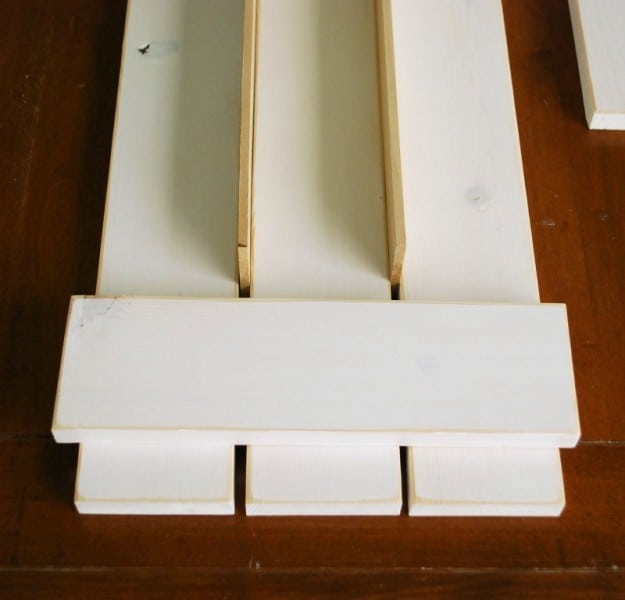
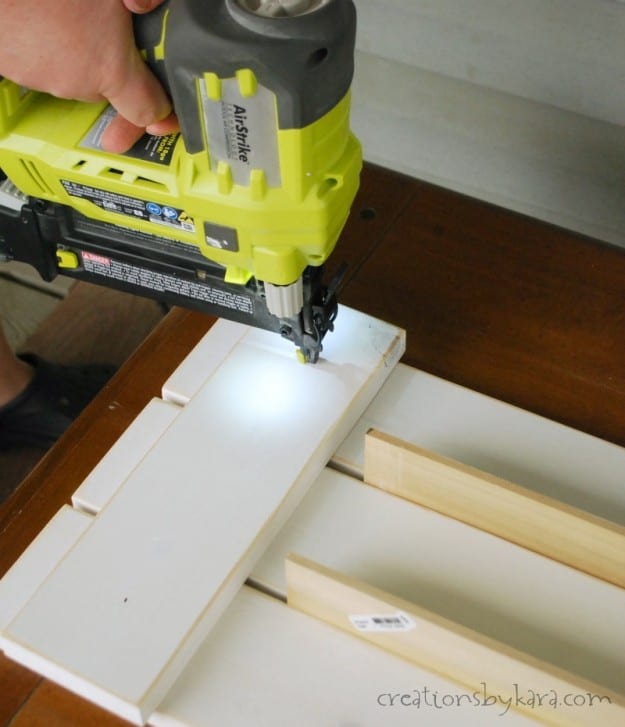
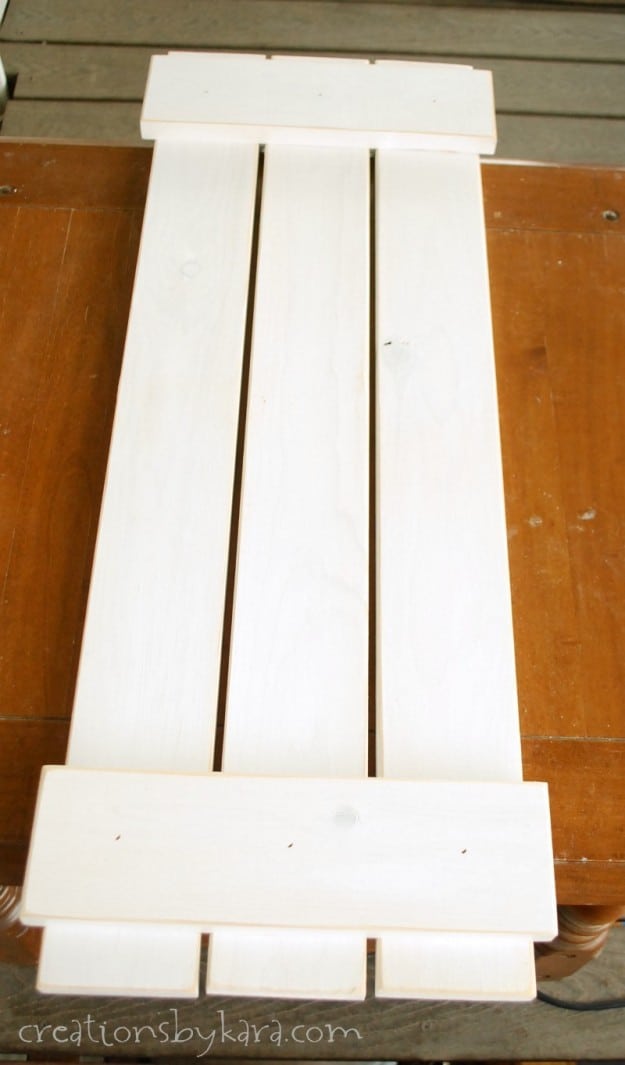
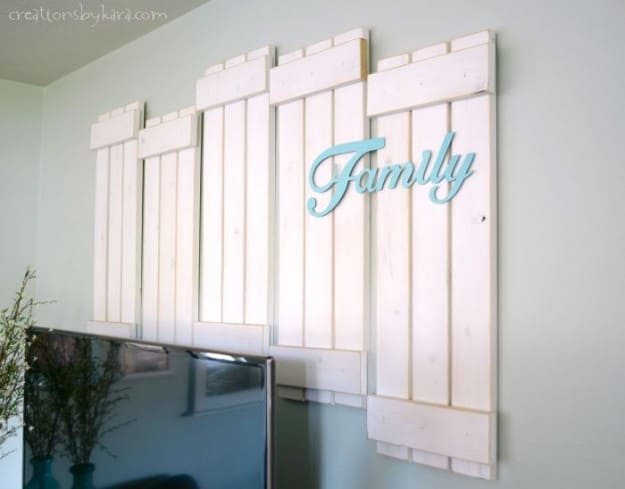
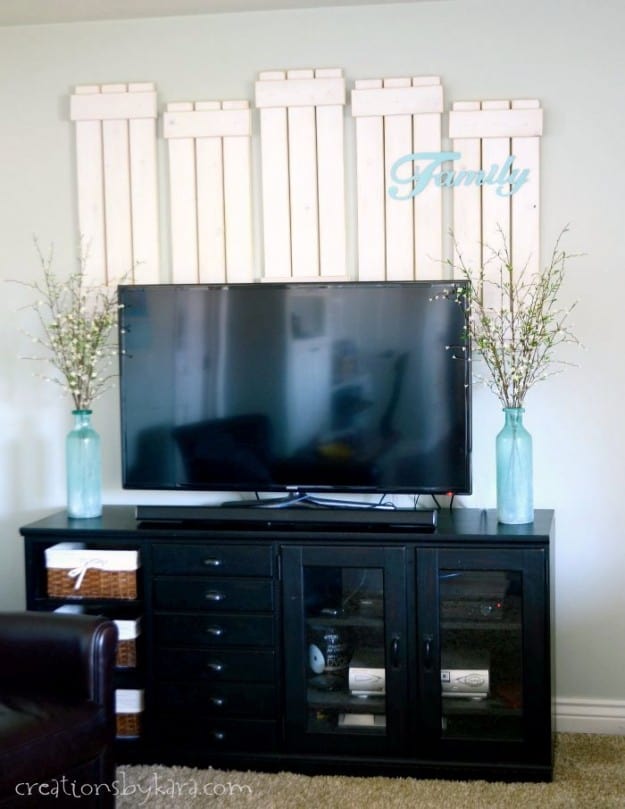
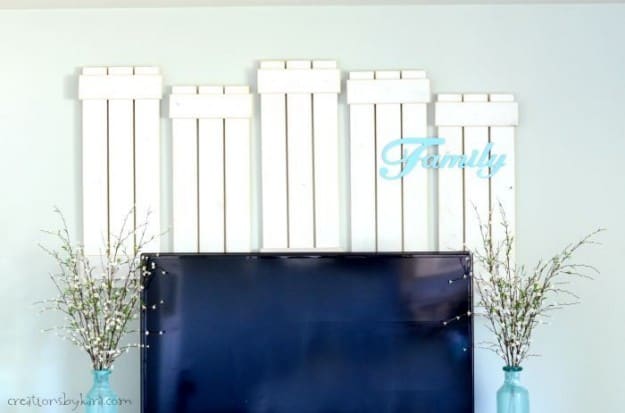
Now all you have to do is hang them up. I just attached sawtooth hangers to the back of mine. I made five of them and staggered them behind our tv in the family room. I love how it adds visual interest, and makes it so the tv isn’t quite such an eyesore.
MORE DIY PROJECTS:
- Mudroom Shelves
- Sherwin Williams Repose Gray
- Corner Bench
- Tips for Staining Wood
- Pallet Wood Sign
- DIY Key Holder
- Fireplace Spray Paint
- How to Install Trim
- Picket Fence Sign


I love the look of shutters. These shutters you made are beautiful and simple, and I love how you hung them behind your TV. I don’t know if I would want to make some myself, or go out and buy some, but either way, they can really help the home pop!
Very cute! I like the slat look. I think it would be fun to turn one sideways and add a vinyl saying for a different look, more like a sign similar to your “find joy in the journey” paint stick wood slat.
Live in Thanksgiving Daily
Remember the Past, Live in the Present, Prepare for the future