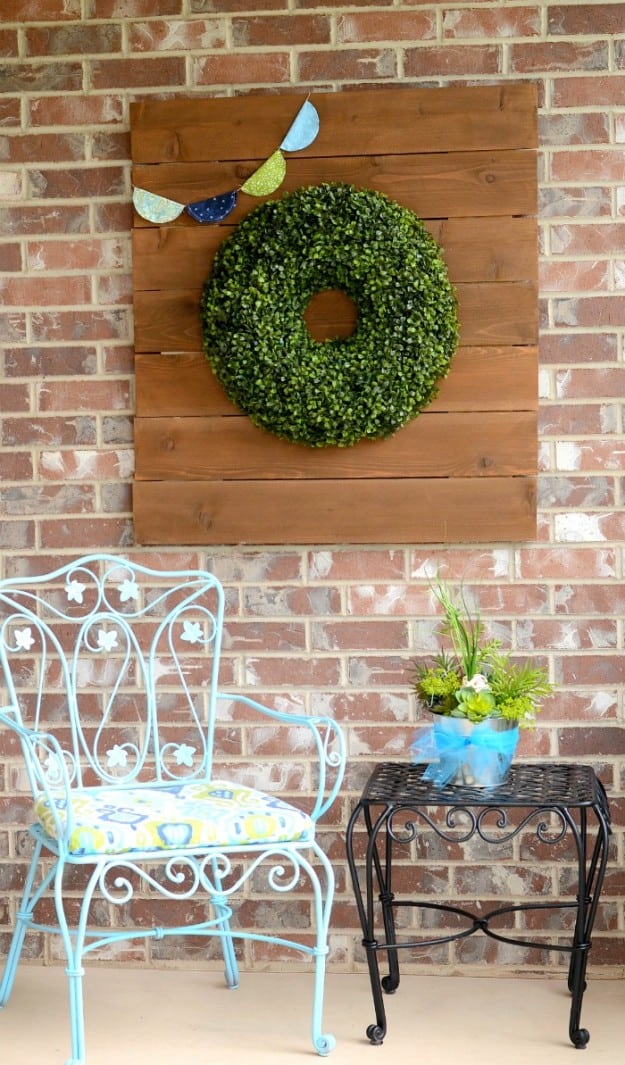
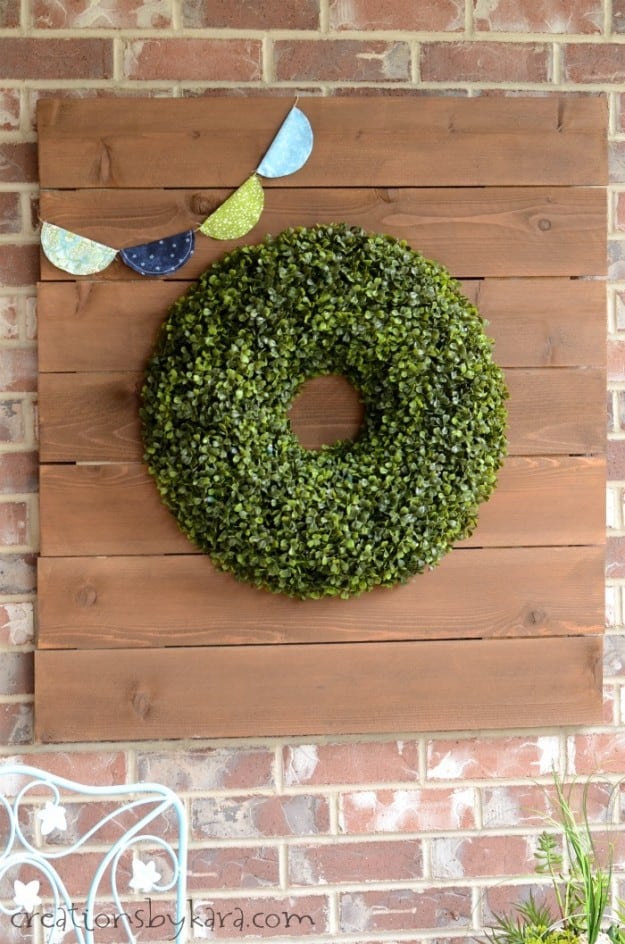
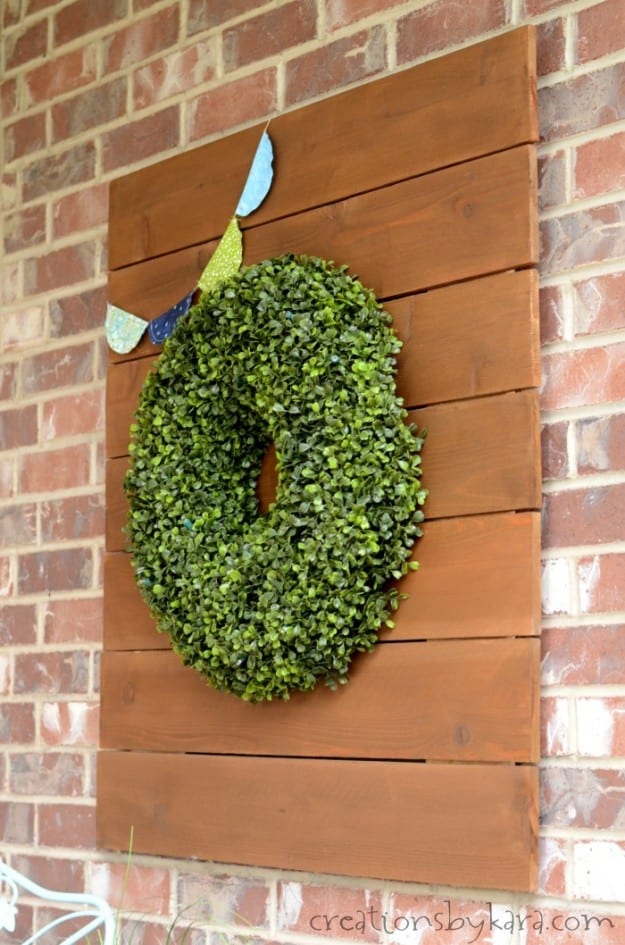
Love the look of pallet signs, but can’t get your hands on an actual pallet? No worries! With this tutorial I will show you how to make a rustic wood sign that looks like it came from a pallet!
I shared my porch nook makeover way back in May, but I never shared the tutorial for the rustic wood sign that I made. About time, don’t you think?
Pallet signs are all the rage nowadays, but pallets can be hard to find. At least they have been for me. I live in a town with no commercial businesses, so you can’t find them just laying around waiting to be picked up. And truth be told, I’m a little wary of using wood when I have no idea what it’s been in contact with. That free pallet may have held raw meat, or something worse. No thanks!
Fortunately, if you want to make a “pallet sign”, you don’t actually need an old pallet. You can make one with wood from the hardware store. It’s clean, you don’t have to pry out any nails, and you can even get it cut to size. That’s a win in my book! (And of course I LOVE the smell of the lumber aisle. Am I the only one?)
How to Make a Pallet Sign without a Pallet
Supplies I used:
(contains affiliate links)
-Cedar Fence Pickets (I bought mine at Home Depot for about $2.50 for the 5 1/2″ wide x 6 ft long boards.)
-Chop Saw (optional)
-Inexpensive paint brush
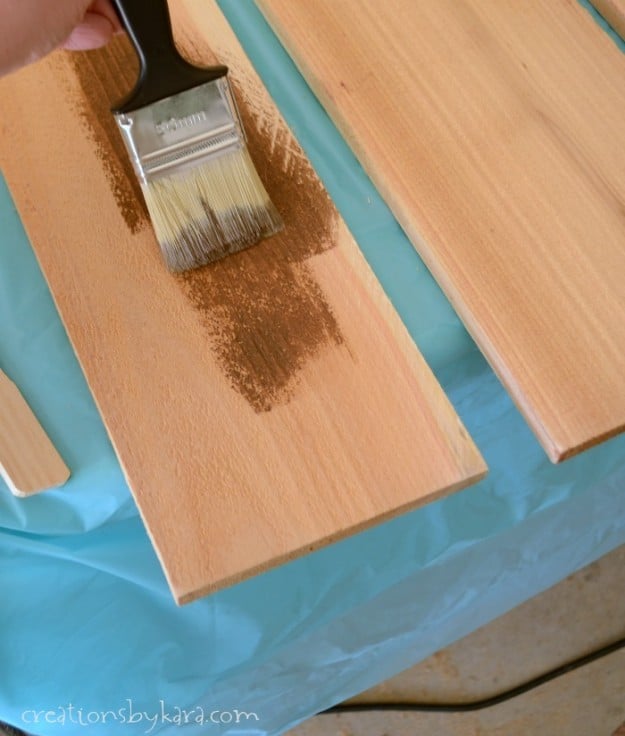
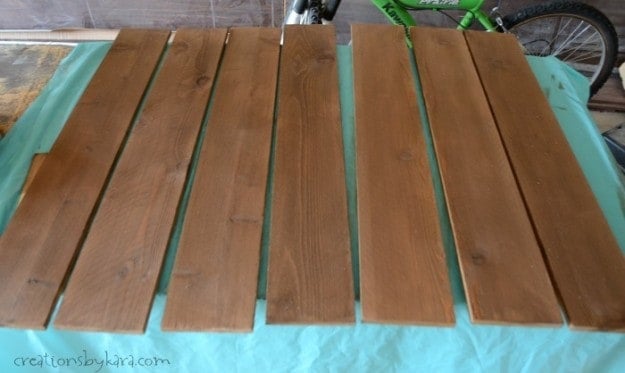
-Stain (I used Minwax Water Based Wood Stain in Americana)
-Drill (I used the Ryobi One Cordless Drill)
-Wood Screws
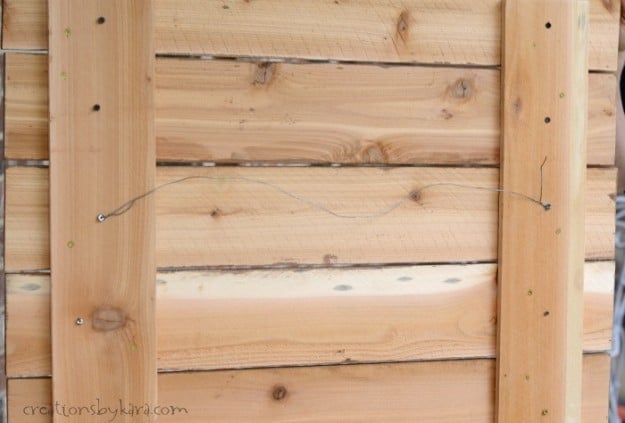
-Wire for hanging
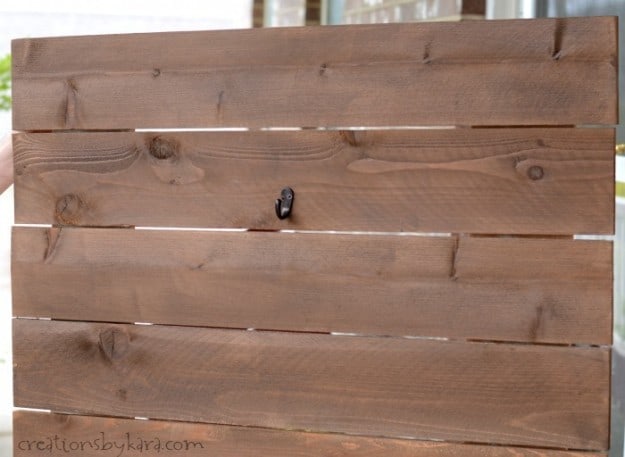
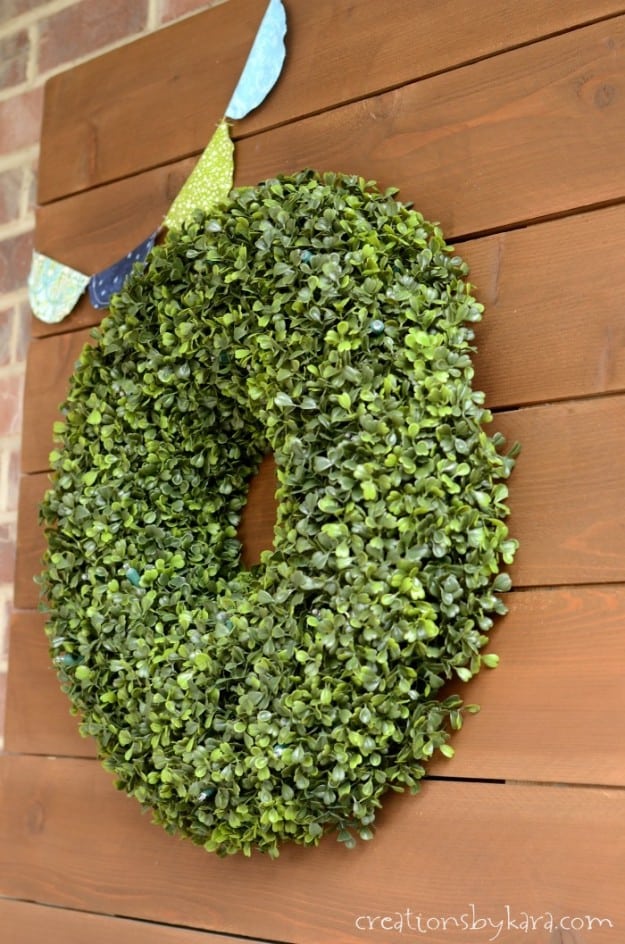
-Hook to hang the wreath on
If you are hanging your sign on brick, you will also need:
-Masonry drill bit
Instructions:
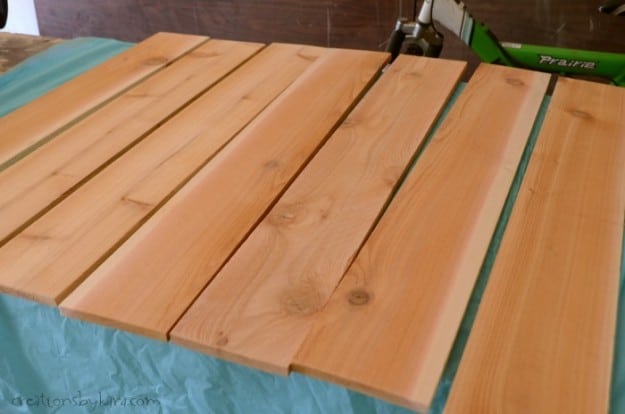
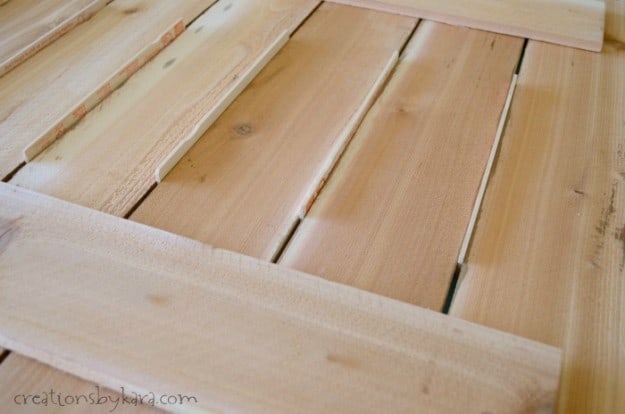
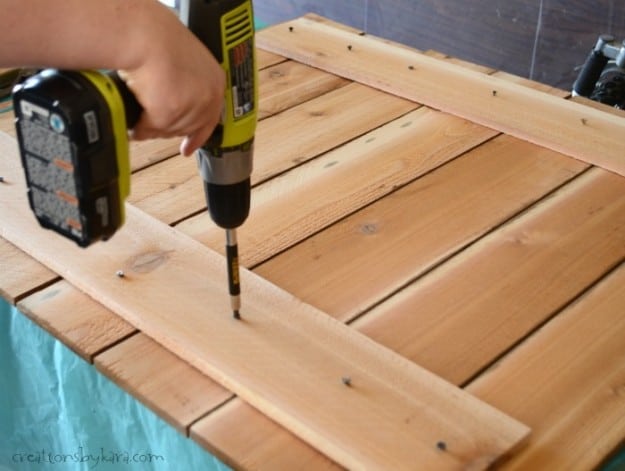
Cut your boards down to size with a chop saw (or have the hardware store cut them). I cut off the dog eared ends, then just cut the boards in half. I bought 5 boards. I cut them in half and used 7 for the front and 2 for the back. I ended up with one board left over.
MORE DIY TUTORIALS:
- Picket Fence Sign
- DIY Key Holder
- Spray Paint for Fireplace
- How to Install Molding
- Sherwin Williams Repose Gray (gray paint review)
- Corner Bench
- Mudroom Cubbies
- Restoring Metal Patio Furniture
- Painted Chandelier



Where I live pallets are easy to come by and they are everywhere. I’ve picked up several myself and made different things. Unless you have the right tools they are very hard to take apart but I still love the look of them so much. Sometimes I’m doing a project that might need smaller lengths of wood and I will just cut out the pieces from the pallet in the size I need and discard the rest. I was actually going to do a wall in my home with them but I ended up using something different that I found at Lowe’s hardware. I’m glad I did because that wall was a lot of work to begin with and it would have been double the work if I had used pallets. Anyway…I like your idea for this but for myself, I would have chosen something a lot more rugged. Thanks for sharing!
P.S. THANK YOU FOR THE SPACING TIP! I hadn’t thought of that and have plenty of those stir sticks myself. I love crafting with those as well!
I definitely have had a hard time finding quality pallets for all the signs and things I want to make. Thanks for the tip to use fence pickets! I hadn’t ever thought of that. I really like the look of doing a darker stain on them. I’ll have to put this on my holiday list of things to do!
I know there are some people that seem to just find pallets at the drop of a hat, but not the rest of us. Hope you have fun making your “pallet” fence picket signs! 🙂