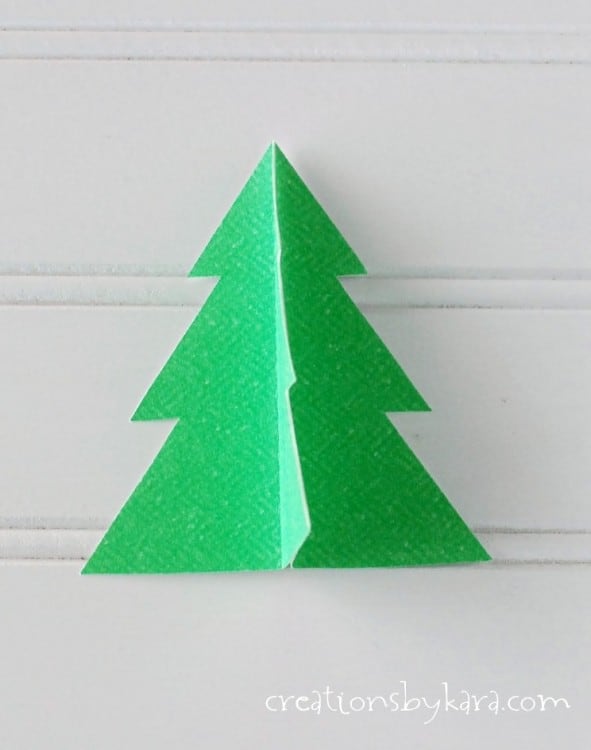
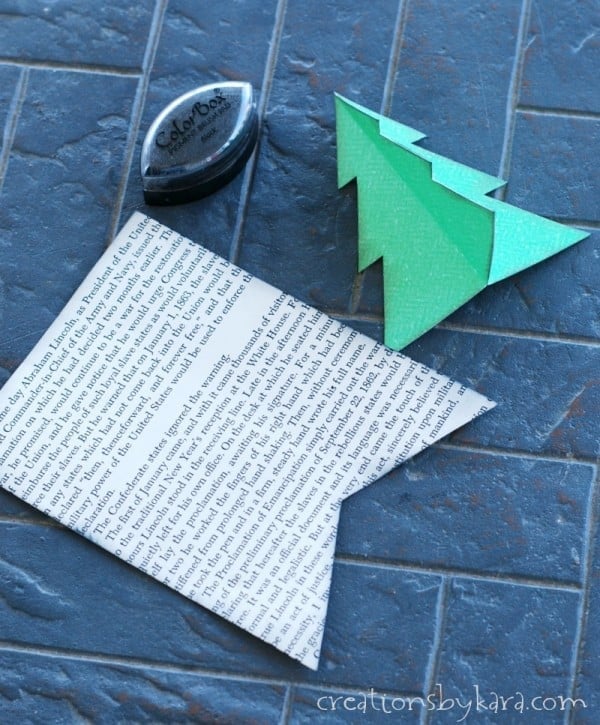
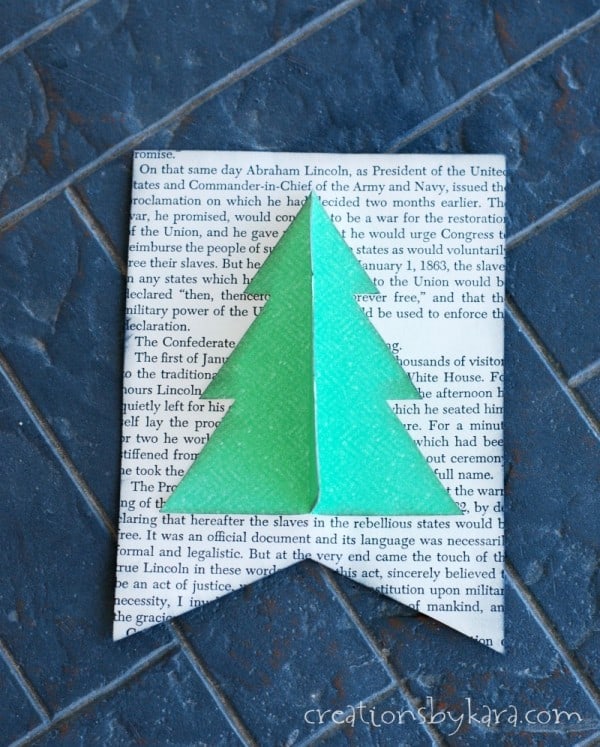
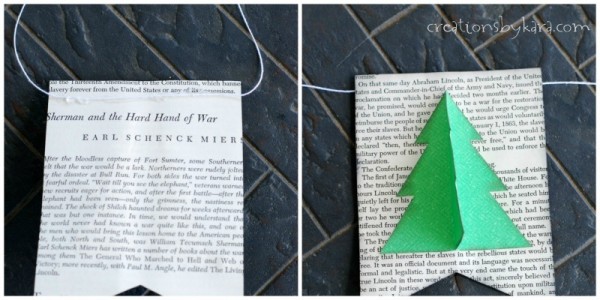
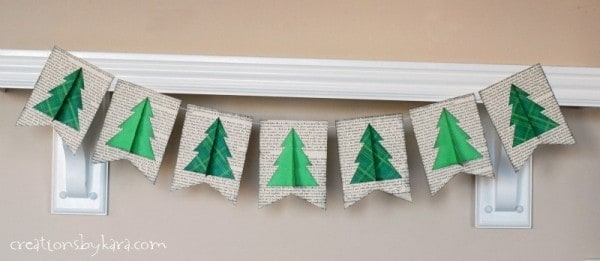
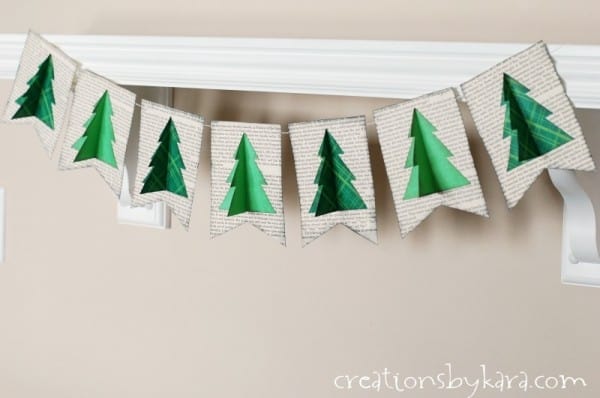
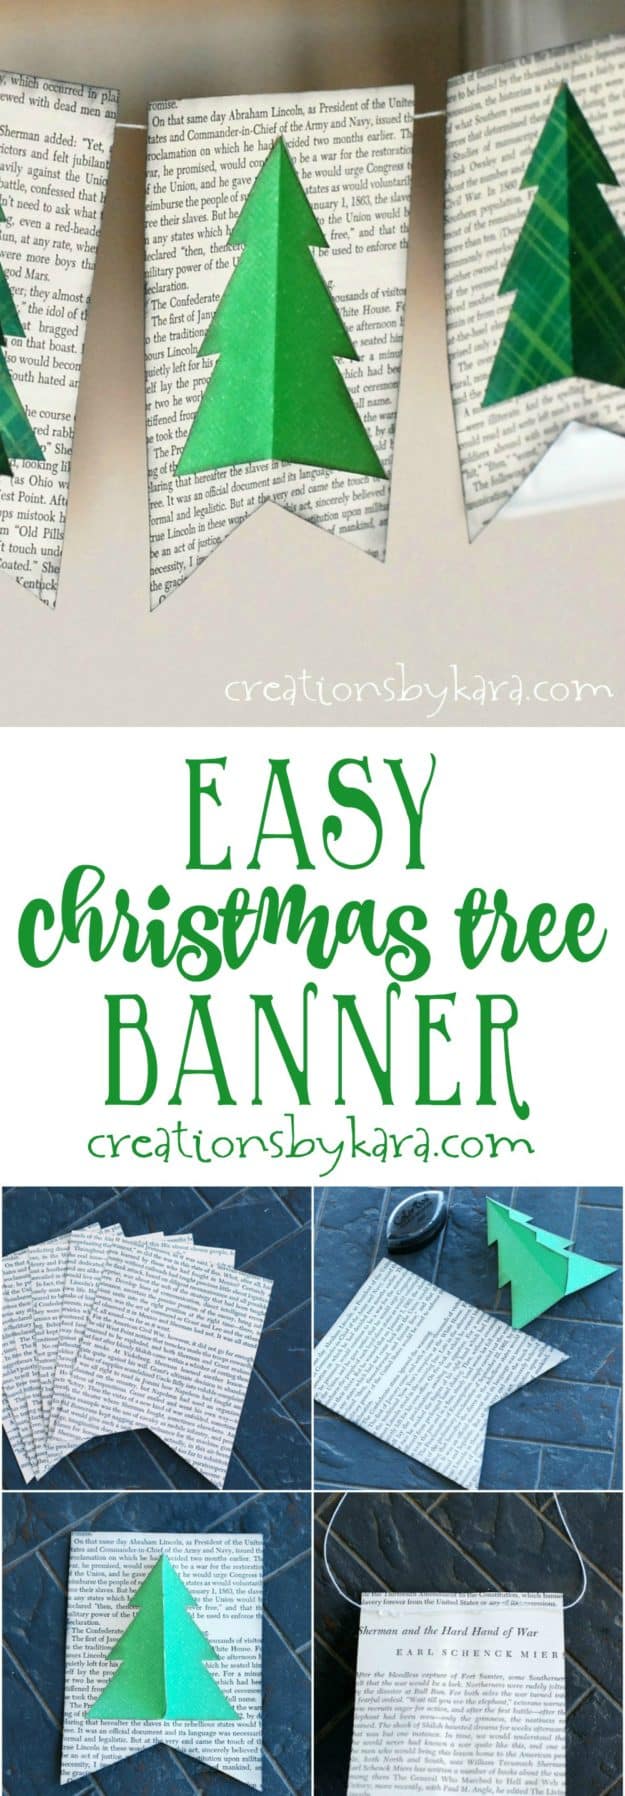
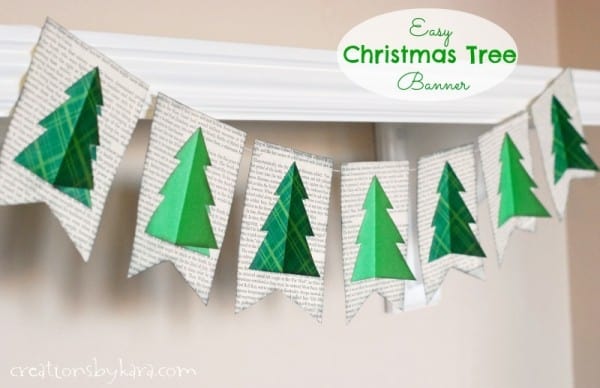
It only takes a few minutes to make one of these easy Christmas Tree Banners. Perfect for hanging on a mantel or shelf!
Today I am sharing my Easy Christmas Tree Banner in case any of you missed my guest post a few weeks ago at Positively Splendid. I made a similar book page banner for Easter a couple years ago, and I’ve loved it so much that I decided to adapt it for Christmas. Don’t worry all you book lovers out there, I rescue books from the library that are headed for the recycle bin. They’re happy to be used, I promise! 🙂
I made my banner to hang on a shelf, but you can hang it on a mantel, over a door, on a window, or anywhere you like. You can adjust the size of the pattern, or just adjust the length by making more pages. Here’s how you can make your own!
Book Page Christmas Tree Banner
Supplies:
Free downloadable pattern
Book pages
Green paper (cardstock or patterned paper)
Scissors
Glue
Hot glue and glue gun
String, twine, or ribbon
Ink pad (optional)
Instructions:
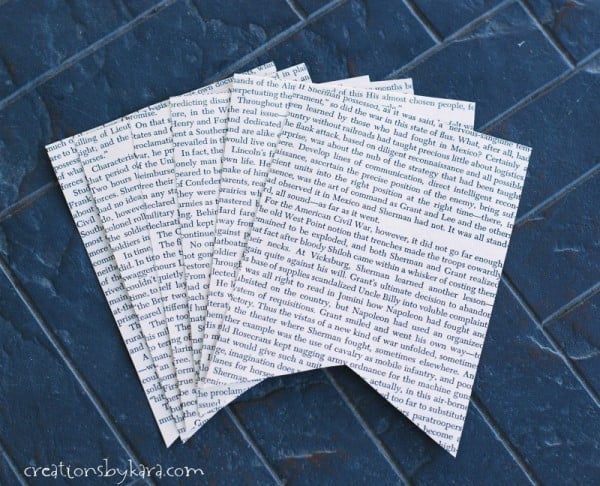
Print the pattern and use the bunting pattern piece to cut out all of your book pages.
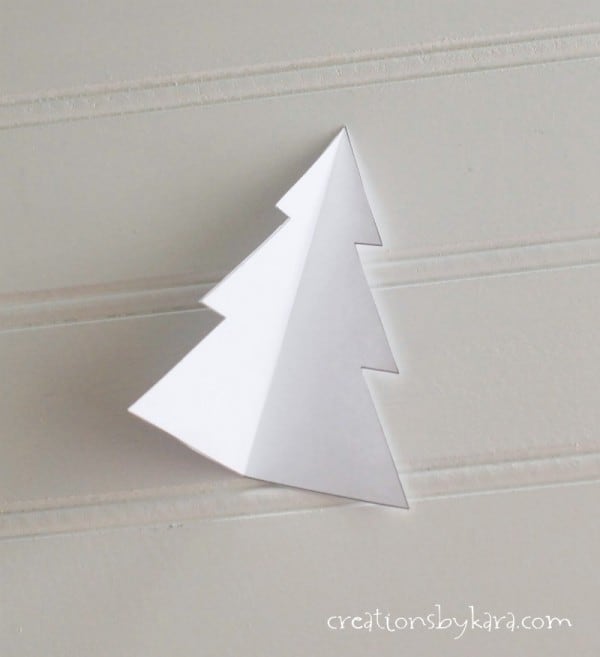
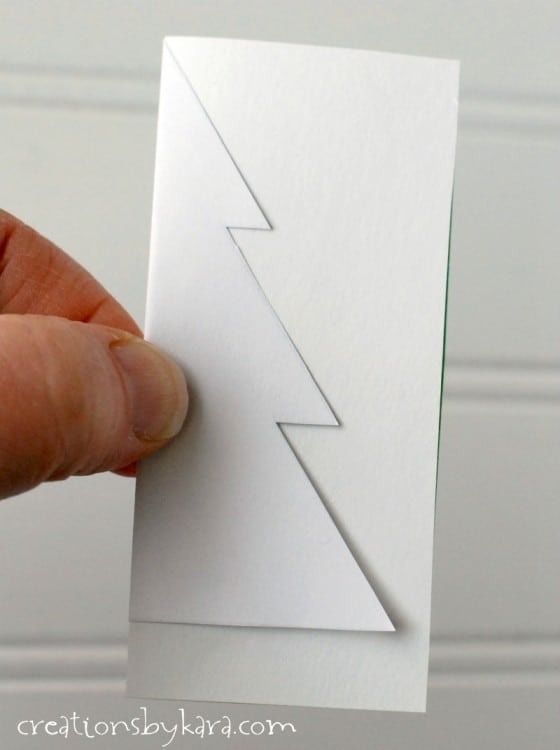
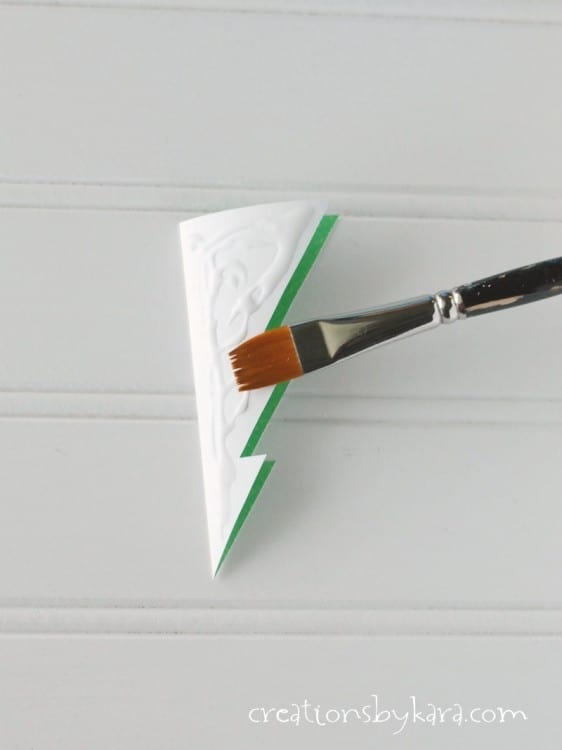
Tip: If your paper curls up a bit as it is drying, just iron it flat after the glue is completely dry. 🙂


What an adorable idea! I love this! And I can see this technique working for all of the holidays!
Thanks Michelle! I actually have a similar banner that I made for Easter. I’m kind of crazy about book page projects. 🙂
I LOVE anything with book pages. I am loving the 3D effect of your Christmas trees. Pinned and thanks for linking up to Tickled Pink Times Two.
Make it a pink day!
I came across this idea via Pinterest. This is such a cute idea! I was actually thinking about making a banner from book pages this year for Christmas but I love the idea of “3D” trees added on top of each page. Thanks for sharing! I’m doing a Christmas-themed link-up party with a few of my friends. The very first link-up actually starts in a couple hours (Friday, Nov. 22 12:01 am CST). I hope you’ll stop by each week and link up all of your winter/Christmas-inspired posts!
This is so cute, I love it
Thanks so much Lisa!
I love this banner! Thanks for sharing it. I’ve made 2 of them already from when I saw your previous post. Luckily I have a Cricut and used it to cut my trees. Thanks for the inspiration!
Using a Cricut is a fabulous idea Virginia! I bet it came together super fast that way! 🙂