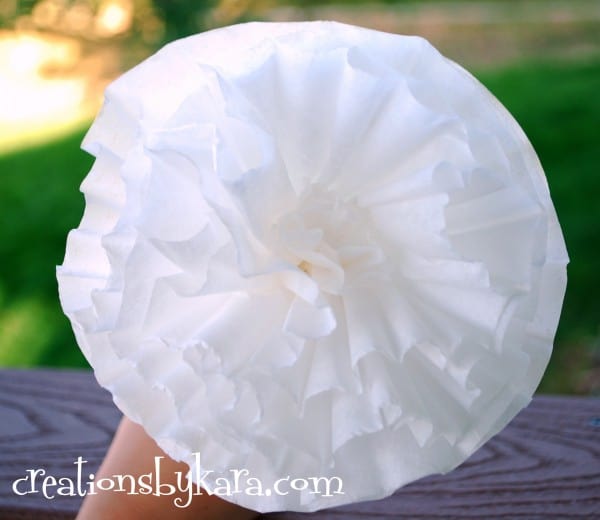
You can make these beautiful Coffee Filter Flowers in just minutes!
A few weeks ago my husband was in charge of a dinner for 300 people for our church. Which meant that I was half in charge of a dinner for 300 people. 🙂 One of my jobs was to make centerpieces. For 33 tables. For not a lot of cash. The first thing I thought of was my Coffee Filter Roses. But I needed over 100 of the suckers, so I wanted something even easier. I found a few tutorials online for coffee filter peonies, but they involved floral wire, and I could not get them to work.
After much trial and error, and possibly a couple of swear words, I came up with my own method. It is by far easier than any of the other ways I tried. With the help of a few friends, we cranked out over 100 of them in just an afternoon. Sweet!
Wanna make some for yourself? Here is my method for making them:
Coffee Filter Flower Tutorial
Supplies
–Coffee Filters
–Bamboo Skewers
–Hot Glue Gun and Glue
-Piercing tool or nail
–Spray paint and paper towel tube (if you want any color other than white)
Instructions:
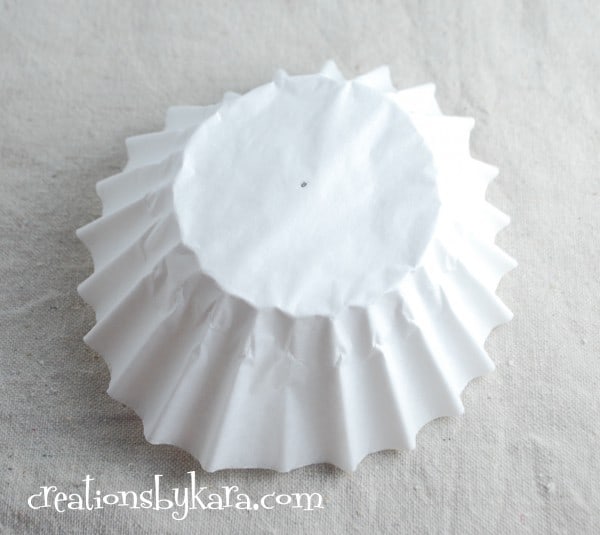
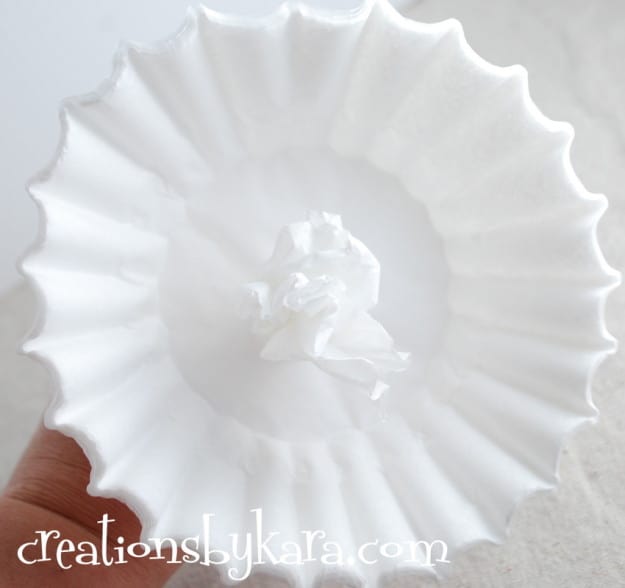
1- Make a stack of about 6 coffee filters. Draw a dot in the center.
2-Use a piercing tool or a nail to poke a small hole through the middle. Make sure you go through all the layers.
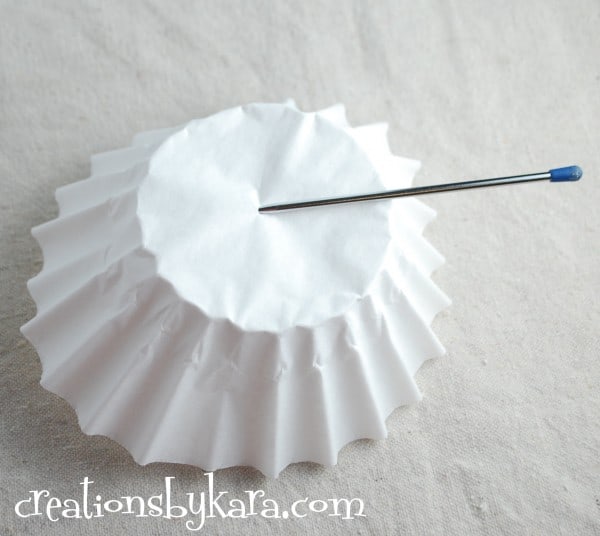
Note: I painted my skewers by lining them all up in a shoe box, then shaking it while I applied spray paint. You can do the same, or just leave them unpainted.
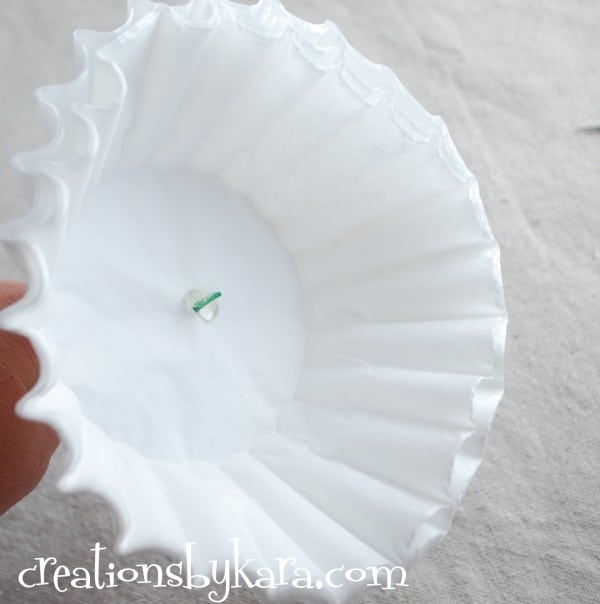
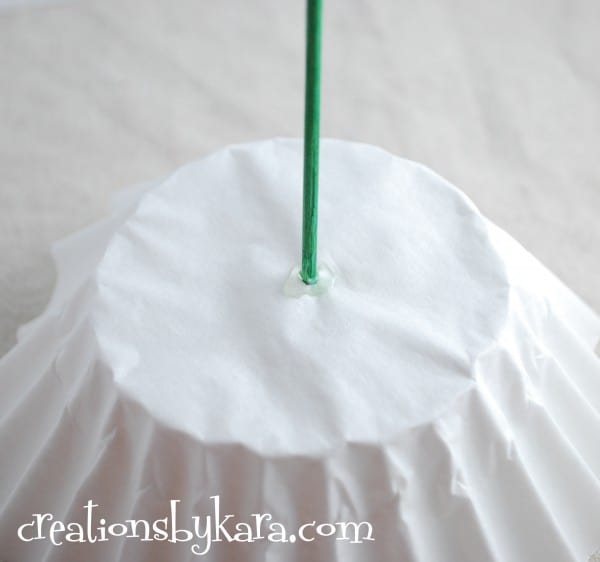
5-Flip your flower upside down and place a ring of hot glue around the entire skewer. This will hold your flower in place so that it won’t wobble on the stem.
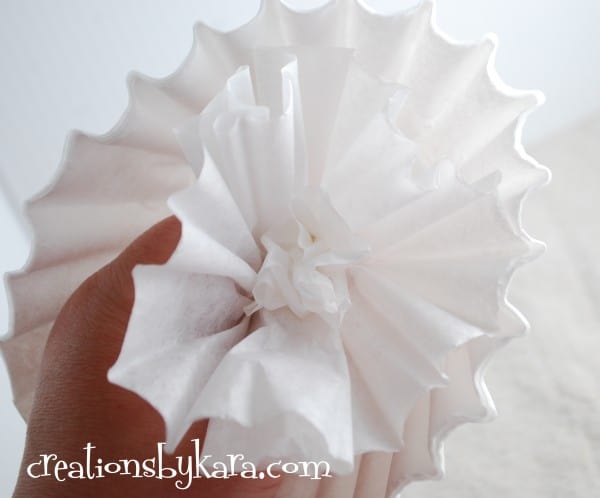
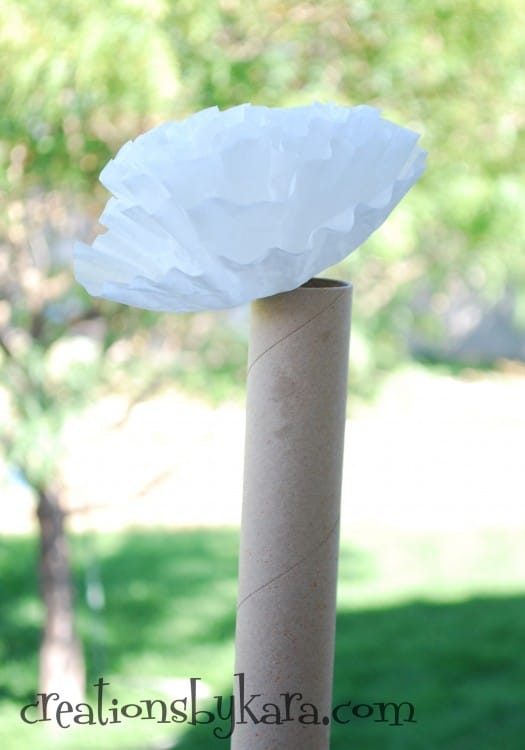
For this one I wrapped burlap around the jar, then added ribbon for a pop of color.
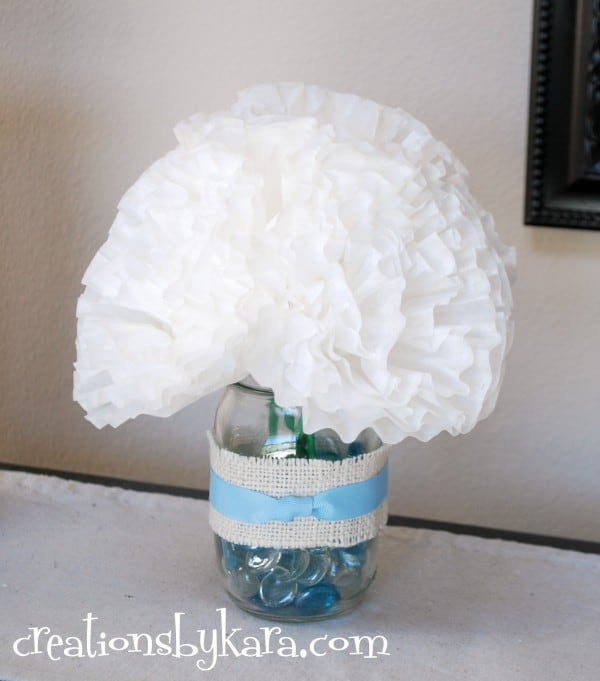
There are endless possibilities! I’ve also made a Halloween version which I will be sharing later. I hope you will give them a try! They are so easy, and so pretty!



You have a super tutorial. Can’t wait to make these.
Thanks so much Theresa! I hope you have fun making them. They really are so pretty!
You have a super tutorial. Can’t wait to make these pretty flowers.
I am sure going to try this way!! I have 25th Anniversary Party on Sunday and I am scrambling!! I will send pics later!!
Great! Easiest way I’ve found to make coffee filter flowers. Thank you for showing us how to do it.
Great idea…can’t wait to try them. Thanks for the tutorial.
You are so welcome. Hope you have fun making them!
Excellent tutorial. THANKS!
Thanks Marci!