Installing molding is a great way to update any space in your home! With these tips and tricks, you will be able to install molding that looks like it was done by a professional.
I will be sharing some tips for installing molding that my brother in law taught us. If you’ve never done it before, don’t be scared. You can do this!! For this tutorial, I took the photos and my hubbie hung the trim, but only because I am more familiar with using the camera out of auto mode. I actually did all of the same steps by myself earlier, including cutting the trim, and using the nail gun. You can too. Promise.
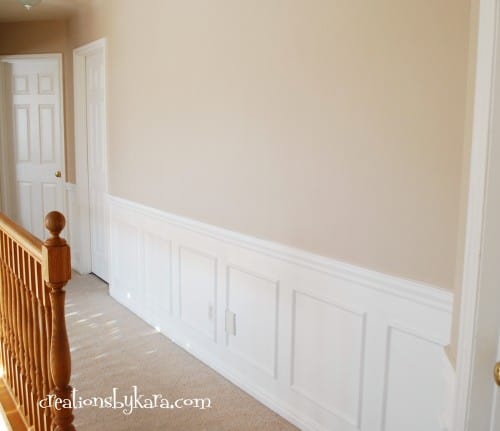
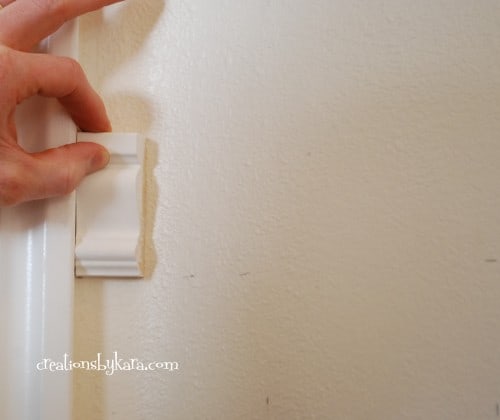
The first tip Jacob gave us was to start in the area that will be seen the least. With practice, your work will get better, so you want the stuff that will be seen the most look the best. We started in the corner by my boys’ bedroom and worked toward the end of the wall at the top of the stairs. We are working from left to right on the wall.
Let’s do this thing, shall we?
How to Install Molding Like a Pro
1-This tip comes from me, not from Jacob. I think it is much easier to paint the trim before you install it. Strep got in the way of my plans to paint the trim, and all I had time for was the primer. But it is so much easier to paint the trim first, because then you don’t have to tape off the wall.
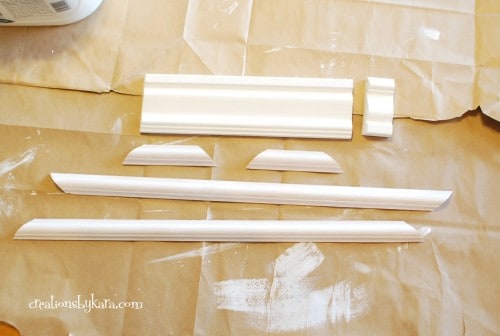
Here are the pieces from the section of wall that we are doing the demo on:
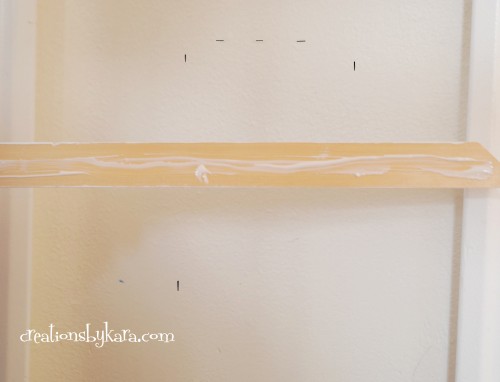
2-You want to hang your chair rail first. The bottom of our chair rail is 31 inches from the floor or 28″ from the top of the baseboard, but you can do yours whatever height you like. We are doing ours on a tiny section, but it was the same on our long wall, the boxes were just bigger. We measured 28″ up from the baseboard and made a mark every few inches across the entire wall.
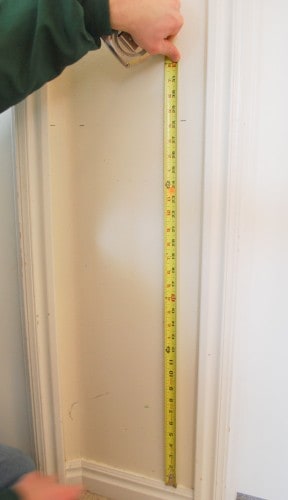
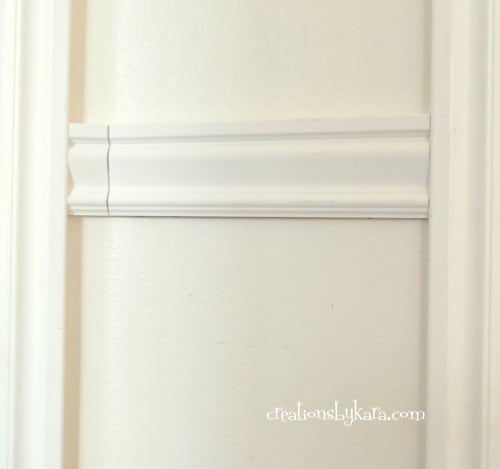
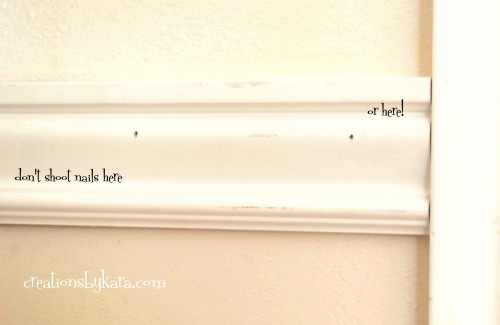
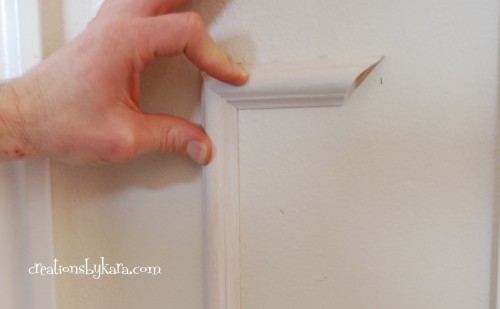
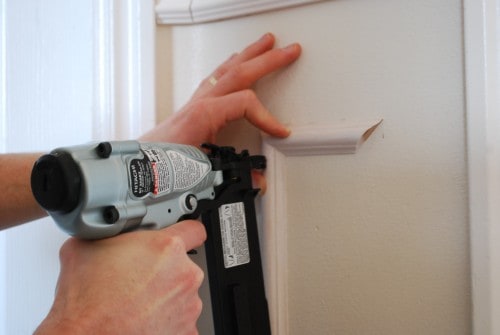
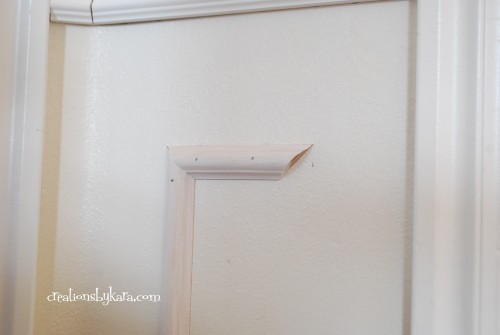
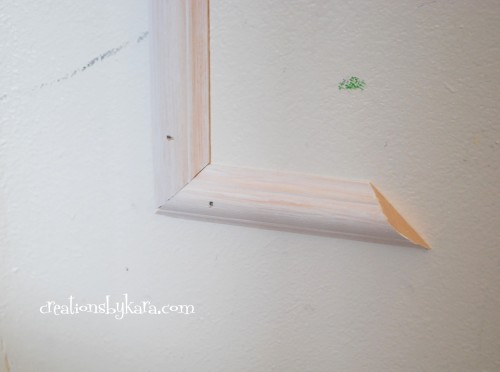
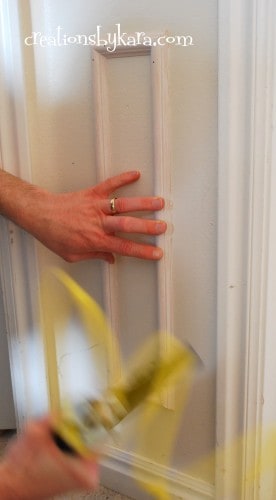
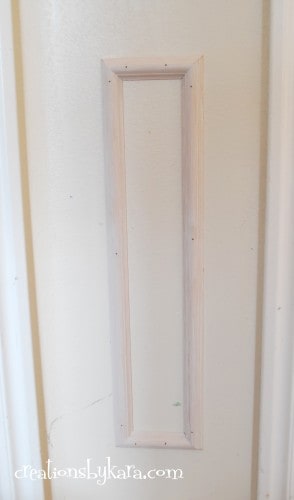
When you are all finished hanging your trim, you need to use spackling to fill in all your nail holes. Then use caulk around the outer and inner edges of each box, and on the top and bottom of the chair rail. After that dries, all you have to do is paint.
I used Behr Premium Plus Ultra Paint and Primer in One, in semi-gloss white. I get it at Home Depot and I love it! I debated about using the semi-gloss on the whole lower part of the wall, but all my door trim is semi-gloss, so I went with it. I love how easy it is to clean up!
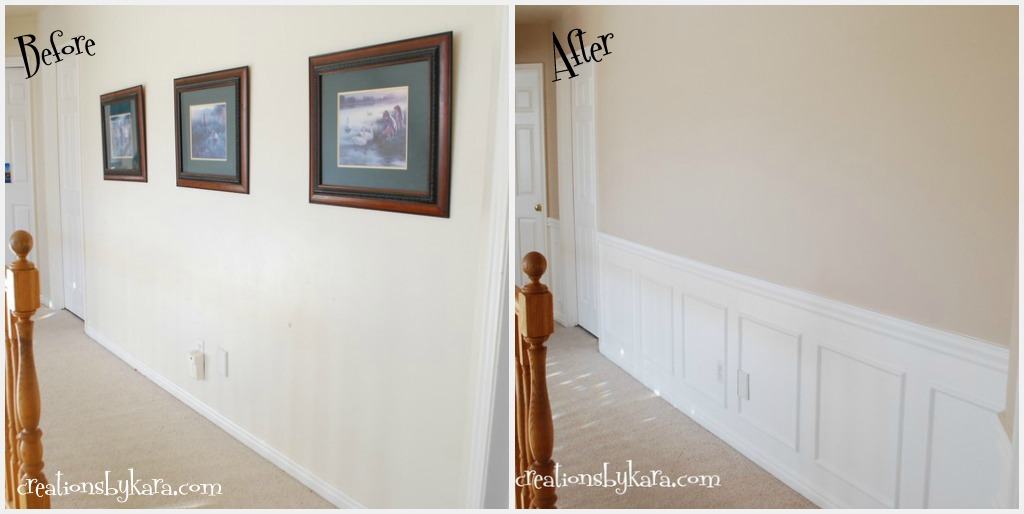
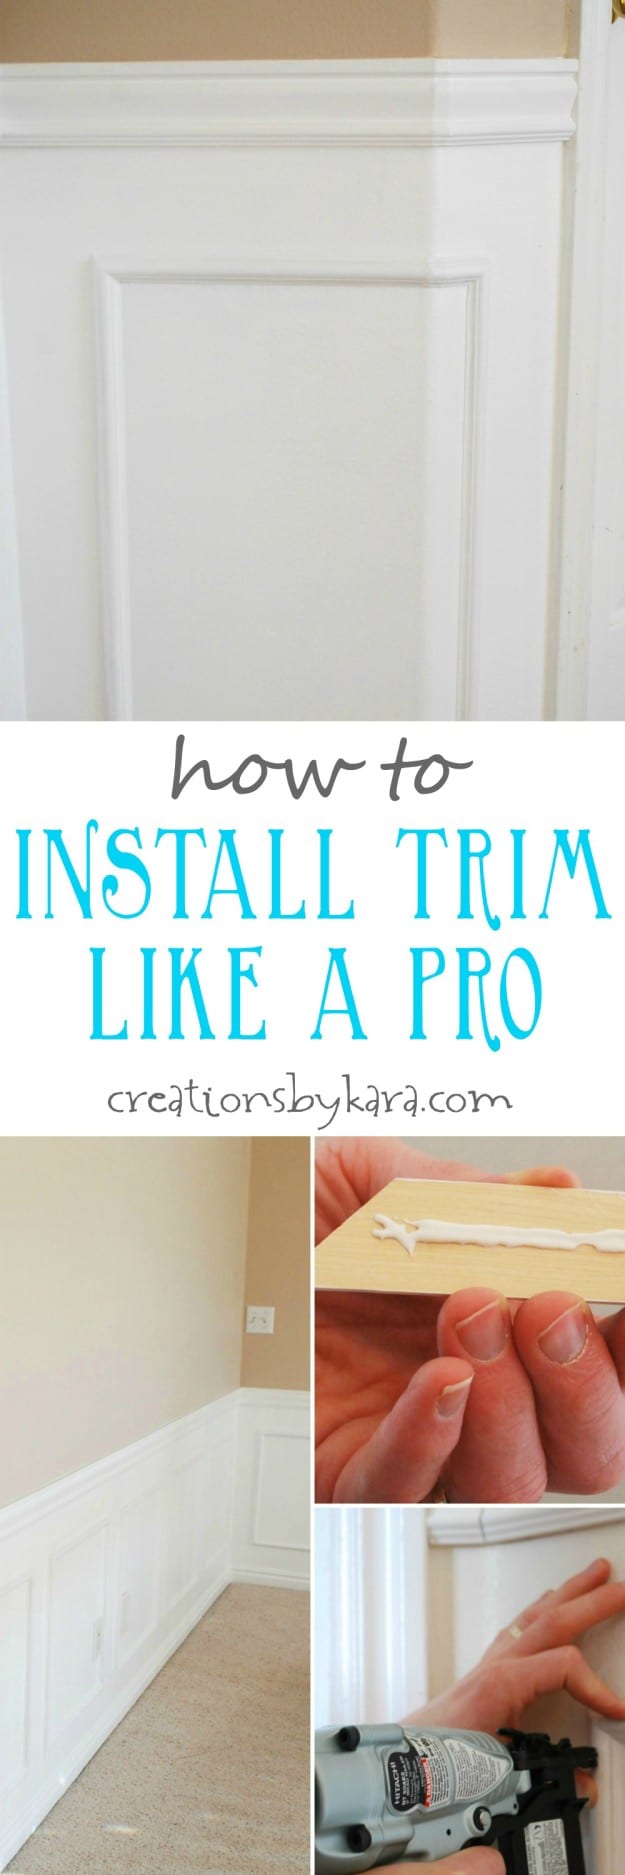
Look what a difference installing molding makes:
MORE DIY TUTORIALS AND PROJECTS:
- How to Make Wooden Shutters
- Reading Nook DIY
- Spray Painting Metal Furniture
- DIY Shutters
- Repose Gray (the best gray paint!)
- Oak Banister Makeover
- Corner Bench
- Tips for Staining Wood
- DIY Mudroom Bench

Your molding looks beautiful in your hallway!! I love how molding adds so much!
Beautiful!
This is beautiful! I am gathering ideas for our basement that we are going to finish this summer, and I am totally pinning this 🙂 Great job, and thanks for the tutorial!
Love it!! I’m attempting to do this in my bedroom right now. We’ll see if it’s a success or epic fail 😉 Kelli
I love it! My question is, how do you cut the trim.
We always seem to have problems with getting the trim to line up nice. Especially in the corners!
When I do Rachel’s room I will have to do a tutorial on cutting the corners. 😉
In the meantime. . . I used my miter saw and cut at a 45° angle. We bought a special blade for trim work that leaves a much smoother edge. Mostly you just have to cut really slow to make sure the blade hits where you want it to.
Awesome job! We have added this in a few homes…and I’m awful at measuring!
Oh gosh, me too! That is the main reason I have my husband help. I am the worst at anything involving math!