Here is the tutorial that I meant to publish yesterday. My photo card was acting up, and I couldn’t upload the last few pictures. So frustrating! Luckily I found an old one and was able to re-take the photos.
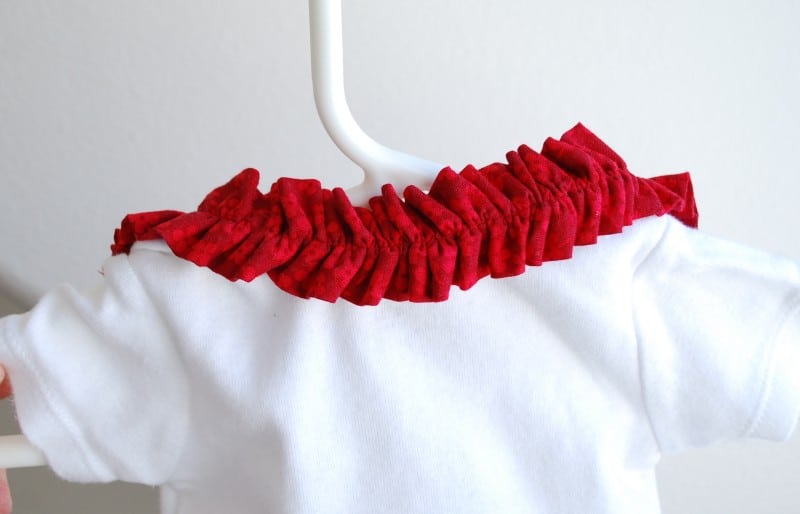
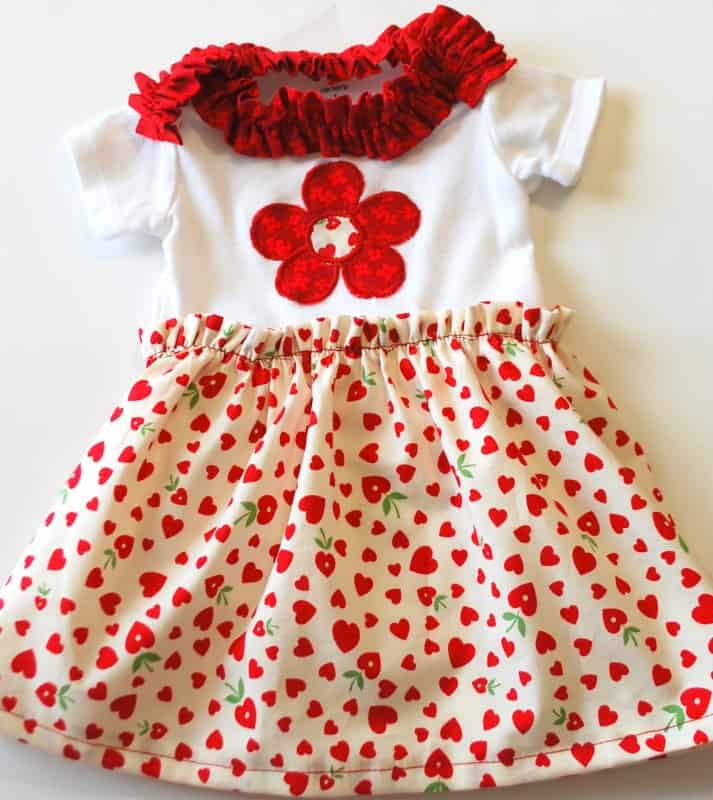
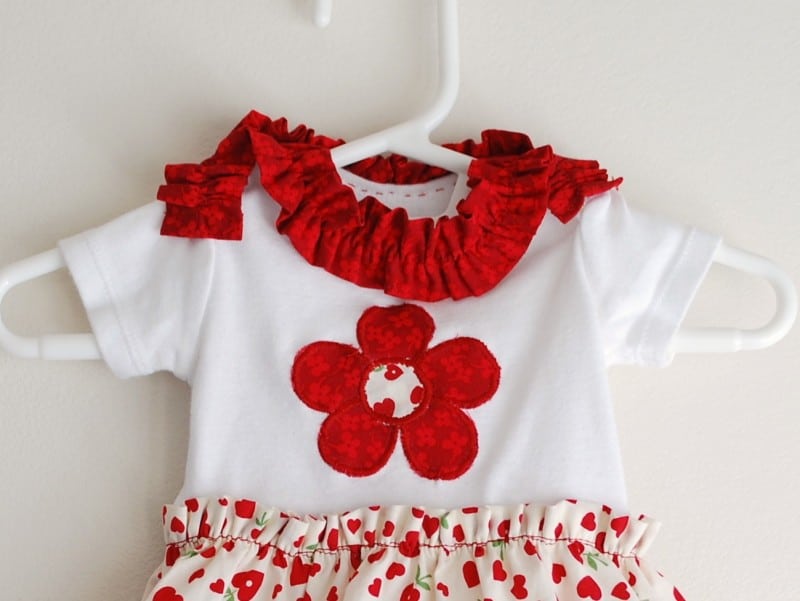
I am going to show you how to embellish a onesie with ruffles. Because a girl can never have too many ruffles, especially a baby girl! I decided to split this tutorial into two posts. Today I will show you how to add the ruffles to the neck. Next week I will show you how to add a skirt to the onesie, making it a onesie dress. I am loving these!
Onesie with Ruffles Tutorial
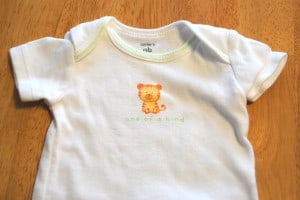
1-Start with a onesie:
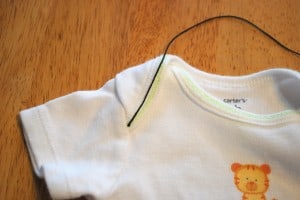
Start on the edge of the sleeve, where you want the ruffle to start:
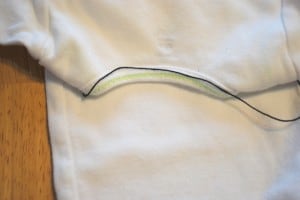
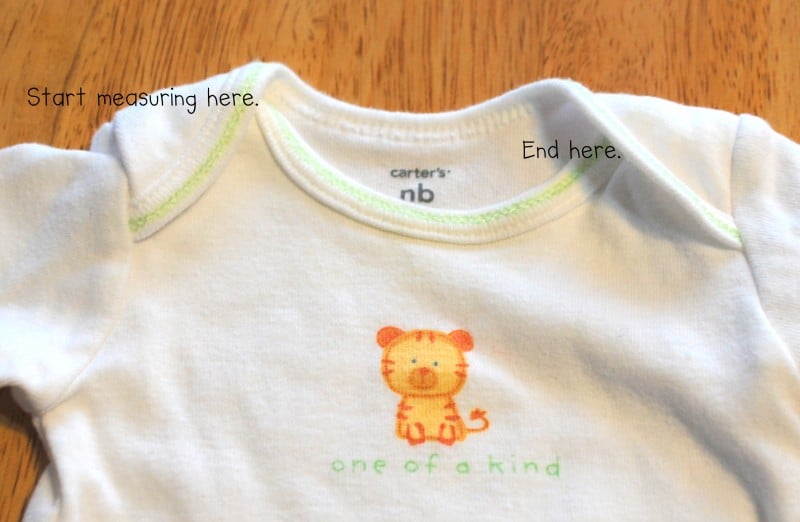
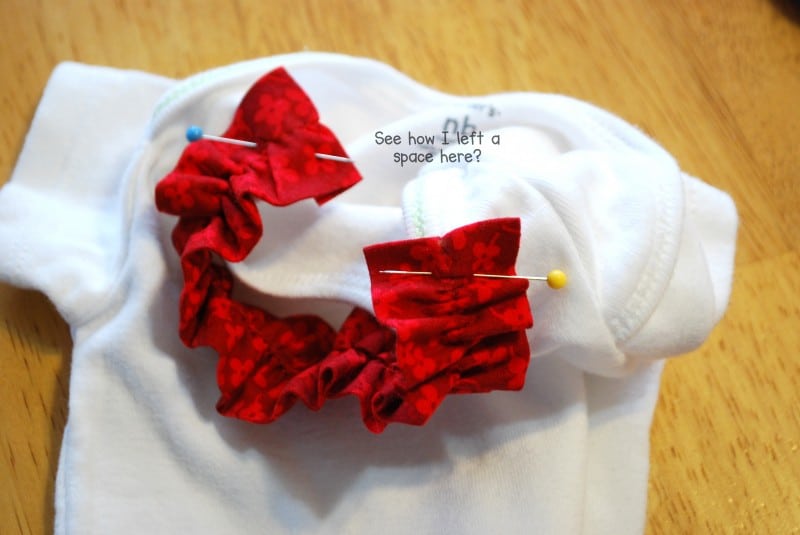
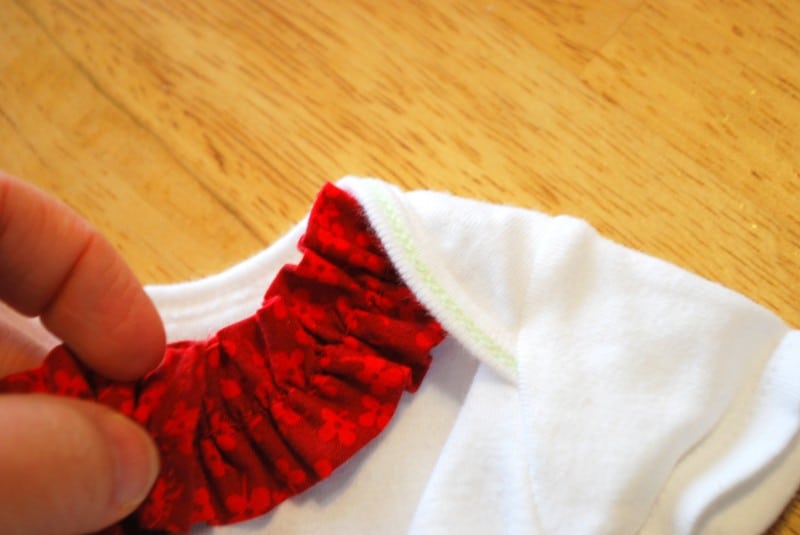
3-Repeat for the front of the onesie neck. This part is hard to explain but I’ll do my best. You don’t want too much bulk, so you want the front ruffle to just go under the top ruffle, not all the way to the back of the onesie shoulder. So just measure barely under where that top piece overlaps. I can’t figure out how to put a stinkin’ arrow on the photo, but basically start measuring just up underneath where my periods show up. (See step #10) Make sense?
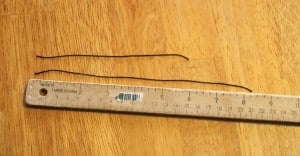
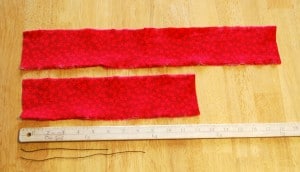
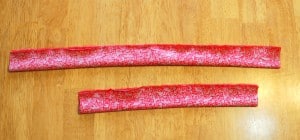

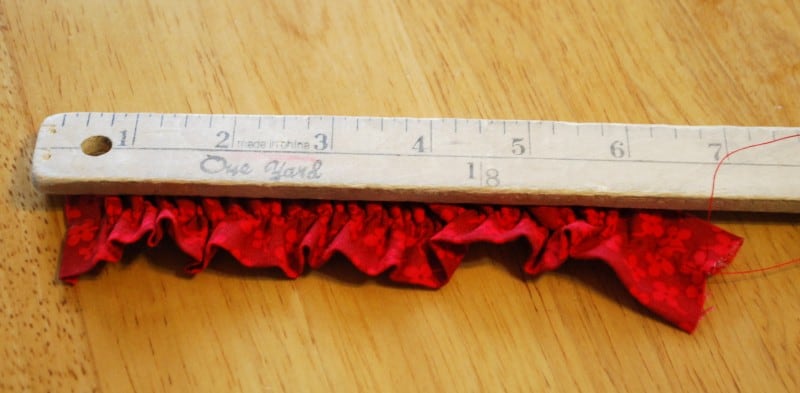
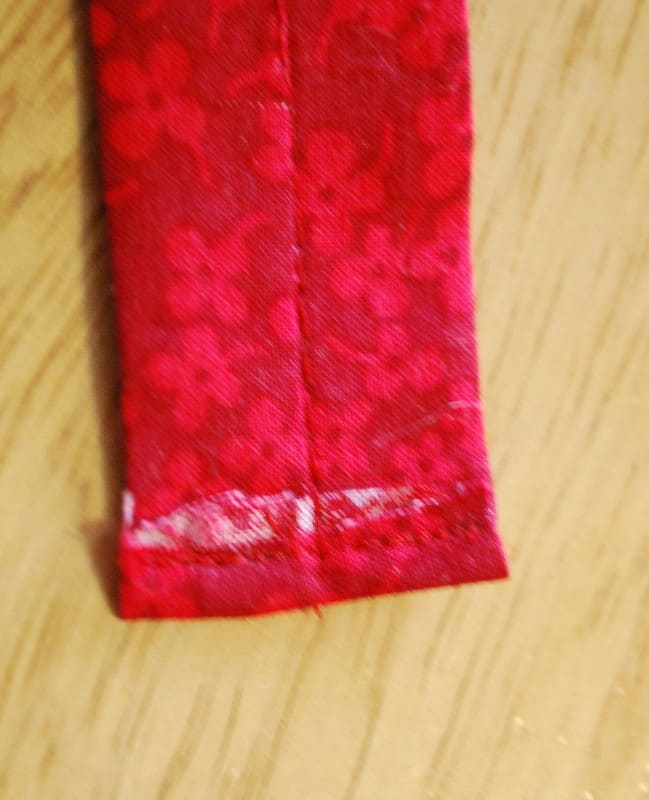
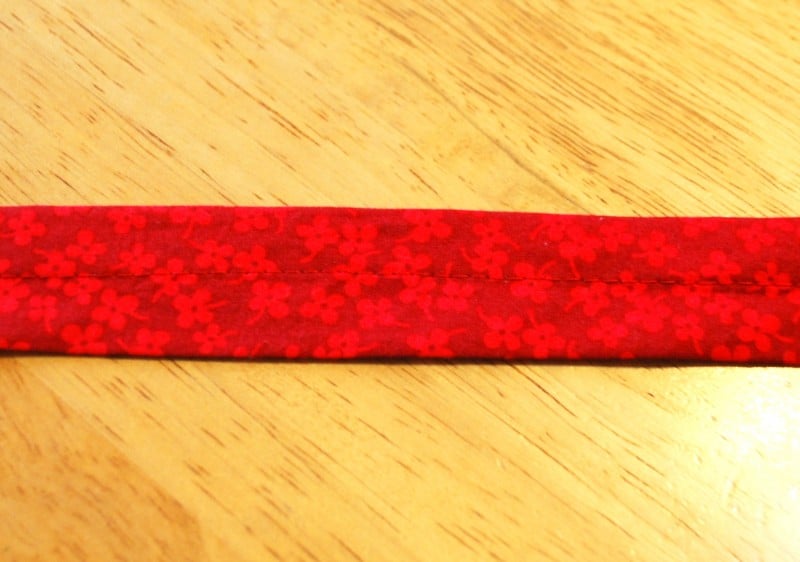
8-Now pull the string to gather the fabric. Keep pulling until the fabric ends up one inch longer than your original measurement. Mine was 6″, so I want my ruffle to be 7″ long.
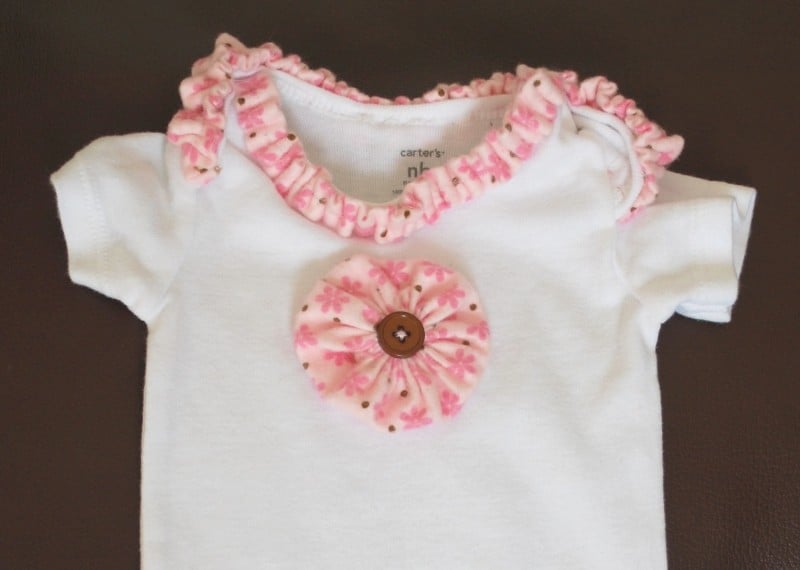
Here’s another one I made using flannel and a yo-yo flower. So much fun!

Those ruffles are too cute! Super job. Thanks so much for sharing @ CCC
“catching” you this week!
gail
Hello!! What an adorable project! I am visiting from the UBP 2011! You have some cute things here..I am your newest follower. Stop by my blog when you get a chance…see you soon!
Thanks Jenn! Stopped by your blog, and I am very jealous of how organized your kitchen sink cabinet is. 😉
Adorable! And this is a great blog, just from the few things I’ve seen I know I love it here 🙂 Going to look around some more! Came by from UBP11 ~ Stop by our blog when you have a moment!
Michelle @ FTSN
http://www.fromthesamenest.com/2011/03/2011-ultimate-blog-party.html
Great to “meet” you Michelle! And I will definitely check out your blog!
Stopping by from the UBP! I love meeting new bloggers….especially mom bloggers…so stop by and visit if you get the chance! I’m your newest follower! I agree…never have too many ruffles!
This is just adorable and such a good idea!