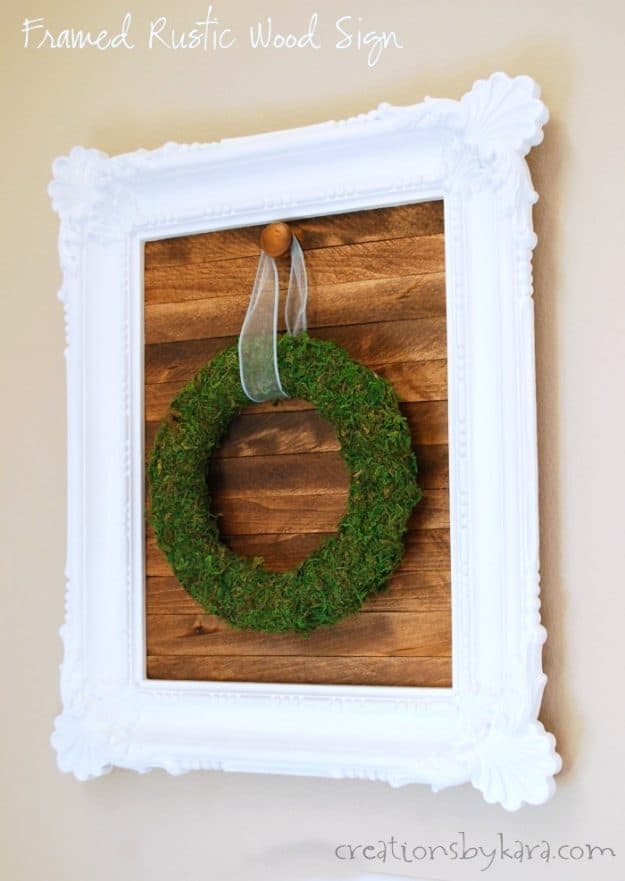
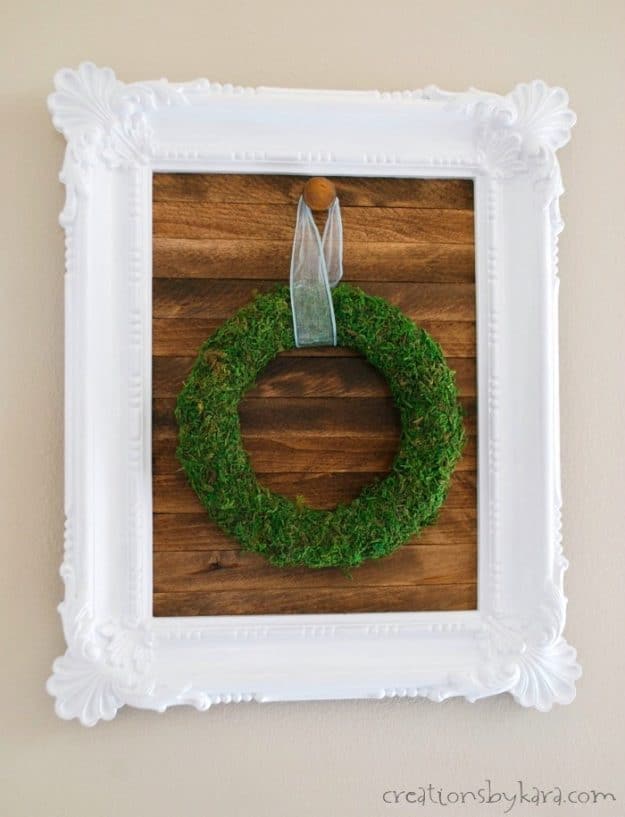
Framed Rustic Wood Sign – this easy rustic sign is perfect for hanging wreaths and other holiday decor!
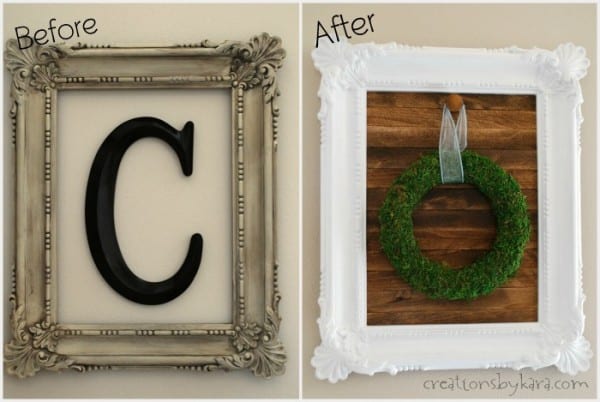
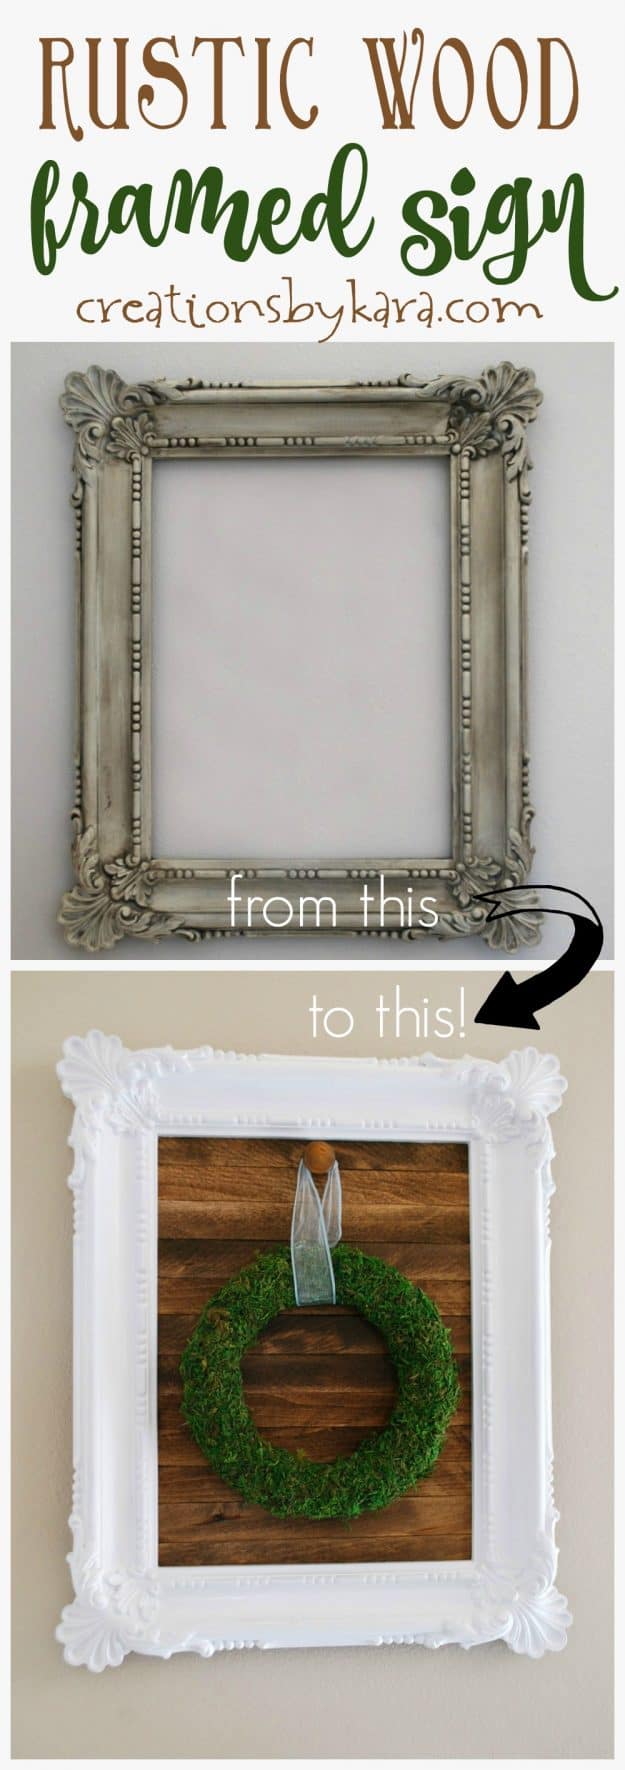
If you follow me on Instagram, you know that I am in the process of refinishing our oak banister. It is going to be such a huge change that I figured while I was at it, I might as well spruce up the entire entry way. I’m crazy like that. For my first project I made this Framed Rustic Wood Sign. I used a frame that I already had hanging on the wall. I just wanted to brighten it up and add some color, so I totally did a makeover on it.
I’ve seen lots of pallet wood signs, and wanted to make something similar. I have no access to wood pallets, so I used wood shims, and I really love how this turned out! And I love the pop of color from the wreath. So pretty!
If you want to make your own, here is a brief description of what I did.
DIY Framed Rustic Wood Sign
First you have to make sure your shims fit in your frame. (I buy them at my local hardware store, but you can find them on amazon.) I got super lucky and the shims fit perfectly in opening in the back of my frame. All I had to do was stain them. I used Minwax Dark Walnut Stain.
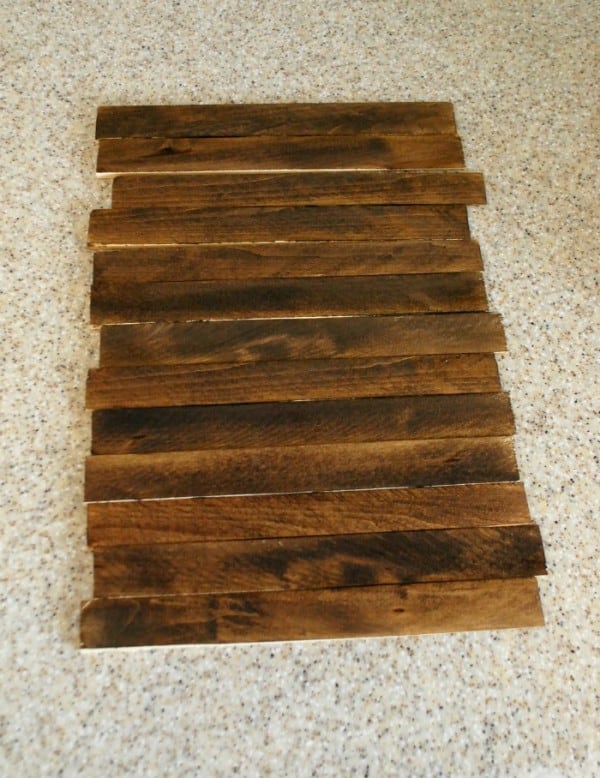
But since they were all different thicknesses, it didn’t work. Boo. 🙁
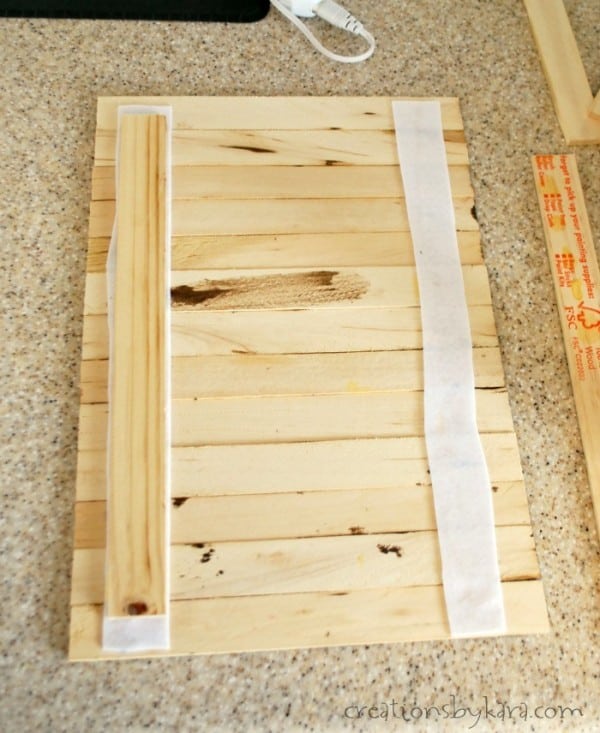
So I pulled out my hot glue gun and some strips of felt. The felt got down into the gaps, and I was able to hot glue the paint sticks over the felt. Worked like a charm!
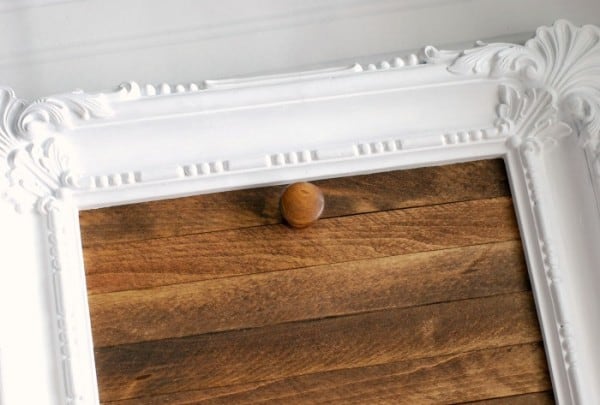
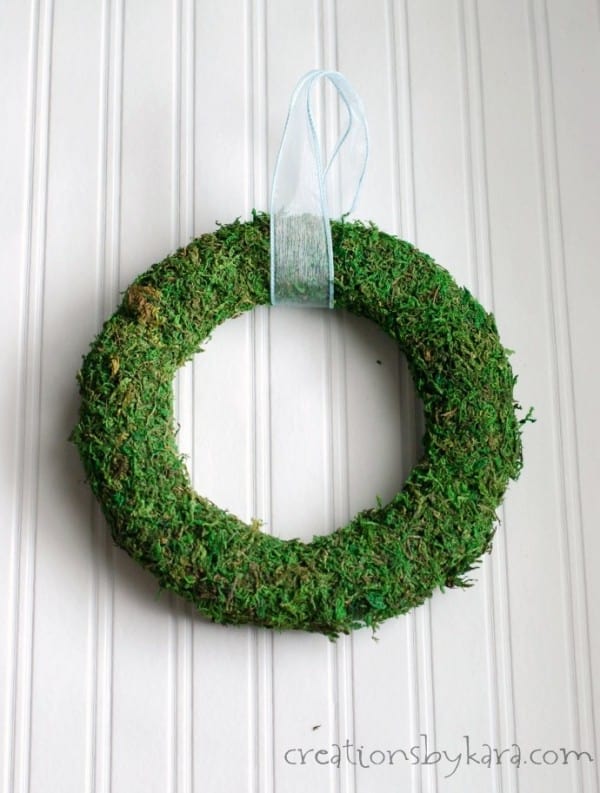
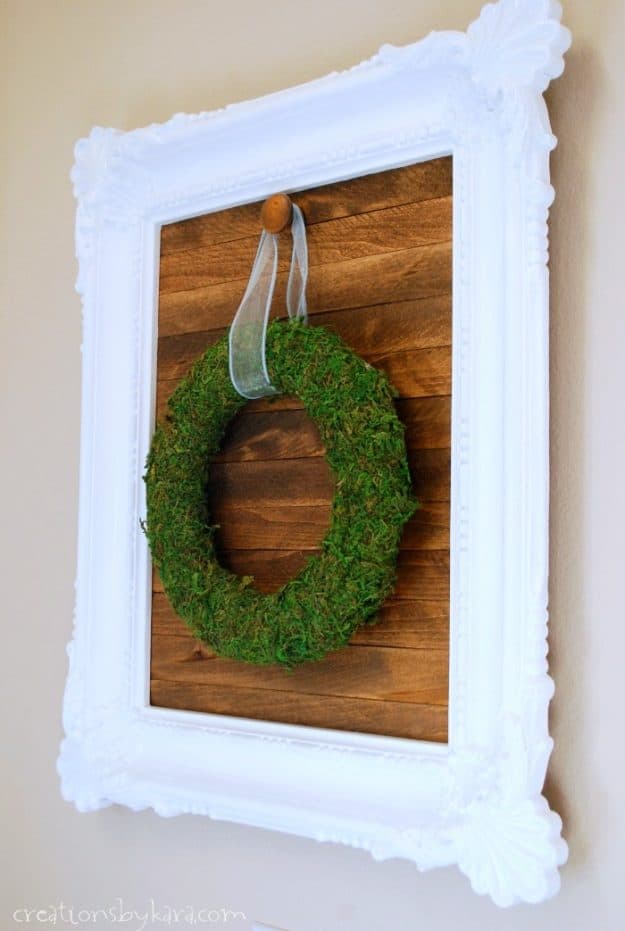
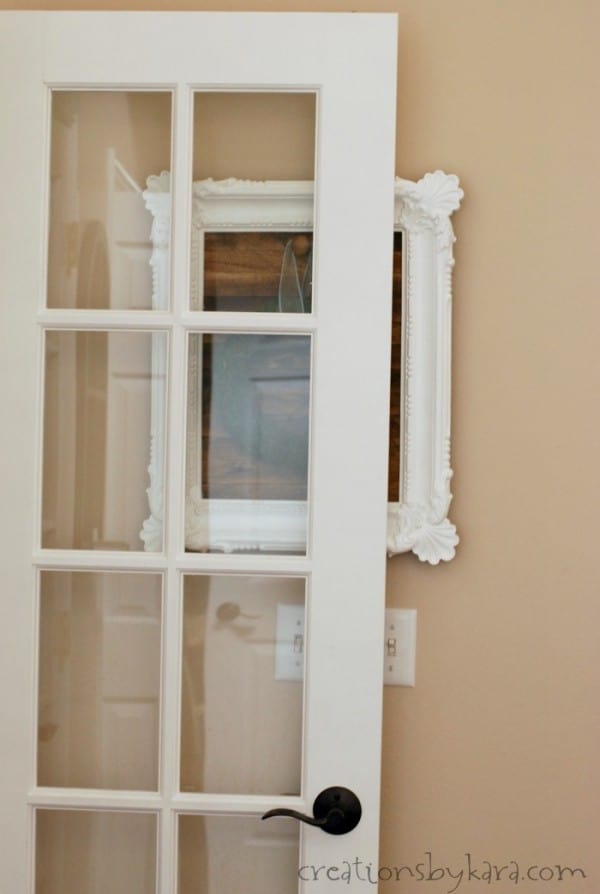
Now if I could just my kids to close the living room door so I could see it. Because half the time, it looks like this:
More DIY home decor projects:
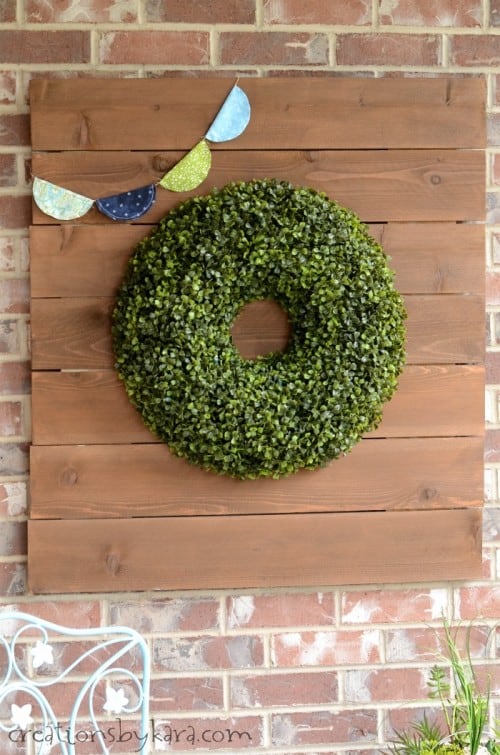
How To Make a Pallet Sign with No Pallet
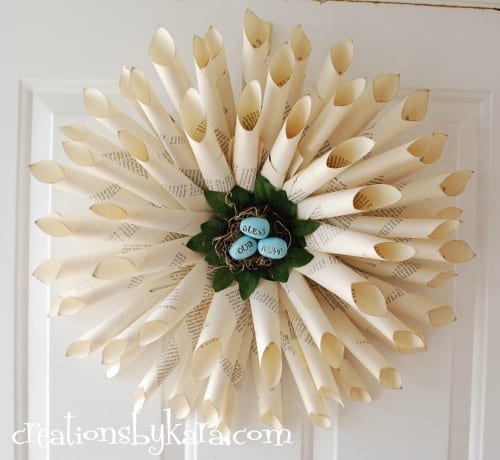
Interchangeable Book Page Wreath

Hello! Can you give us the white paint specifics that you used on the frame itself, or is there already a step-by-step tutorial on this that I may have missed? Thanks!
Silvia, I used Rustoleum white spray paint in a satin finish. Love that stuff!
I LOVE this! Thanks so much for posting. I am doing an industrial dining room makeover and wanted just one or two pops of green and this would be perfect. I do like that the frame is so ornate while everything else is so simple.
Stacy
anygirlcandoit.com
So glad you like it Stacy!!
BEAUTIFUL!!! I absolutely love it! Pinning to the Monday Funday board!
Thanks so much Katie!
I love this! Hello from Monday Funday!
leelee @ paperbagstyling.blogspot.com
Thanks so much Leelee!
Thanks for sharing the tutorial! I found one of these earlier and I was thinking….hmmm….how do you do that? Did you glue the wood to the frame? I just posted my first “scrap wood” project today here: re-creations.biz/2014/02/24/signs/
I have my first pallet waiting for my creations….lol!
I was going to glue the wood to the frame, but discovered that the backing had screws, so I was able to place it over the wood and screw the whole thing into the frame. I know, I lucked out!
WOW! I love this! It’s amazing what a little paint and some stain can do!
Thanks so much Heather! 🙂