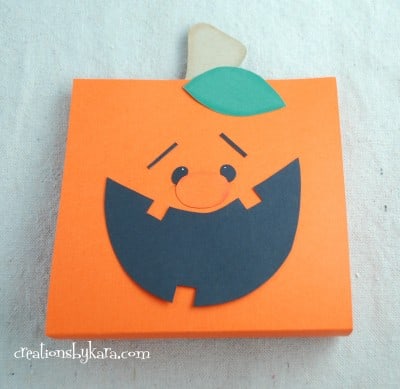
This cute little Pumpkin Treat Bag makes a great thank you gift or Halloween party favor!
We are a week into September, so I think I can now justify starting my fall and Halloween posts. I waited as long as I could. What can I say, I am in love with fall. I came up with these little Halloween Pumpkin Bags for a guest post on another site last year, but I forgot to post them here. Duh.
These little treat bags are easily made with stuff you probably already have laying around your house. I filled them with candy, but you could put cookies, caramel corn, snack mix, or just about anything you like. Last year I surprised my boys by leaving a bag on each of their pillows. They loved them! I also think these would be perfect for teacher or neighbor gifts. Kids shouldn’t be the only ones that get the treats, right?
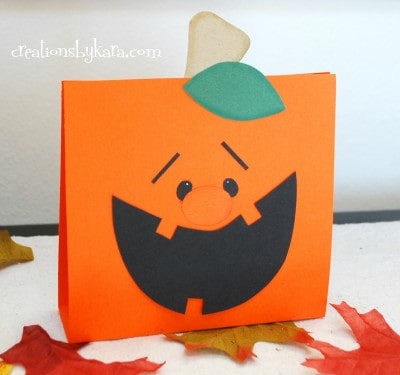
Halloween Pumpkin Treat Bag Tutorial
Supplies:
12×12 sheet of orange cardstock
Scraps of paper in black, brown, and green
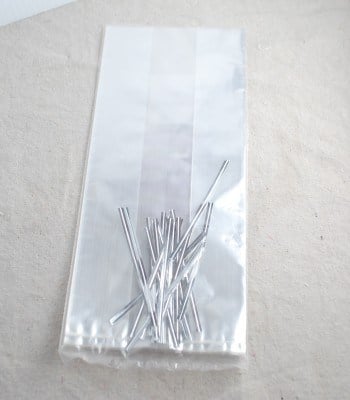
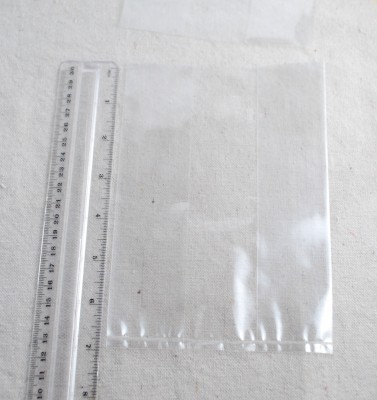
Treat bags that are 5″ wide (I got mine at Walmart)
Scissors, ruler, stapler, and glue
Chalks or ink (0ptional)
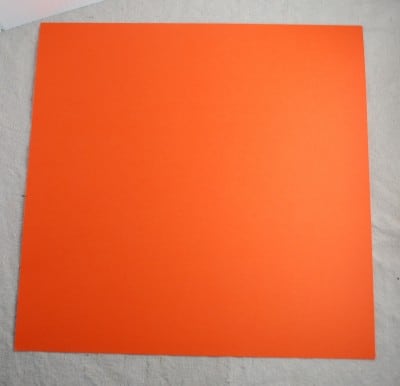
Start with a 12×12 sheet of cardstock.
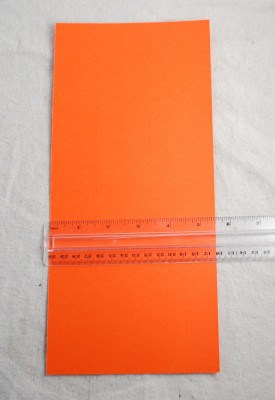
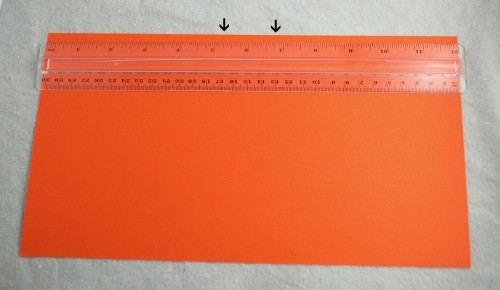
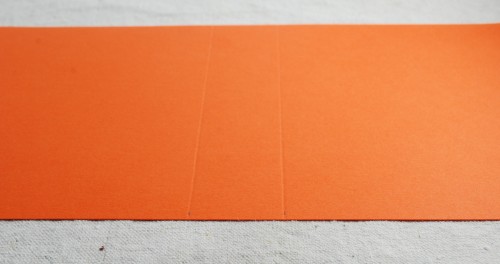
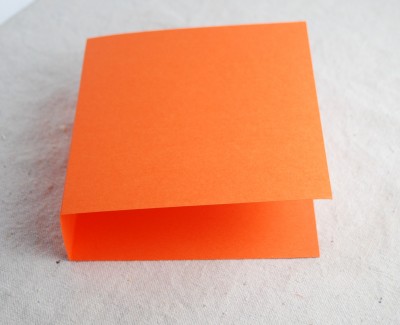
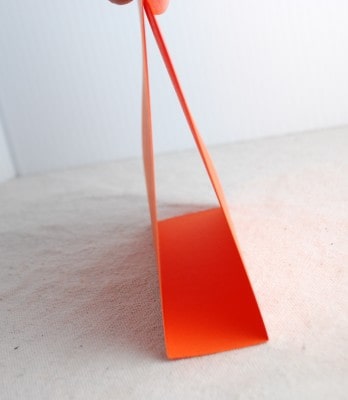
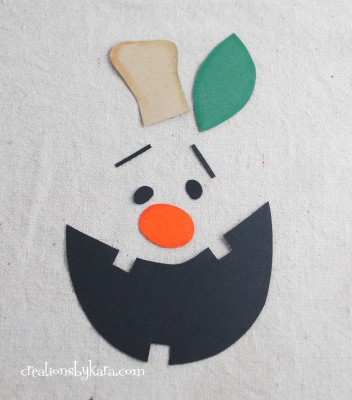
Pumpkin Treat Bag Pattern
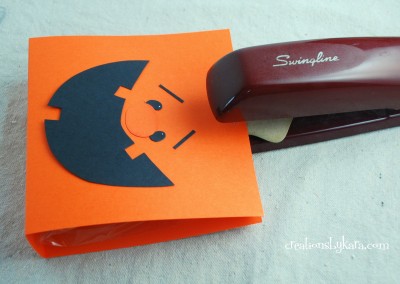
After I cut out my pieces, I like to chalk the edges of the nose, stem, and leaf. But you don’t have to if you don’t want to. Totally optional. 🙂
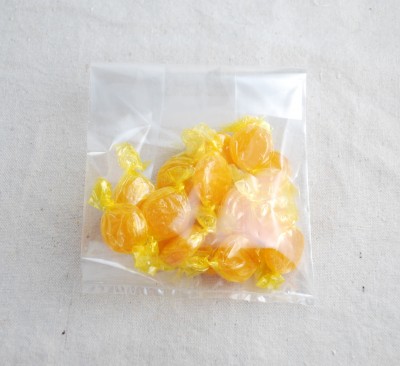
Now it’s time to fill your treat bag. I use the clear plastic kind. I usually buy them at Walmart or the dollar store. They are about 5 inches wide by 11 inches tall.


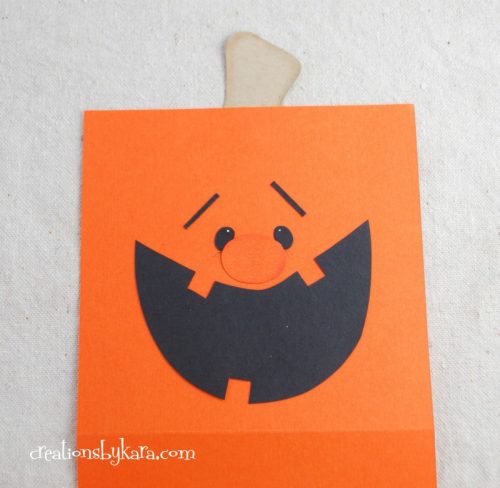
The caption under the face pieces says to glue the stem to the inside front of the bag. Then the next sentence says don’t glue the stem yet. Did you mean don’t glue the LEAF yet?
Cute project tho!
Dang, that was a typo. Thanks for catching it. I’ve fixed the post now. 🙂
I’m loving this bag! I don’t have kids yet but I am definitely pinning this to make sure I have it for when the time comes!
Hi,
I make your pumpkin and put a link to you on the contribution.Tomorrow it is on my blog.
Big hug
Andrea-Emmi41
http://www.blogger.com/blogger.g?blogID=2548793213312338934#editor/target=post;postID=1348279928718199487
Thanks so lot for this great tutorial! I like it so much.
Big hug
Andrea-Emmi41