This pacifier clip is a quick and easy project. No snaps or velcro required. If you have a pacifier loving baby, these things are a lifesaver. I used them with my boys and loved them. No more lost or dirty binkies. The fact that they can be adorable is just a bonus. Hooray!!
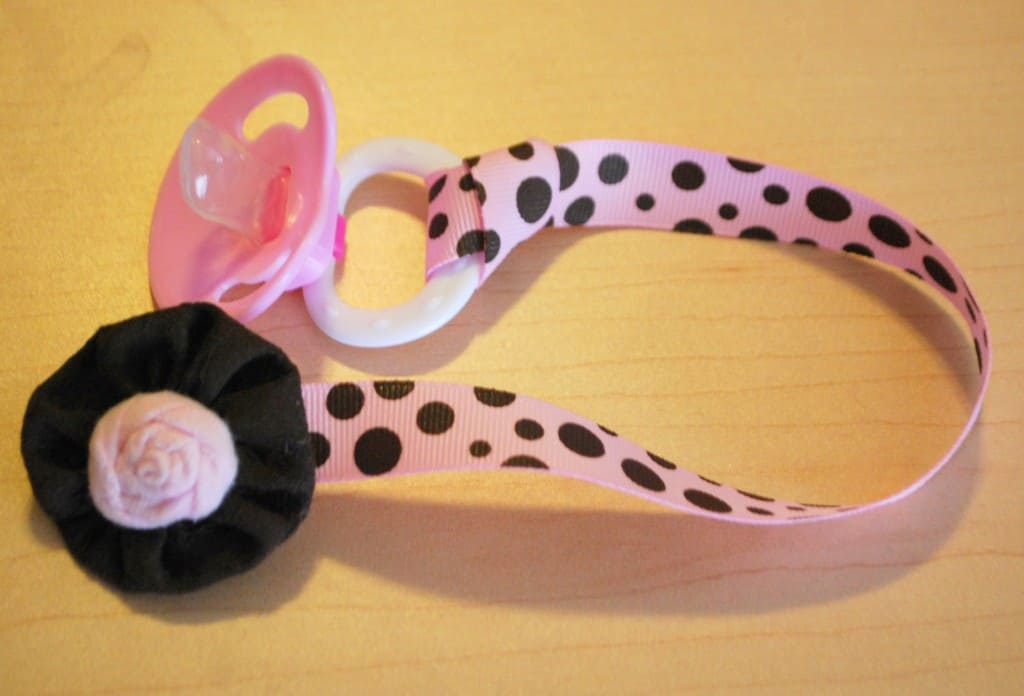
Isn’t it cute? If you don’t have a baby, these make fantastic baby shower gifts. They can be made in any color with any type of embellishment. The possibilities are endless. (And of course, they can also be made for a baby boy. Just make sure you leave off the flower and stay away from pink ribbon.)
Are ya ready? Here we go. . . .
Baby Pacifier Clip Tutorial
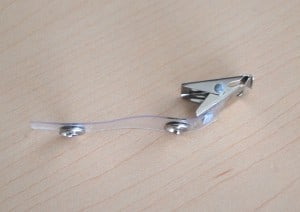
1-Take a name badge clip and tear off the plastic part. You will be left with just the metal clip. (I bought a bag of these at Walmart.)

2-Cut a piece of ribbon about 14 or 15 inches long. Seal the ends by using fray check, or by holding close to a candle flame till it melts. I use the candle method. Just be careful not to get it too close or it will burn. I always keep water nearby just in case.
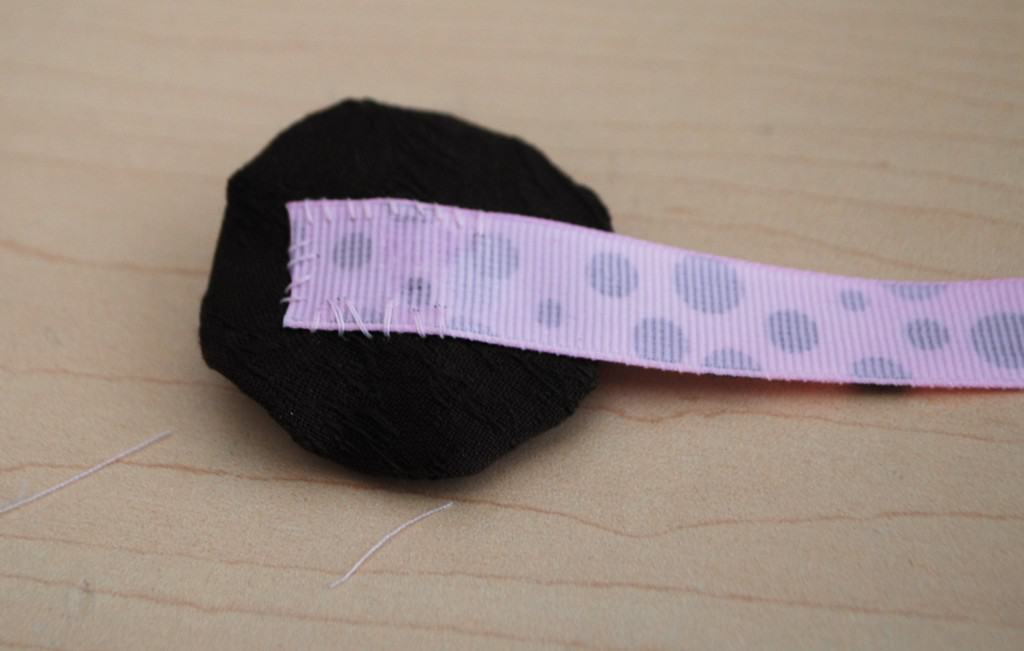
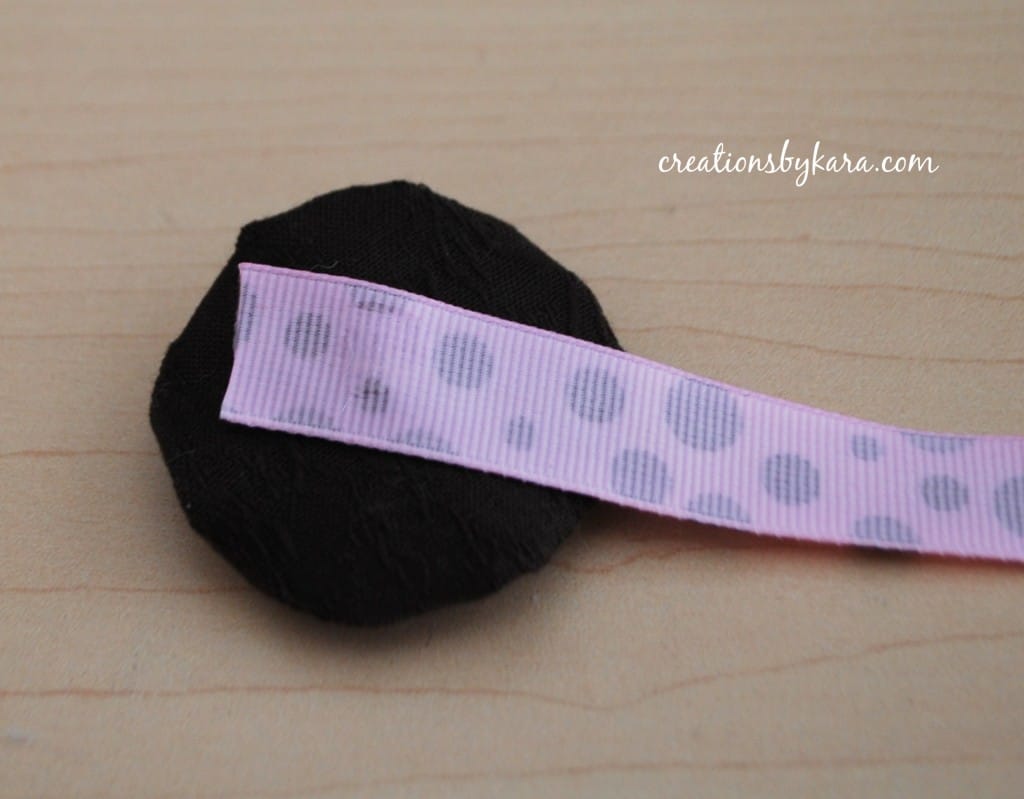
3-Hot glue one end of the ribbon to your choice of embellishment. I used a yo-yo flower with a rosette in the middle. You can use any type of flower, or even a cute button.
4-To make sure it is attached really well, I like to stitch around the edges of the ribbon.
 It will look like this on the front:
 5-Now attach the clip to the ribbon. I used super glue, then a few stitches to secure it.
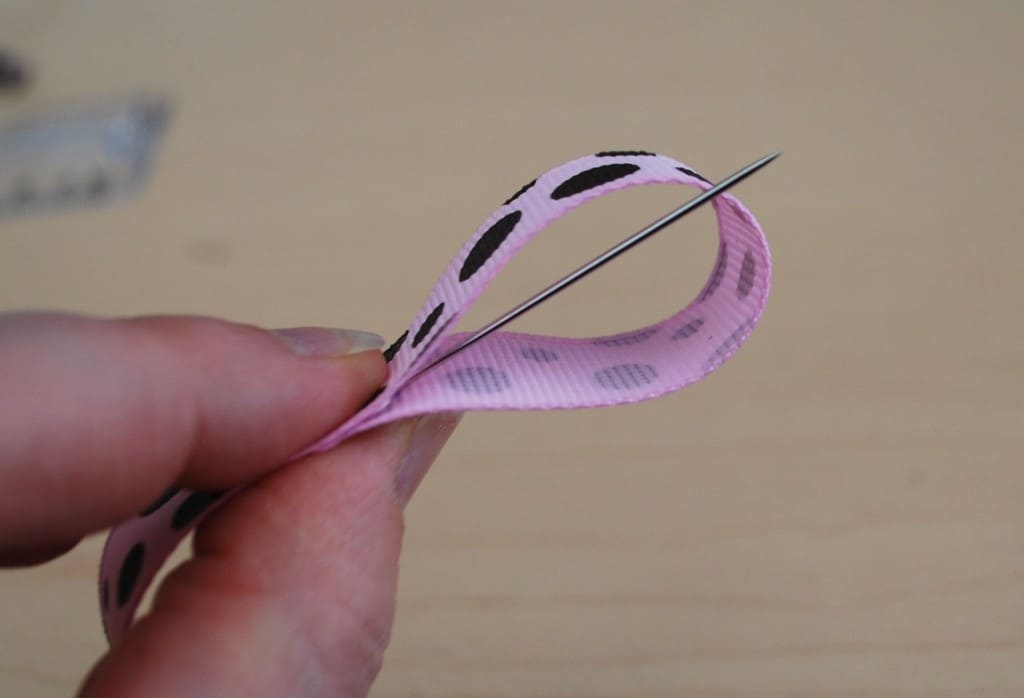
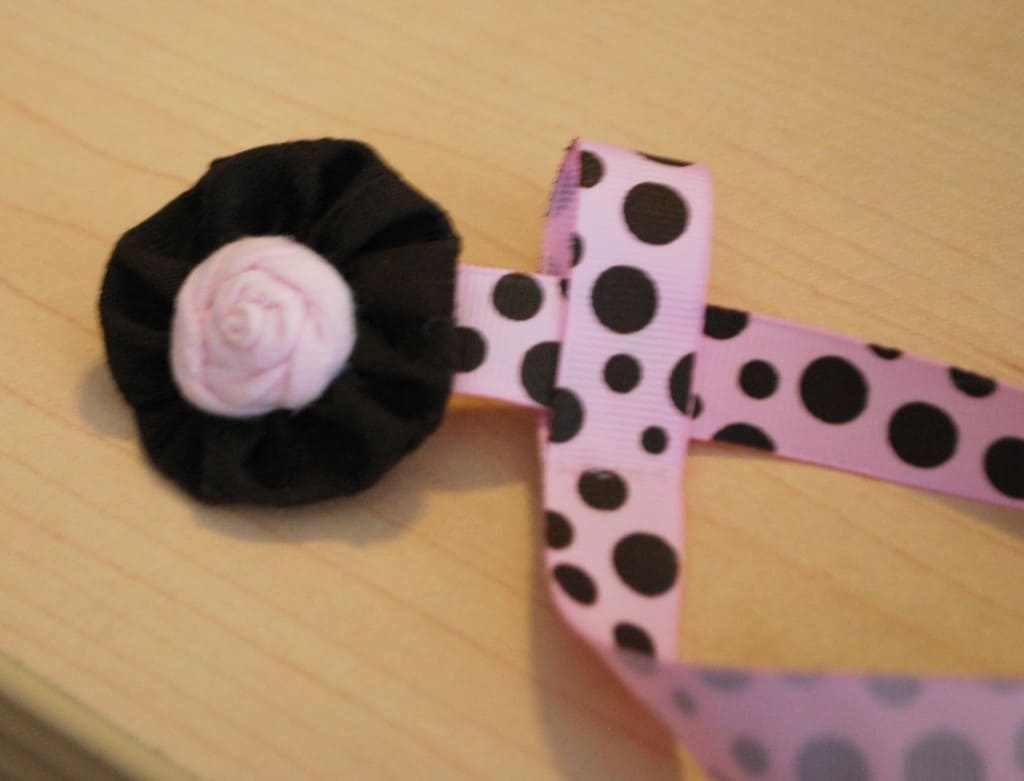
 6-On the other end of the ribbon, fold it over to make a loop.Make sure it is large enough for your embellishment to fit through. In the bottom photo, I had already sewn my loop, but I just wanted you to get an idea of what I’m talking about. 🙂


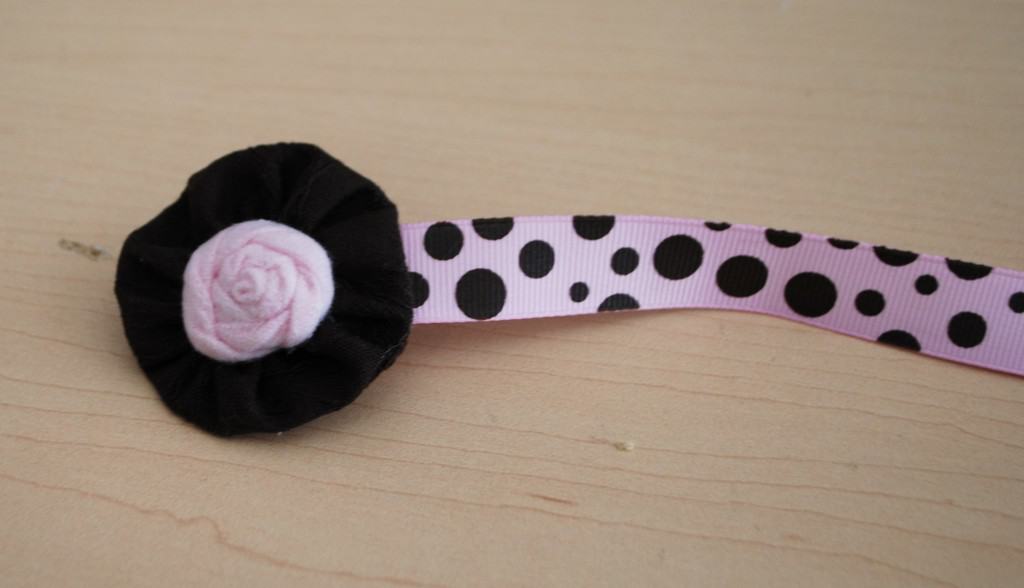
 It will look like this on the front:
 5-Now attach the clip to the ribbon. I used super glue, then a few stitches to secure it.
 6-On the other end of the ribbon, fold it over to make a loop.Make sure it is large enough for your embellishment to fit through. In the bottom photo, I had already sewn my loop, but I just wanted you to get an idea of what I’m talking about. 🙂
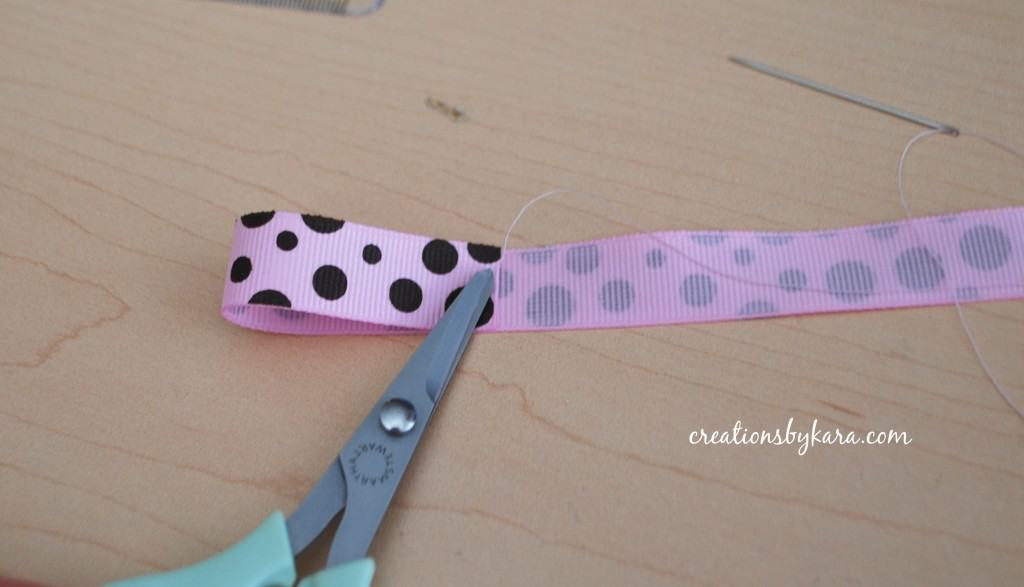
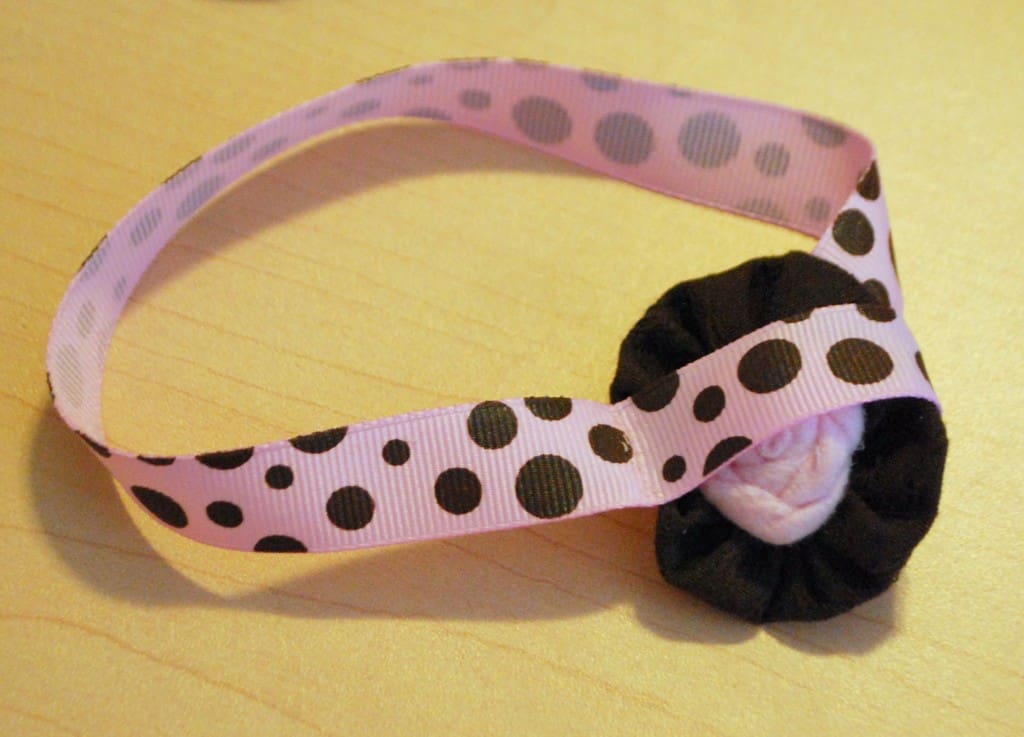
7- Now sew the end of the ribbon down, securing the loop. You can use a sewing machine, but I thought it was easier to just sew it by hand. To get the knot on the inside when I was finished, I brought the needle up in between the edges of the loop before tying the thread. This is optional, but it looks nicer.
Here it is all finished:
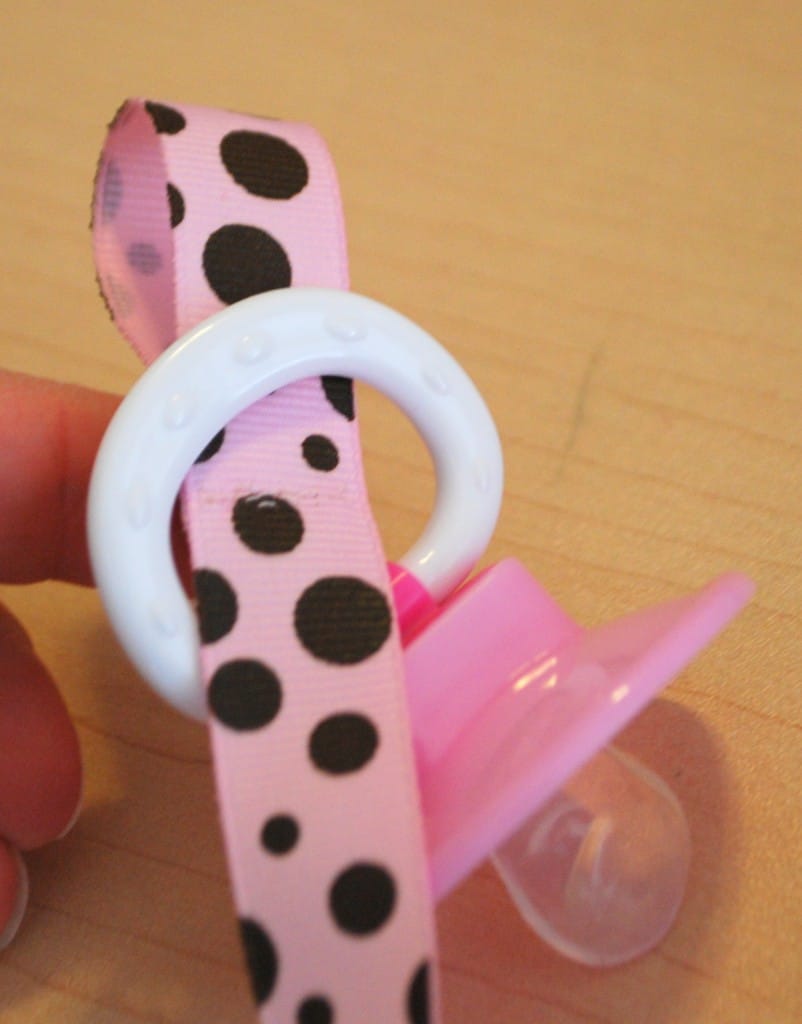
10-Now pull tight till the ribbon is firmly attached to the handle.
 That’s it, you’re finished. Super cute and super easy. I think it took me longer to make this tutorial than it did to make the actual binky clip. 😉
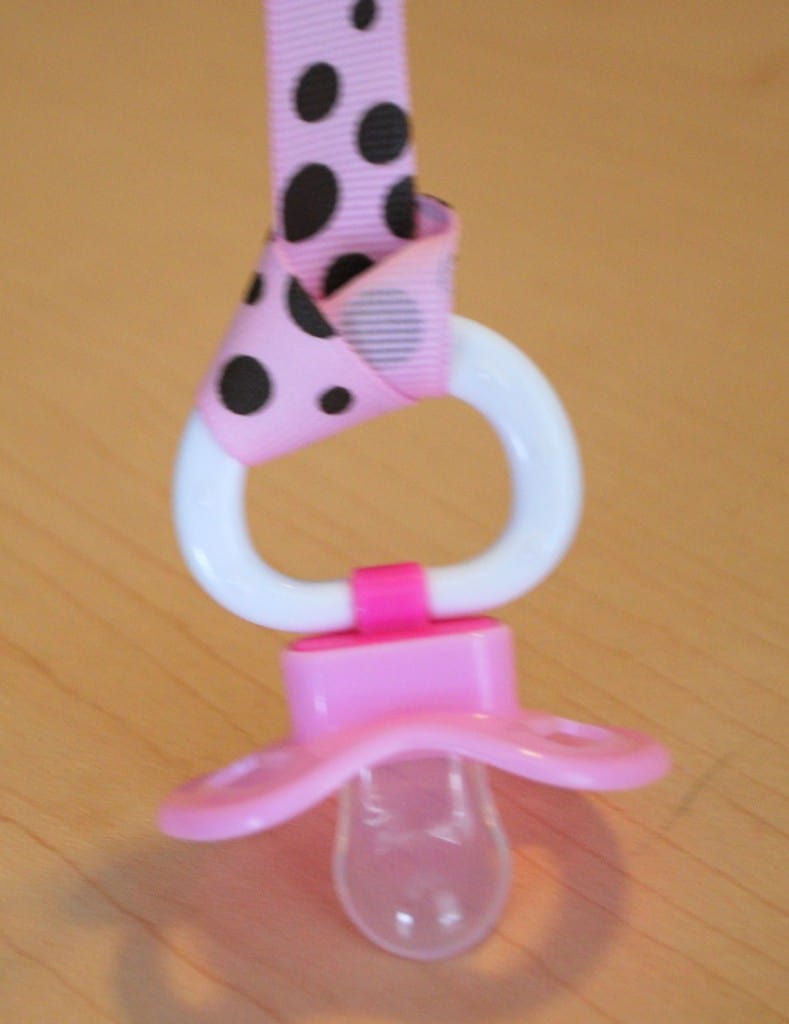 That’s it, you’re finished. Super cute and super easy. I think it took me longer to make this tutorial than it did to make the actual binky clip. 😉
I sure hope you have fun with this tutorial!!


Just made this for a friend who is having a boy. I used a large cute button with a monkey on it instead of the flower. Thanks for the tutorial!!! Also, I changed the final step after reading on another site how to use a small ponytail holder at the end so it could attach onto a soothe pacifier (which is the kind my friend prefers.) I appreciate the time you took to post this!